Caramel Apple Tips: Best Candy Thermometer and Sugar Temps
Few foods spell autumn like a crisp, juicy, sweet/tart apple, fresh from the tree. But if a perfect apple doesn’t signal fall quite strongly enough for you, you can always dip it in rich, warm-flavored caramel! Yes, fall is caramel apple season, and whether you have your own trees, live near an orchard where you can pick your own, or just rely on your local grocer, this is the time to enjoy this classic confection.
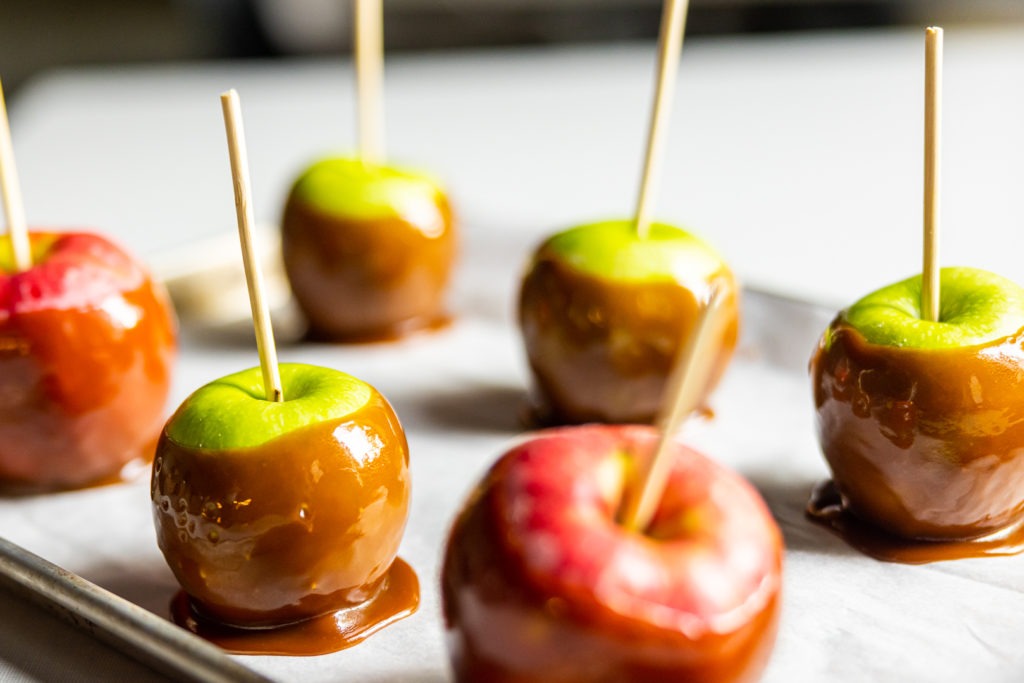
And if you want your apples to be even better, ditch the store-bought wrapped caramels and make your own caramel for dipping. Making caramel involves cooking sugar, which can be intimidating; but once you understand some critical points in the sugar cooking process and you’re equipped with the right tools, it’s easy.
Yes, all candy presents certain challenges: sugar has very specific cooking stages, so you need to use precise temperature control, understand what’s happening to the sugar, and be aware of how to avoid crystallization. But if you use Thermapen® ONE for the temperature, and follow our easy tips, you’ll have the tools you need to make your caramel apples—or any other sugar project—a sweet success.
Caramel basics: understanding sugar
A couple of the most common problems with cooking sugar are
- it can crystallize while it’s cooking and become gritty, and…
- if it’s overcooked it becomes bitter
These problems need not create any barrier for us, however—they can both easily be overcome.
Solving crystalization: Sugar (sucrose) is made of a molecule of fructose stuck to a molecule of glucose, and it likes being in its tight crystal shape. But if you add water and/or acid to the sugar and then heat it, it dissolves, splitting the fructose from the glucose—a process called “inversion.” Inverted sugar is much easier to keep from crystalizing.
Solving burning: Caramel gets its flavor from very controlled chemical changes in sugar. Basically, you burn it to a very specific doneness! But once you get into the high-temperature caramel stages of sugar cooking, care needs to be taken to monitor the temperature or that “careful burning” will turn into uncontrolled burning—don’t walk away! If you like caramel that tastes deep and robust, you can push the temperature up to about 380ºF (193°C); but go much further and you’ll get an unpleasant bitter flavor that cannot be fixed. At these high temperatures Rose Levy Beranbaum says in her book The Baking Bible, “The darker you make your caramel, you risk burning it if you don’t have an absolutely accurate thermometer.” Keep your Thermapen ready to go.
Tips for Perfect Cooked Sugar
1. Keep it Clean: Always start with extremely clean tools. The presence of any dirt, dust or other debris in the pan can adhere to sugar crystals, later providing the seed for re-crystallizing the entire batch. After initially stirring the ingredients, use a clean pastry brush dipped in water to wipe clean any sugar crystals that may be stuck to the sides of the pan. You can continue to brush down any sugar crystals you may see during the whole cooking process, or try the cover method listed below.
2. Catalyze it: Once water is added to the sugar in the pan and mixed in, it’s time to add an already inverted sugar like corn syrup or glucose (or an acid like lemon juice or cream of tartar) to catalyze the inversion process. The corn syrup or acid will interfere, and help keep the sugar solution from crystallizing.
3. Cover it: In a post from the LA Times on Keeping Sugar From Crystallizing, we found this tip to be very helpful:
“Cover the pan loosely with a lid or baking sheet. As the sugar cooks and the water evaporates, a loose lid works to temporarily trap the steam in the pan; the steam will help keep the sides of the pan clean, much like using a moistened pastry brush. Keeping the lid ajar will allow some steam to escape as the sugar continues to cook.”
4. Don’t Stir: Once your ingredients are mixed (whether or not the pan is covered), it’s important to let the sugar solution cook undisturbed over medium to medium-high heat until it reaches your target temperature. As the sugar approaches its desired finished temperature, reduce heat to no higher than medium. Again, resist the urge to stir the sugar. Agitating the solution can cause crystallization, so just let it be.
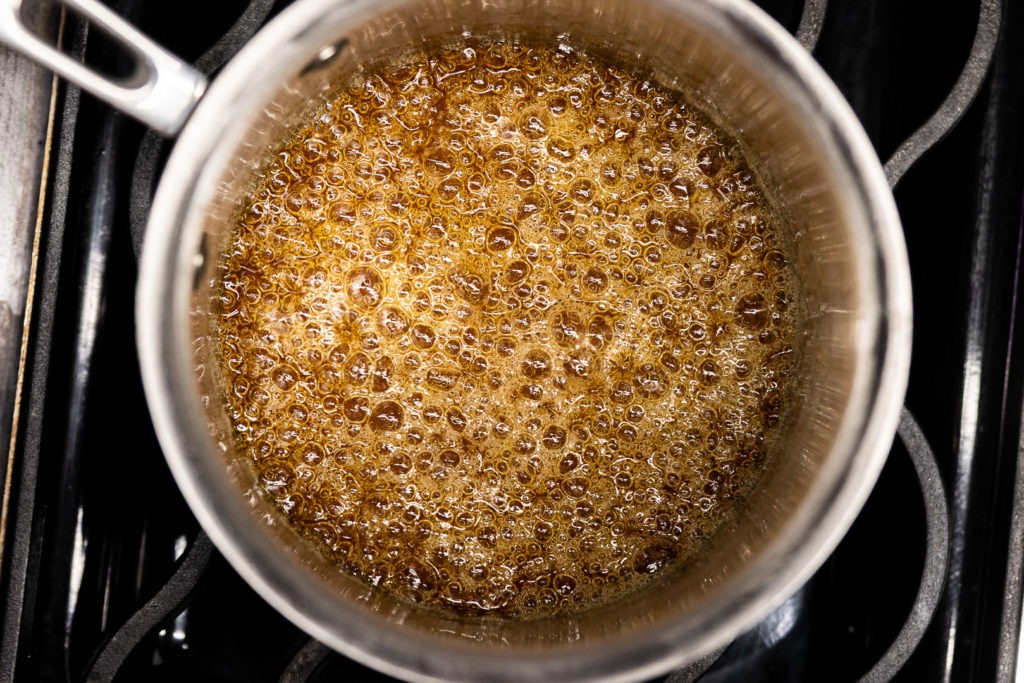
5. Stop the Cooking: Bringing the mixture all the way up to your target sugar temperature, and then stopping the cooking process immediately once it’s reached, is critical to your success. Just like carryover cooking with meats, there is a strong carryover that can occur with your sugar because of the latent heat in the bottom of the pan that was directly against the heat source. This is a point where it’s easy to take your beautiful amber-colored sugar from delicious to bitter in seconds.
Have a bowl of cold water at the ready right by the stove, and as soon as your target temperature is reached, plunge the bottom of the pan into the cold water to immediately stop the cooking.
You may have noticed that there is a bit of a paradox in the above steps. You don’t want to stir the sugar mixture while it is cooking for fear of inducing crystals. At the same time, you need to know precisely when your sugar mixture has reached your target temperature so you can get it off the heat. This is where having the right thermometer is so important. Let me explain why…
Temperature is Key – Pick the Best Candy Thermometer
The Importance of a Candy Thermometer
Thread (230ºF-235ºF/110ºC-112.8ºC), soft-ball (235ºF-240ºF/113ºC-116ºC), firm-ball (245ºF-250ºF/118ºC-121ºC), soft crack (270ºF-290ºF/132ºC-143ºC) and hard crack (300ºF-310ºF/148ºC-154ºC), caramel (320ºF-350ºF/160ºC-176ºC)—what does it all mean?
There are several stages of sugar cooking, and the sugar has different qualities at each stage. Generally speaking, the higher the temperature of the sugar, the more firm it will be once cooled. The stages have very specific temperature windows, and just a couple of degrees out of that window can mean the difference between a kitchen success or a flop. There is a great go-to chart of sugar cooking stages and temperatures on our website you can reference.
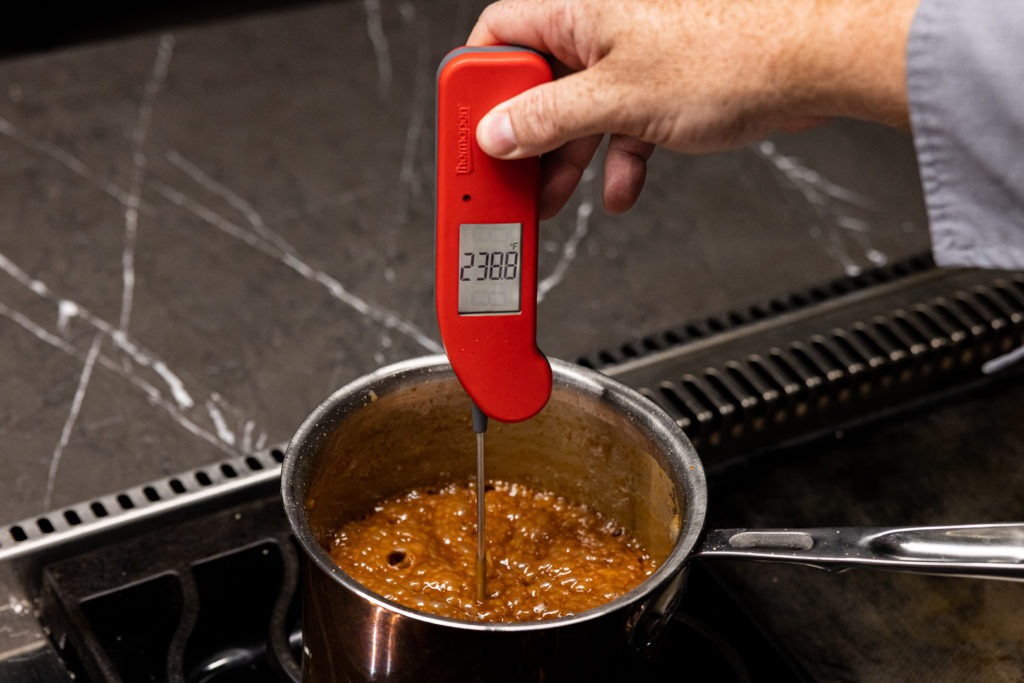
Which Thermometer? We suggest using a Thermapen to check the temperature of your sugar. A leave-in probe thermometer such as the ChefAlarm® may seem like the obvious choice so you can constantly monitor the temperature; but we find that the presence of the probe actually creates an area where sugar can attach and crystallize (think back to growing rock candy sugar crystals when you were in elementary school), just like the presence of any dirt or debris would. An infrared thermometer doesn’t disturb the sugar at all; but since it only measures surface temperature, it isn’t quite the right choice either. A Thermapen ONE will measure the internal temperature of the sugar, and its response time is so fast that you’ll be able to check the temperature in an instant—perfect as the sugar’s temperature increases quickly. Test the temperature periodically so you can be sure to hit your target temperature every time.
Tips for great caramel apples
Prepare your apples first. Yu can use any apples you like for caramel apples. I personally like Granny Smiths because their tartness offsets some of the sweet caramel, and it seems better balanced. But not matter which breed of apple you prefer, the best caramel apples have plenty of caramel, which can be hard to accomplish with slippery, shiny apple skins. To get the most caramel adhesion, we have two tips:
- Chill the apples overnight: Dipping cold apples will help the caramel set up immediately, rather than sliding off the apple.
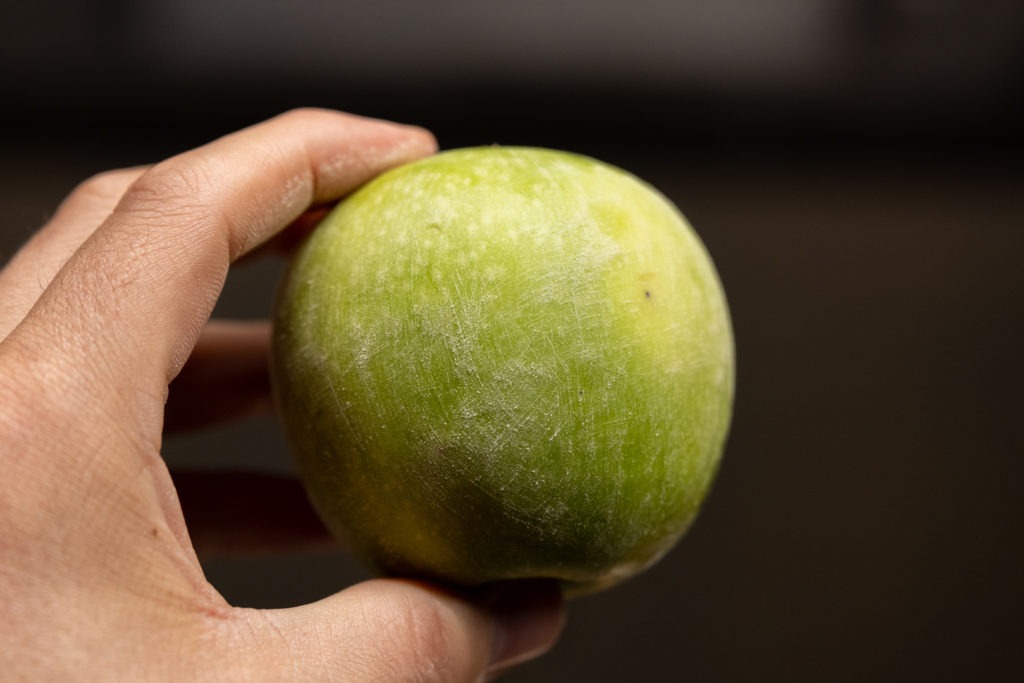
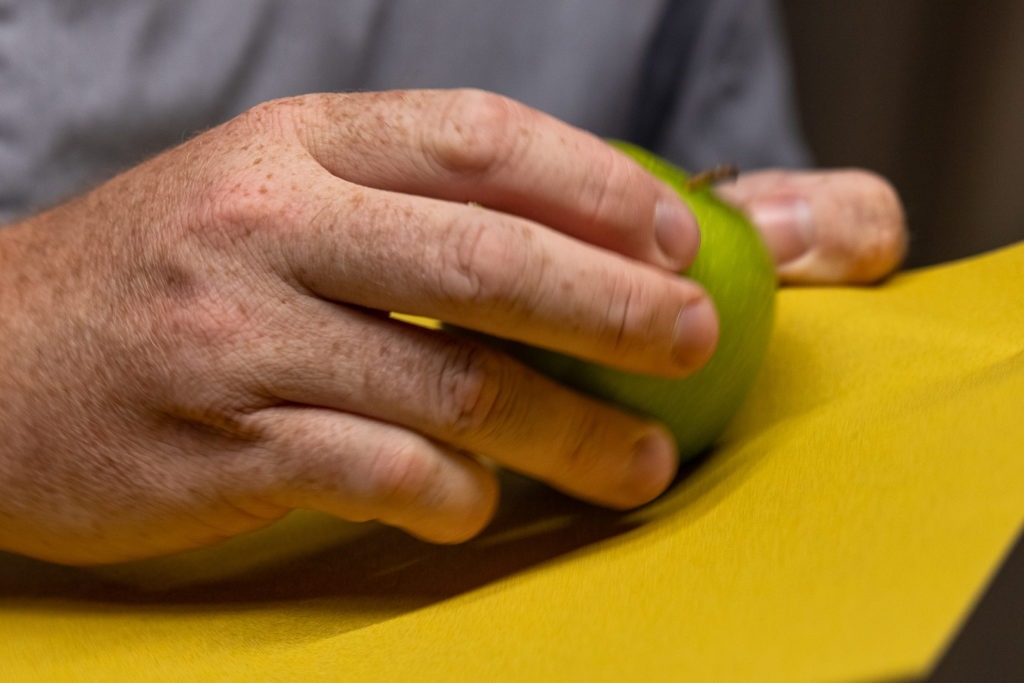
- Sand the apples: Yep, you read that right. You’re going to use some fine-grit sandpaper from the hardware store. We found this Caramel Apple Tip from thekitchn.com. Just like preparing a wooden surface for painting, the sanding will create a bit of a rough surface on the apple skin for the caramel to attach to.
- Insert Sticks: Use candy sticks, popsicle sticks, or twigs, and insert them directly through the center of your apple keeping it at a 90º angle from the sheet pan. Be sure to dab away any juice that may drip out when you insert the sticks. The presence of moisture will keep the caramel from adhering to the apple.
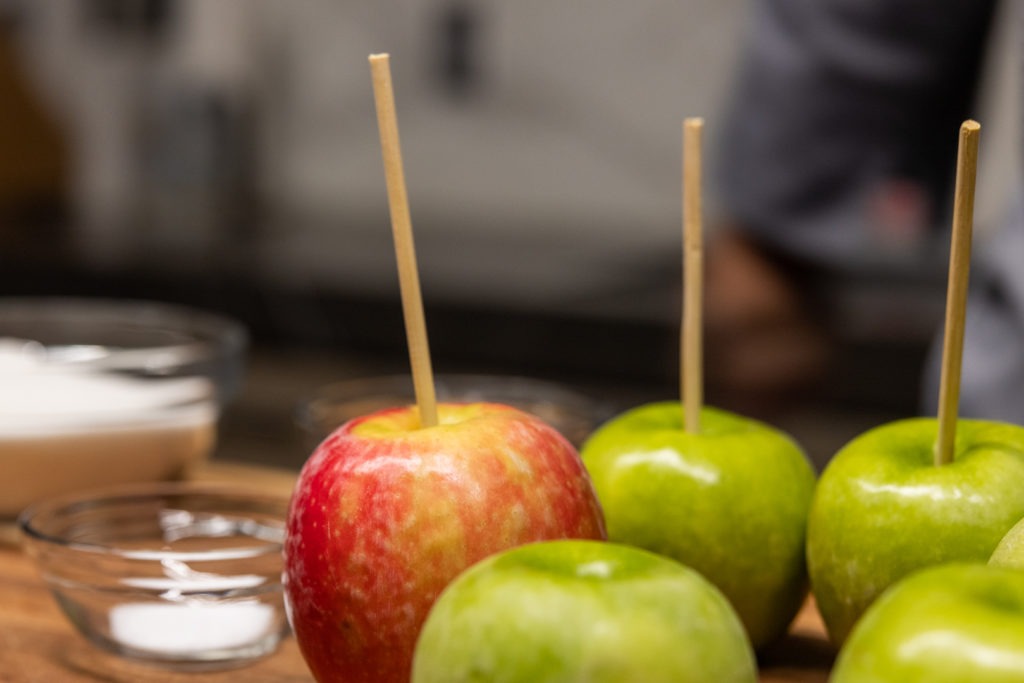
Making caramel for apple-dipping is not hard, and is well worth the little effort. Just make sure you keep an eye on the caramel temps and you treat the sugar the right way. You’ll end up with amazing caramel that you’ll love. You can make the caramel softer or harder by subtracting or adding a few degrees to the finish temp, as you see fit, but we liked this doneness. Give this a try, and you’ll be singing the praises of Autumn in no time. Grab some apples and your Thermapen ONE, and start dipping!
Print
Caramel Apple Tips: Best Candy Thermometer and Sugar Temps
Description
Caramel apples, adapted from a recipe at BrownEyedBaker.com
Ingredients
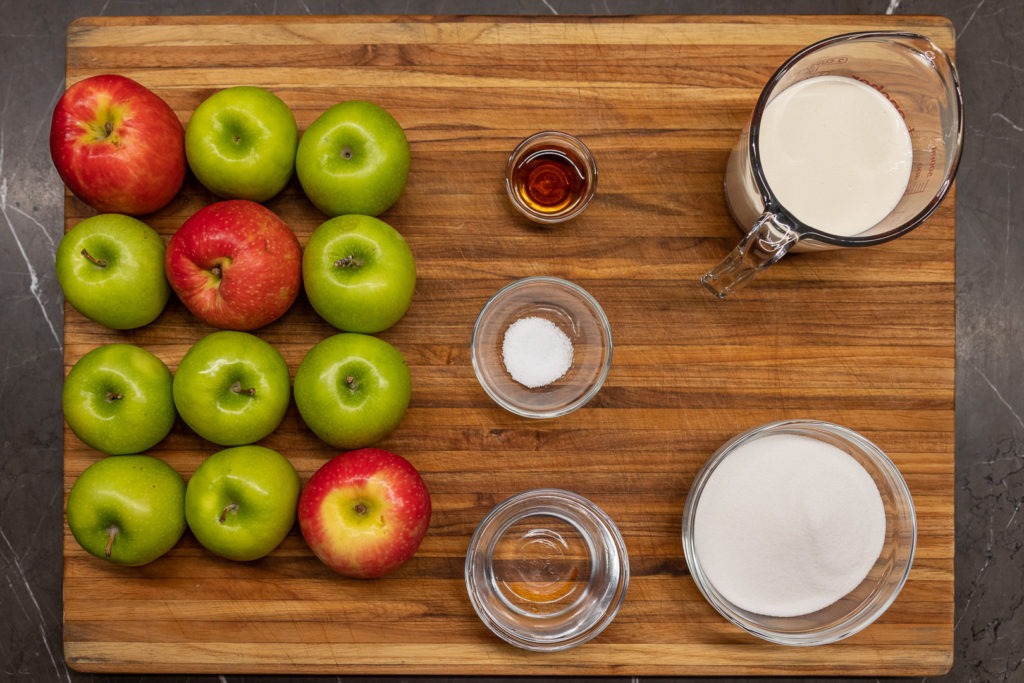
- 8–10 small to medium Granny Smith apples, washed, dried, and chilled
- Lollipop sticks or disposable chopsticks, cut to length
- Clean sandpaper, 220-grit
Instructions
- Sand the apples until the surface is roughed and somewhat buff rather than shiny.
- Insert the sticks into the tops of the apples so that they stick straight up out the top of the apple. Put them back in the refrigerator to keep cold until it’s time to dip them.
- Combine the sugar, salt, and water in a saucepan. Heat the mixture in the pan over medium-high heat, stirring constantly until the sugar dissolves, then stop stirring.
- Allow the sugar to come to a boil, brushing any sugar crystals on the edge of the pan away with a wet brush.
- Allow the sugar syrup to cook until it turns a golden, aromatic brown. How strong the “caramel” flavor will be developed will be determined by how dark you let the caramel cook. If it smells tasty to you, you’re there.
- Remove from heat and add the cream carefully and slowly. It will bubble fiercely, so be careful. Stir until everything is dissolved.
- Reduce the heat to medium-low and bring the caramel back to a boil. Start temping it with your Thermapen ONE.
- Once the caramel reaches 246°F (119°C) (subtract 1°F [0.56°C] for every 500 ft elevation above sea level), remove it from heat and stir in the vanilla.
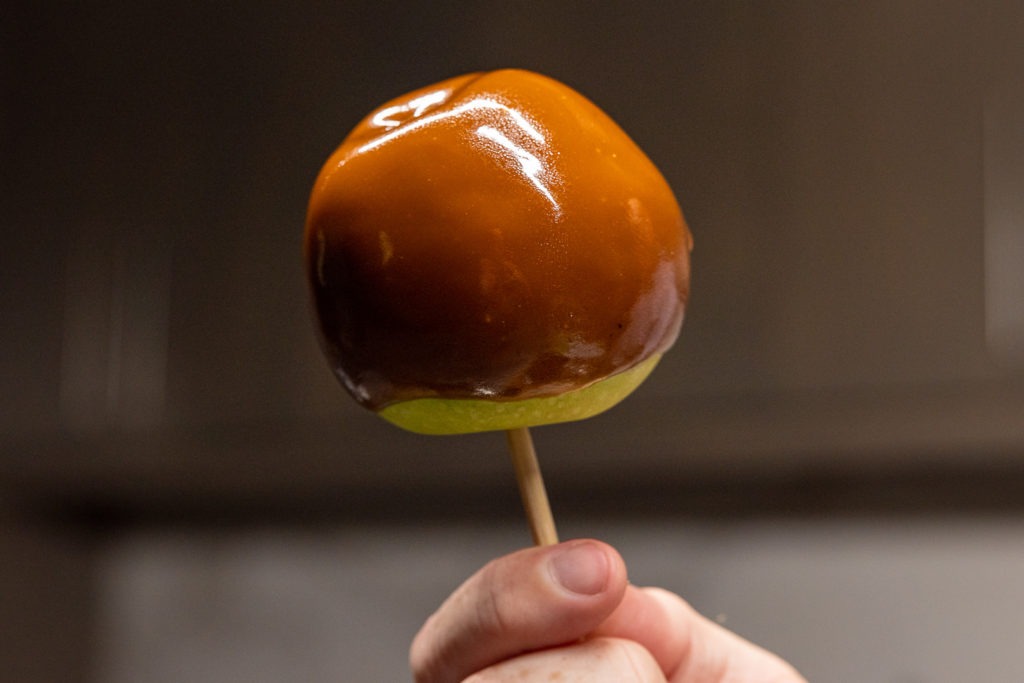
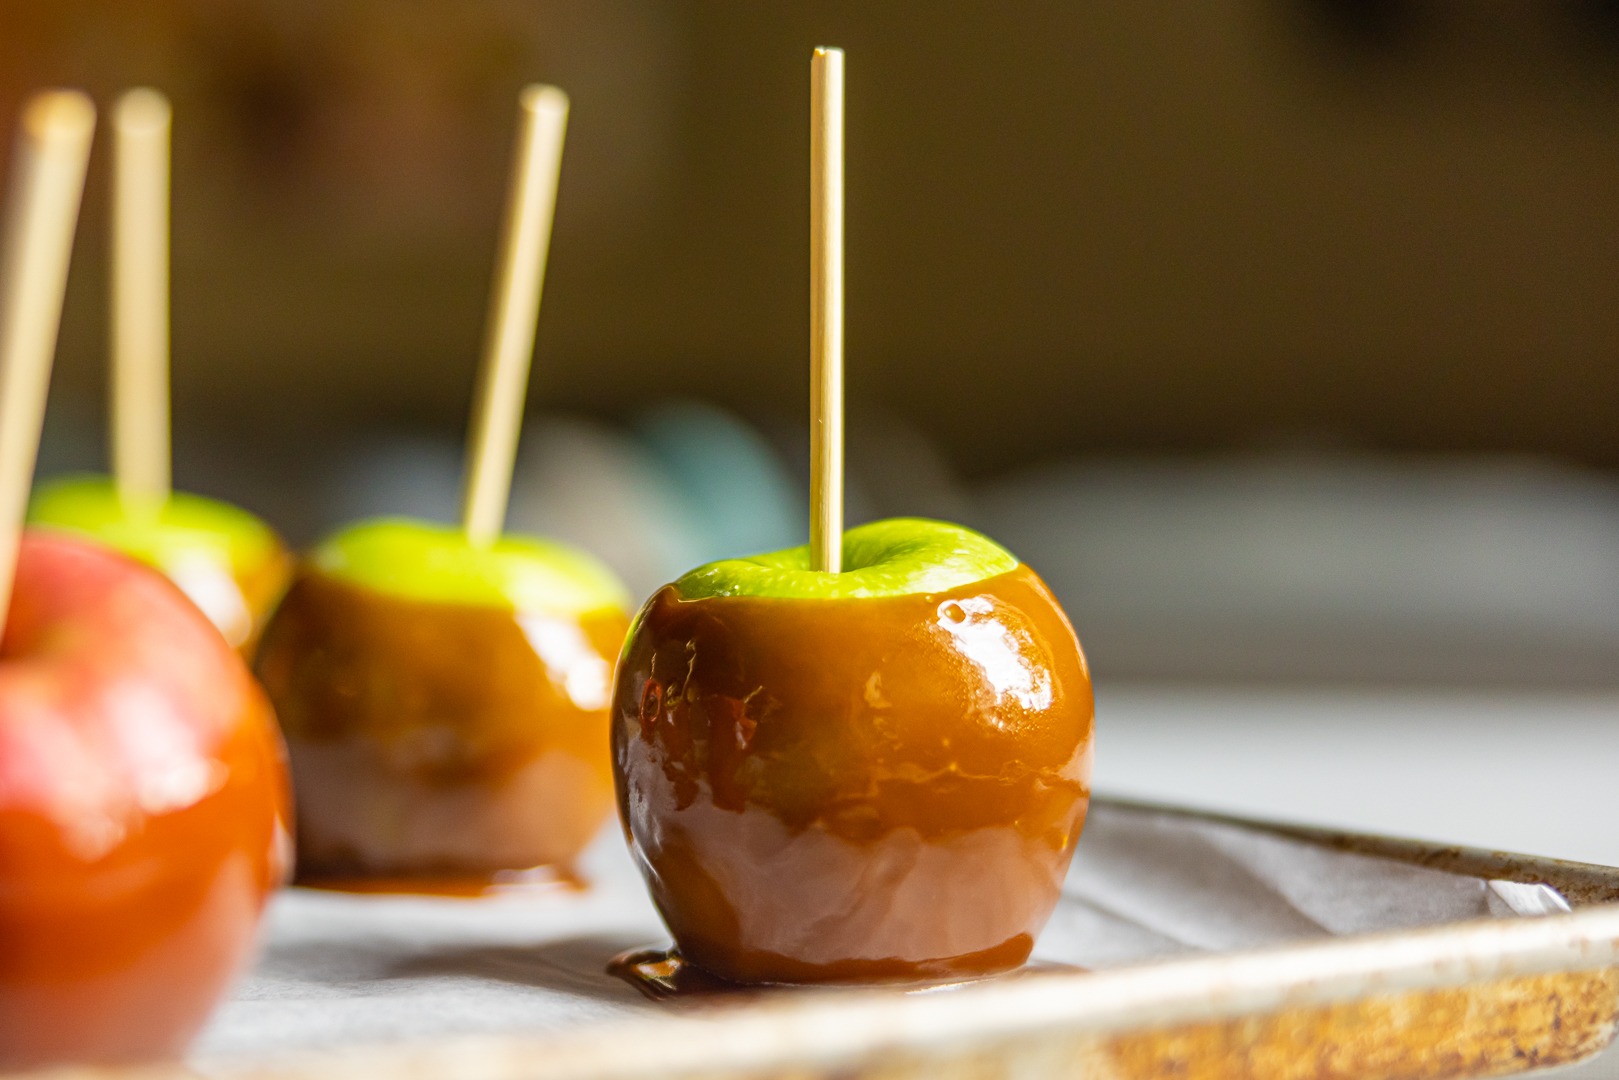
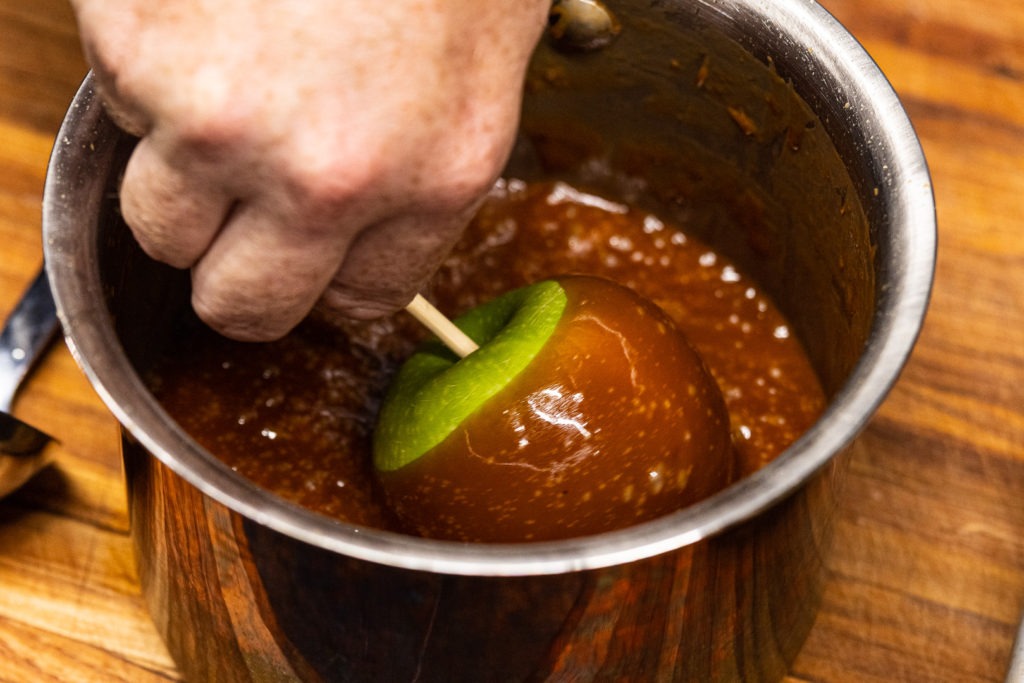
- Dip the apples into the caramel one at a time, setting them on a parchment-lined baking sheet as you do. If you want to roll them in other toppings, this is the time!
- Allow the caramel to set for about 45 minutes.
- Serve them to an adoring crowd, or keep them in the refrigerator for up to a week.
Shop now for products used in this post:



Where is the recipe???
Cathy,
The link is under the “Kitchen Project” heading. I’m sorry it was difficult to find. Here is the recipe: Classic Caramel Apples.
Thanks!
Kim
But, you did not include a recipe for the caramel !!!!!
Kathy,
The recipe is included in right under the “Kitchen Project” heading. I’m sorry it was difficult to find. Here is the recipe: Classic Caramel Apples.
Thanks!
Kim
I used my Thermapen ONE last weekend to make a caramel sauce for a caramel custard (creme caramel, or flan).
I found that the caramel stuck to the probe, so I scrubbed the probe after every temperature check. I was concerned that the stuck-on residue would result in a faulty reading the next check.
Was this necessary, or would the residue not have affected the temperature check? Do you have any suggestions on this?
Thank you.
Ken,
Good instinct. Stuck-on caramel won’t affect the accuracy of your reading, but will affect the speed of the reading—you have to heat all the stick-on caramel to the current pot temp before the probe can feel the heat. I usually keep a cup of hot water nearby to stick the probe in between readings and/or a cloth soaked in hot water that can get the caramel off quickly and fairly easily. It isn’t important that the whole shaft of the probe be completely clean for a fast reading…just the cone tip, as that’s where the whole sensor is.
Thank you so much for the useful tip! I’ll be sure to use your method next time.
I really appreciate the information and the quick response.