Homemade Caramels
Caramels are noncrystalline candies made from a mixture of caramelized sugars, butter and cream. Their chewiness comes from lower cooking temperatures and a high moisture content. Harold McGee says, “Caramels are at their best when they are chewy rather than hard, and wonderfully mouthwatering…” “Because,” he says, “chewing liberates droplets of butterfat from the sugar mass.” Stop…you had us at butterfat!
The key to great homemade caramel is controlling temperature at three critical points in the process. First, cooking your sugar to just the right temperature; second, allowing the finished product to cool properly, and finally, storing the caramel so sugars will not crystalize before you’ve had a chance to eat them.
_________________________________________________________
Here are a few tips from America’s Test Kitchen to create the perfect batch of caramels:
Start by combining the seeds from one vanilla bean, butter, salt and heavy cream in a sauce pan. This mixture not only adds richness and flavor to the finished product, it also keeps the caramel soft and chewy. Bring to a boil, cover and remove from the heat. Allow the mixture to meld for 10 minutes. The longer it sits, the more vanilla flavor will infuse with the cream and butter.
Next, turn your attention to the sugar. In a high-sided sauce pan combine corn syrup, water, and sugar and cook over medium-high heat. One of the dangers of making caramel is crystallization. To reduce this risk, do not stir the mixture. You don’t want any sugar granules sticking to the side of the pot.
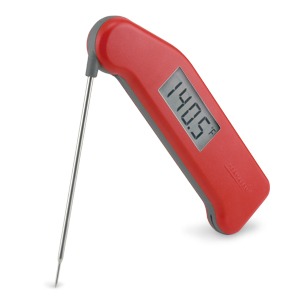
Allow the sugar to cook until it develops a faint golden color and registers 300°F. The Super-Fast® Thermapen® is ideal for monitoring temperatures when making candy because its temperature readings are fast and very accurate (±.7°F).
Once at 300°F, lower the heat to medium-low and gently swirl the pan periodically as you continue to cook the mixture. Cooking the sugar slower allows you to have more control as the temperatures creep higher, and reduces the chance that you’ll burn the mixture. When the mixture has reached 350°F it’s done.
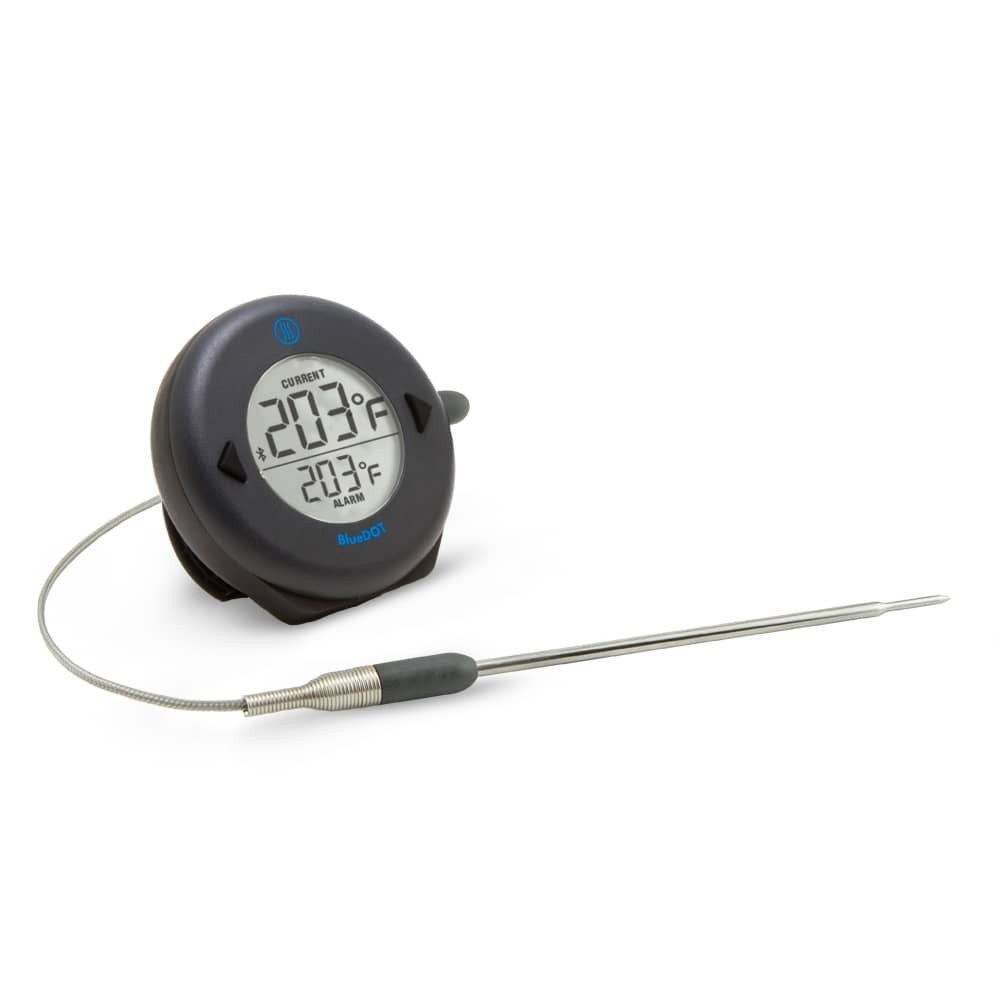
Another option for monitoring the temperature of your candy is with an alarm thermometer, like DOT. Attach DOT’s Pro-Series probe to the side of the pot with a pot clip and set the alarm to sound when your caramel has reached 350°F.
Once at 350°F, remove the caramelized sugar from the heat and stir in the cream mixture. Return the pan to the heat (medium-low) and cook the caramel until it reaches *248°F – what candy experts call “Firm Ball” stage. During this step in the process it’s important that you keep stirring the caramel so it doesn’t burn.
Pour the finished mixture to a pan lined with parchment paper that’s been coated with nonstick spray. Smooth out the caramel in the pan and let sit at room temperature (67 to 77°F) for 1 hour. After an hour, transfer the caramel to the fridge (set to below 40°F) and allow to cool for another hour.
Cut the caramel into bite size pieces and wrap them in wax paper to preserve freshness. Sarah Phillips, of Crafty Baking recommends storing them in an airtight container in a cool, dry place. The crystallization is caused as a result of the sugar crystals in the caramel becoming damp from humidity from the refrigerator or being stored at room temp and not in an air tight container.
Ingredient List:
1 cup Heavy Cream
5 Tbsp Unsalted Butter
1 Vanilla Bean
Tsp Salt
1/4 cup Light Corn Syrup
1/4 cup Water
1 1/3 cup Sugar
*248°F is only applicable at sea level. If you’re at a higher elevation, you need to reduce temperature by 1°F for every 500 ft above sea level. For more candy temperatures, see our candy temperature chart, here.
Resources:
Harold McGee – On Food and Cooking: The Science and Lore of the Kitchen
America’s Test Kitchen – DIY Salted Caramels
Sarah Phillips – Crafty Baking
Shop now for products used in this post:


Great stuff! Though there was one error in your write up. In the America’s Test Kitchen video, she says to line the pan with parchment paper, not wax paper. I imagine the molten hot caramel would melt the wax right off the paper and rather taint your hard work.
You’re absolutely right! Thanks for catching that. We’ve made the edits.
It seems like when we use our Thermopen on candy it takes too long to read the temp? It is very quick when we use it for meats and breads etc. but candy seems to take too long to check. Any thoughts or are we doing something wrong?
Consider that when temping sugar, the temp is changing rapidly. Your Thermapen is never going to settle on a temperature to let you know it’s ready. It’s going to reflect the constant temperature changes taking place. When making our caramel, the Thermapen got to temp in less than 3 seconds and then slowly rose degree by degree as the sugar continued to cook.
I use the “Old Fashion” recipe from the Hershey Cocoa can for making fudge. Making fudge from this recipe has always been hit or miss for me until I bought my Super Fast ThermaPen. The most critical element in making old fashioned fudge is cooking to the exact temperature called for in the recipe. Every batch of fudge I have made when using my Super Fast Thermapen has come out creamy perfect every single time!
I’m wondering how the finished caramels in this recipe might differ from those that have all the ingredients cooked together over a low heat until 248F? Is there a deeper caramel flavor? Longer shelf life? The recipe I use is from King Arthur Flour, but it is almost identical to the one published by Land O’Lakes butter. Both of those combine all the ingredients and then cook until 248F. Only a few recipes call for the two-step process outlined here. Thanks for any advice you can offer.
Hi Jan – This recipe allows the cream, butter and vanilla to meld together producing rich, creamy vanilla flavors. We’re not sure how it measures up to cooking it all together, but we’re willing to give it a try. Whatever nets us more caramel is worth it! Thanks
I’m wondering how the finished caramels in this recipe might differ from those that have all the ingredients cooked together over a low heat until 248F? Is there a deeper caramel flavor? Longer shelf life? The recipe I use is from King Arthur Flour, but it is almost identical to the one published by Land O’Lakes butter. Both of those combine all the ingredients and then cook until 248F. Only a few recipes call for the two-step process outlined here. Thanks for any advice you can offer.
Fourth time making these, first two with the Themapen, then had to order a Chef Alarm which made watching the temps much easier on the last two batches. Each time they have turned out fantastic, resulting in rave reviews.
I have been using a cookie sheet which makes thin caramels which I then roll like a Tootsie Roll. I suppose if you wanted cubes you’d use a 9×9 brownie pan? I’ll need to experiment with pan size on my next batch.
On the last two batches, one turned out light in color, the next one darker. I’m not quite sure what I did differently between them, if anything. Any ideas on what influences color?
For variation, sprinkle with sea salt. I also rolled some of them in crushed walnuts.
Hi,
Is this recipe available in grams or ounces? Since I have been following recipes that give measurements by weight, I have noticed they turn out better because of the precision.
Thank you!
We don’t have it in weights, sadly.