Temperature Tips for Fluffy Rolls
There really isn’t anything better than the smell of homemade bread fresh from the oven wafting in the air. Whether for a family feast, like Thanksgiving, or even an intimate family Sunday dinner, or a community picnic, warm, fresh rolls are a most welcome treat. With a little preparation, you can enjoy these rolls whenever you want!
In The Science of Good Cooking from Cook’s Illustrated, they delve into the topic of time and temperature manipulation when making bread. Time builds complex flavor and texture in bread. After mixing and kneading the dough, some chemistry begins.
The yeast feeds off of the sugar in the dough and then gives off alcohol and carbon dioxide, or, fermentation occurs. Fermentation does more in the dough than just producing CO2 to make it rise. Aromatic molecules are created, as are volatile acids.
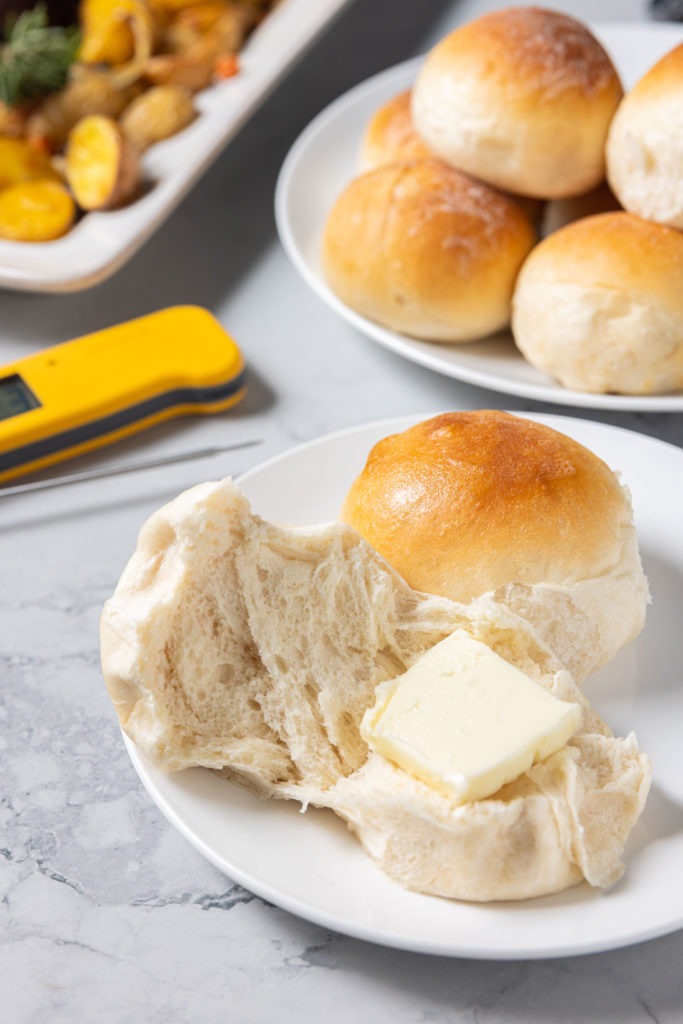
Important Tips for Fluffy Dinner Rolls
For a soft and tender dinner roll, be on the lookout for a recipe that includes butter and sugar. Fats and sugars break down the tight gluten in the dough giving the final product a soft texture.
Use your favorite soft rolls recipe, your grandmother’s, or try a new one—it’s the method of temperature control that matters most.
➤ Thermal Tip: You will need to monitor temperatures from beginning to end when making bread. An instant-read Thermapen® is the perfect tool for the job. Keep it handy!
Desired Dough Temperature
Yeast in the dough ferments best in the temperature range of 70-77ºF (21-25ºC). To achieve this temperature, you need to consider a couple of different factors affecting the dough before it’s even made. The final temperature of the dough is a product of:
- Dry ingredient temperatures: Most of your dry ingredients are kept at room temperature
- Friction Factor from Mixing: Friction during mixing will increase the temperature of the dough. We can’t forget this component!
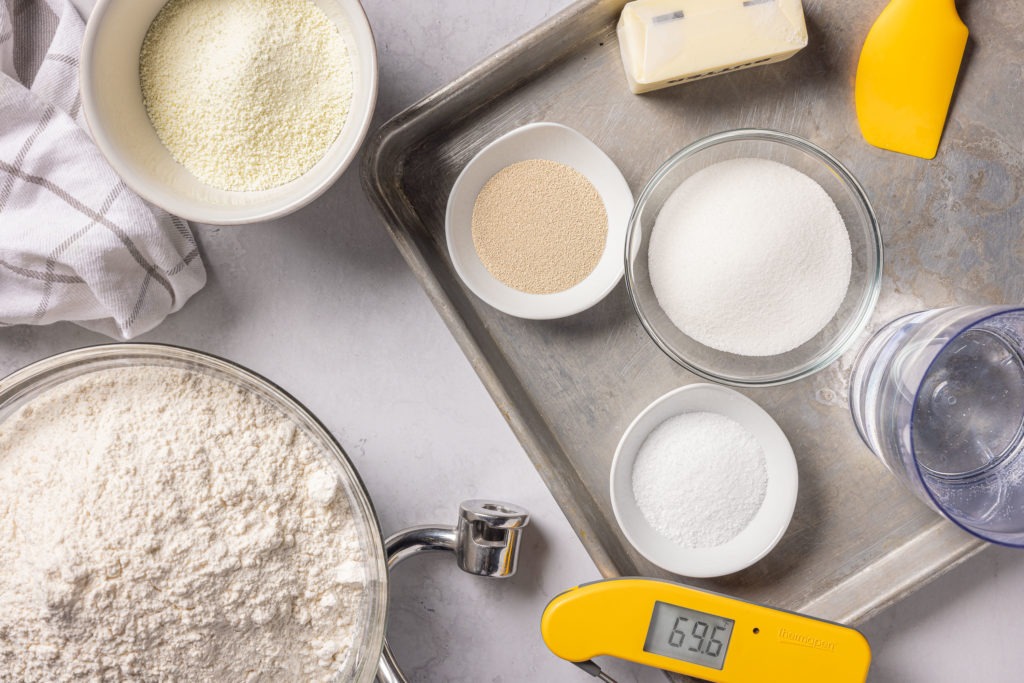
- Water Temperature: Water temperature is the most easily manipulated component, and it depends on the temperature of the dry ingredients, and how much the temperature will rise during mixing. With the recipe we used, the best water temp was 60-65ºF (16-18ºC). Don’t worry about your yeast dissolving. Instant yeast doesn’t need warm temperatures around 100-105ºF (38-41ºC) to dissolve like active dry yeast does. Instant yeast dissolves at cold temperatures very readily.
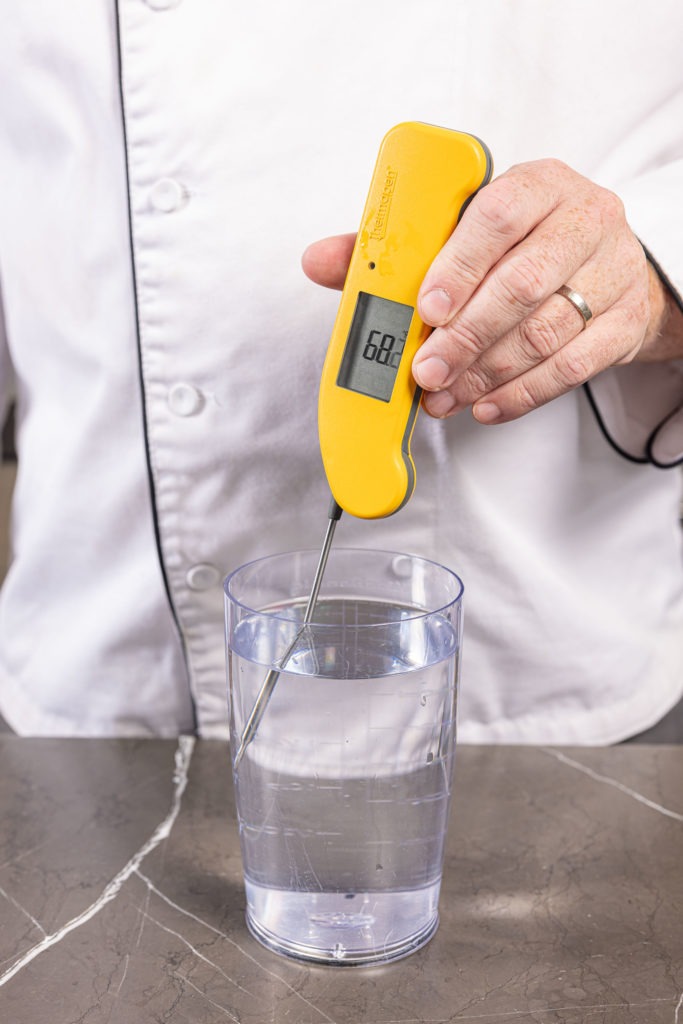
Desired Dough Temperature Formula
Believe it or not, there is a mathematical formula to figure out the best water temperature. You don’t need to get this scientific when making bread at home, but you can if you want to! To learn more about this topic, check out this great article on Dough Temperatures from King Arthur Flour.
3 x Dough Temp – (Room Temp + Dry Ingredient Temp + Friction Factor) = Water Temp
Making Rolls: Dough to Table
Temperature plays an important role from beginning to end.
1. Mix: Mix the dough until the gluten is developed enough to hold in a tight ball. You may need to knead the dough after mixing for the gluten to be elastic enough to hold together in a ball. After mixing, check the temperature of your dough with a Thermapen. Remember the 70-77ºF (21-25ºC) temperature window for optimal fermentation.
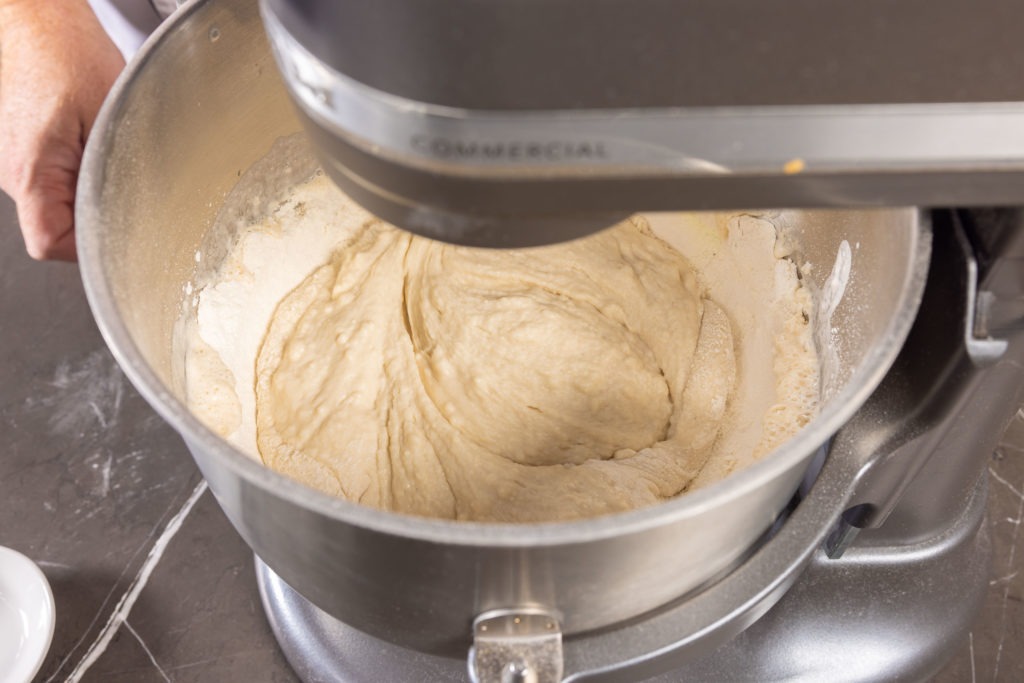
2. Ferment: Transfer the dough to a greased bowl and cover with plastic wrap until doubled in volume. The process may take up to an hour depending on your ambient temperature. Throughout fermentation periodically spot check the temperature of your dough to be sure it’s in the correct temperature range. Move the dough to a warmer or cooler area if needed. The important factor here is controlling the dough temperature and achieving the appropriate volume—the length of time may vary, so use a timer as a reminder to check the dough, rather than a guide for readiness.
3. Scaling and Rounding: After the first fermentation, divide the dough into 2 oz. portions, round into rolls, and arrange on a pan for the final proof before baking.
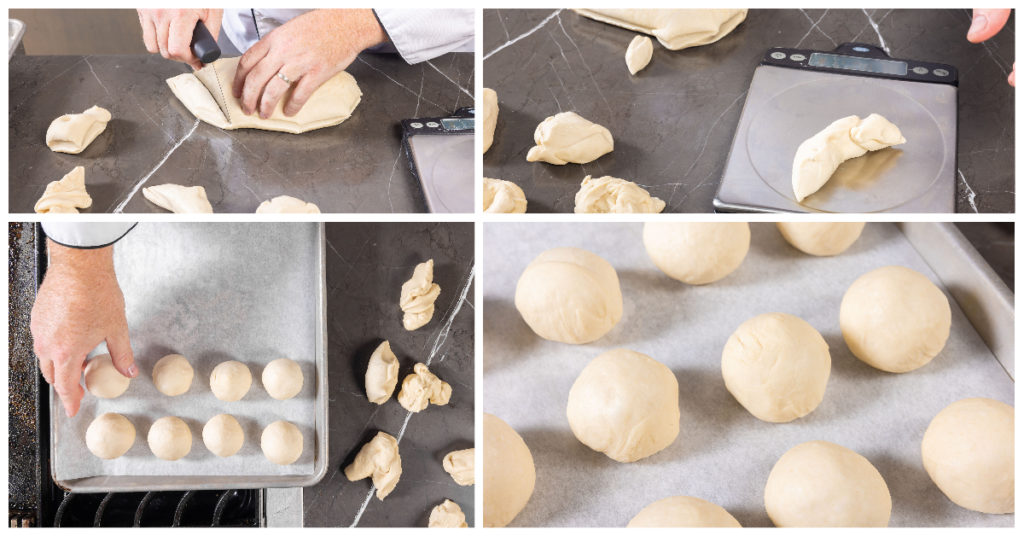
Same-Day Baking
If you’re going to bake the rolls the day you make them, spray the rounded rolls lightly with cooking spray and cover them with plastic wrap. Proof (let rise) the rolls until they have increased in volume and are ready to bake. This will take 30-60 minutes depending on the ambient temperature in your kitchen. Proceed with the steps below under, How do I Know When They’re Ready to Bake?
But, you can plan ahead to make your life easier on the day you actually bake them…
Next-day (or later) Baking: Long Fermentation Manipulation with Time and Temperature
-Cool (or retarded) fermentation is all about temperature. When fermented at a low refrigerated temperature, the yeast produces less carbon dioxide, and more flavorful sugars, acids, and alcohols that contribute to flavor building. The longer the bread ferments, the more flavor will have a chance to develop.
-The acids and alcohols that are produced also change the texture of the bread. It becomes more moist and chewy rather than soft. Again, more character to the bread.
➤ Refrigerated Method (Prepare dough the day before): Follow your roll recipe up to the point of shaping. So mix, knead, and ferment at room temperature first, then divide the dough into 2 oz. portions, round into rolls, arrange on a parchment-lined pan, wrap well with plastic wrap, and refrigerate overnight. Pull the rolls from the refrigerator the next morning and begin the final fermentation (proof) at room temperature (70-77ºF [21-25ºC]). It will take about an hour for the refrigerated rolls to equilibrate to the ambient temperature.
➤ Freezer Method (Prepare dough up to 2 weeks before): Shape the rolls, cover them tightly after they’re arranged on a pan, and keep frozen for up to 2 weeks. After the rolls are frozen solid, stash them in a zipper-lock bag or other air tight container. When you’re ready, pull out however many you need, arrange on a parchment-lined sheet pan or other greased pan, cover with plastic wrap, and refrigerate for 12-24 hours (overnight), then proof at room temperature as with the refrigerated rolls.
How do I Know When Rolls are Ready to Bake?
Testing Proofing Doneness: Press the dough slightly. If the indent springs back immediately it isn’t done proofing yet. If you bake the rolls at this stage you’ll end up with hockey pucks. If the indent slowly fills back in it’s ready to go. If the indent causes the dough to fall, it’s over-proofed. Over-proofed rolls rise quickly, then fall and flatten during baking. The length of time that the proofing process takes depends on the ambient temperature. Bread can proof at a higher temperature of around 80ºF (27ºC), and in general, proofing doesn’t take as long as the first fermentation.
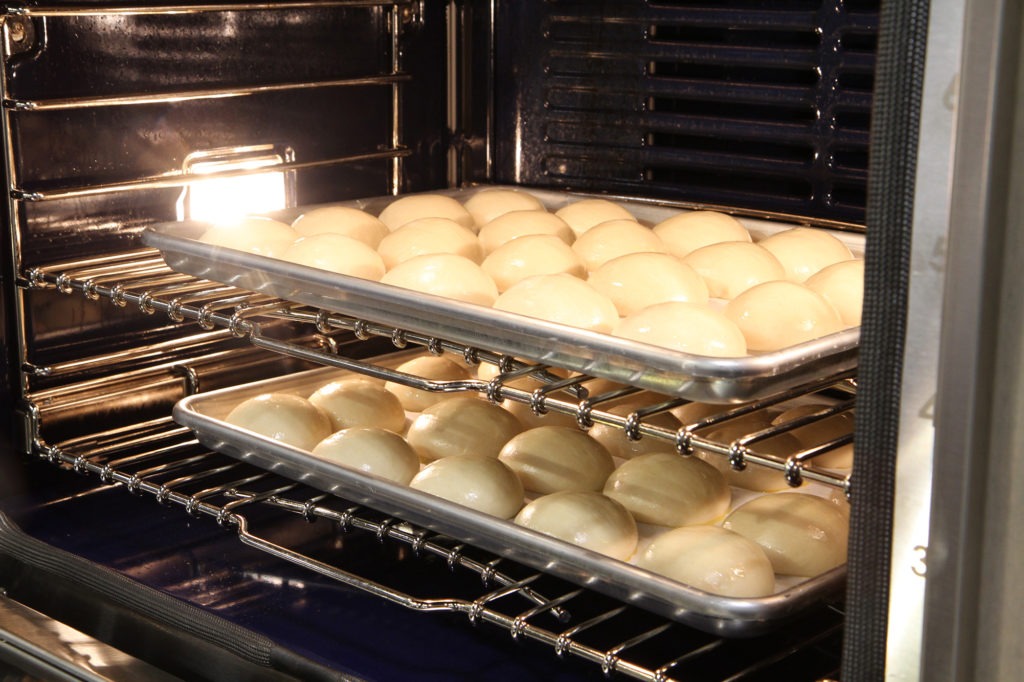
Baking the Rolls
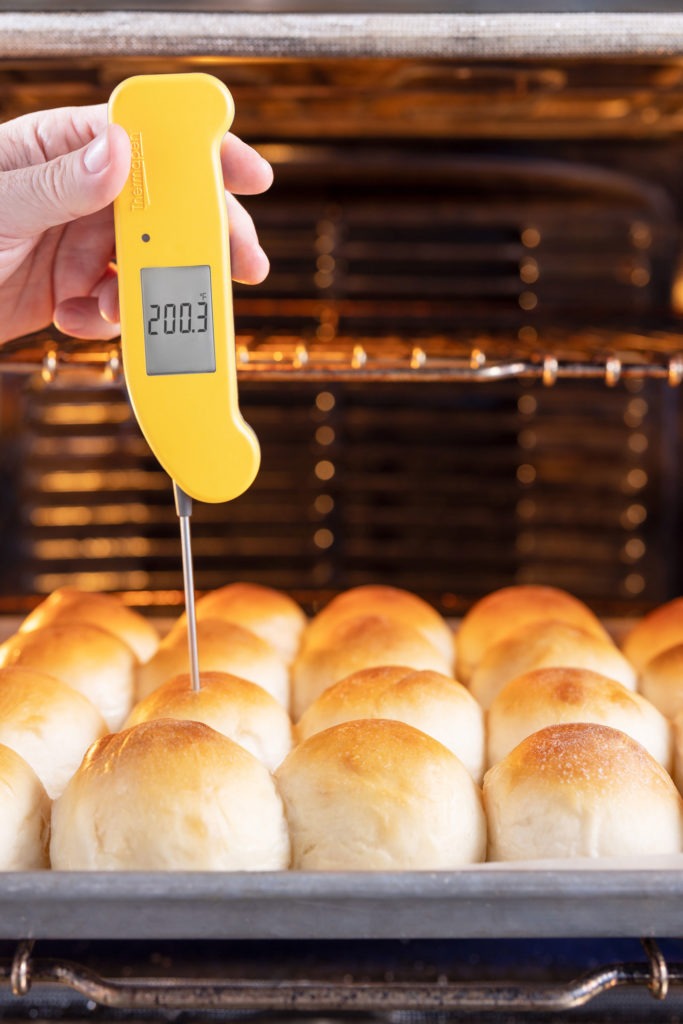
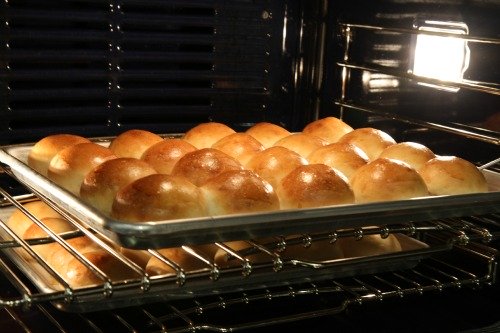
Once you’ve determined the rolls are ready to bake, pop them into your preheated oven. Ours were baked at 365ºF (185ºC), and it took them 20 minutes to fully bake. They’ll be about 200-205ºF (93-96ºC) when they’re done. Once the tops are golden brown and it’s starting to smell like fresh bread in your house, check the internal temperature of one of the rolls. If you’re at 190ºF (88ºC), put them back in for about 2-5 minutes and check the temperature again. Remove once they’re done, and try to let them cool before diving in!
An Experiment on Roll Texture
We experimented with rolls made:
- Same-day
- Refrigerated overnight
- Frozen then refrigerated
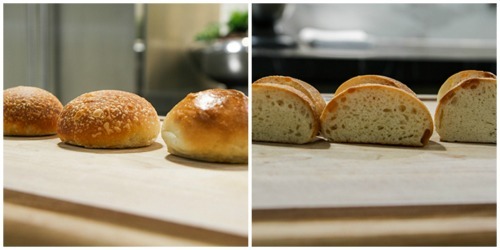
See our exterior and interior comparison images below. You’ll notice the texture of the crumb is different in each roll, and the color is even slightly different! The crumb is whitest with the same-day roll, and more of a creamy color the longer the dough was allowed to ferment at a cold temperature. There are tiny little bubbles on the top crust of the cold-fermented rolls. When fermentation occurs at lower temperatures, CO2 is produced in smaller amounts in the form of tiny bubbles that move throughout the dough.
The Results
➤ Slow Fermentation (Refrigerated and Frozen)
The roll made with the frozen fermentation is pictured on the far left, and the refrigerator-fermented roll is in the middle of both images above.
These rolls were more moist, chewy, and flavorful the longer they were allowed to slowly ferment at a cold temperature. The outside crust was a bit chewier than with the softer same-day rolls. This method also yields a smaller increase in volume because of the smaller CO2 bubbles produced during fermentation. Because of their more complex flavor and texture, you may not want butter on these rolls at all!
➤ Quick Fermentation (Same-day Room Temperature)
Pictured on the far right in both images above
The same-day rolls were soft and tender with a fine crumb and a bit drier than the slowly fermented ones, but still good! The crust formed on the outside was soft. This is a traditional dinner roll you would want to spread butter on when it’s still warm.
Controlling water and dough temperatures affect the length of time it will take to make your bread, and how it will taste in the end. So grab your Thermapen and mind the water and dough temps for the best results.
Print
Fluffy Rolls Recipe
- Yield: about 36 2-oz rolls 1x
Description
Light, fluffy dinner rolls, perfect for any occasion.
Ingredients
- 2 lb 10 oz Bread flour (or AP, if you don’t have bread flour)
- 24 oz (3 cups) water, 60-65°F (16–18°C)
- 1/2 oz (by weight) instant yeast
- 4 tsp salt
- 4 oz sugar
- 2 oz dried milk
- 4 oz softened butter
Instructions
- Combine all dry ingredients, including instant yeast, in the bowl of an electric stand mixer fitted with the dough hook attachment.
- While on low speed, pour the water into the dry mixture.
- Continue mixing on low speed for 4 minutes.
- Stop the mixer and add the softened butter. Mix on low speed to combine. Dough will loosen and become sticky.
- Mix on medium speed for about 4 minutes, or until the dough tightens up again and become elastic.
- Transfer to bowl sprayed with cooking spray and ferment, covered, at room temperature for about 45 minutes, or until doubled bulk.
- After fermenting, turn dough out onto a work surface and scale into 2 oz. portions (about 36 portions).
- Round rolls and arrange on parchment-lined sheet pan. Lightly spray tops of rolls with cooking spray and cover with plastic wrap.
- Proof rolls for about 30-45 minutes at room temperature to reach full proof.
- For increased browning, gently brush with milk or egg wash (optional) before placing in oven.
- Bake in a 365°F (185°C) oven for about 25 minutes to an internal temperature of 200–205°F (93–96°C)
- Cool rolls and serve! If not serving immediately, wrap in plastic and store in the freezer.
Product Used:


Thank you so much for this great blog to come to.😁😁 I have a question I am new at this so I appreciate your patience ….I’ve made several successful yeast roll of recipes. Not bad for a newbie, but. They were so small and they didn’t rise up very much. my yeast is brand new, I am just wondering if I need to increase the volume of each ingredient in the recipe next time or make the balls bigger before I rise and bake them or add more yeast or add.more flour so I appreciate your patience. Please let me know.
I’d try making slightly larger rolls. If that fails, check your ingredient temperatures and the temperature of the space where you’re doing thee rising.