

Homemade Pita Bread: Pillowy and Light
If you’re making your own gyros or a delicious chicken shawarma, you’re going to need some pita, but pita from the store are often … less than wonderful. So unless you have a Mediterranean bakery in your neighborhood that is slinging fresh pita, you’re going to need to make your own. No worries! Homemade pita is both fun and pretty easy to make. In this post, we’ll take you through the process, including the critical temperatures you’ll need to make pita that is pillowy, pocket-y, and just plain great.

Pita background
Pita is a yeast-leavened flatbread, usually round, from the regions of the Eastern Mediterranean, stretching further to the Middle East. It is an ancient bread, perhaps among the first, and is characterized primarily by its round shape, handy size, and interior pocket—though there are pocket-less versions. Pita are used for gyros, shawarma, souvlaki, or eating with saucy meals as a sop. They are closely related both in origin and cultural use to all the flatbreads of the Levant and Middle east, even sharing kinship with Indian naan.
Though modern pita is produced in high-efficiency factories that can pump out thousands of breads a day, the homemade version is often superior. And the homemade version is also surprisingly easy and fast to make. You can make the dough in a matter of minutes, put it on to rise whle you make the rest of your meal, and bake them off while you set the table.
Try them, and you may never buy pita ever again!
What makes pita so pillowy? How does pita get a pocket?
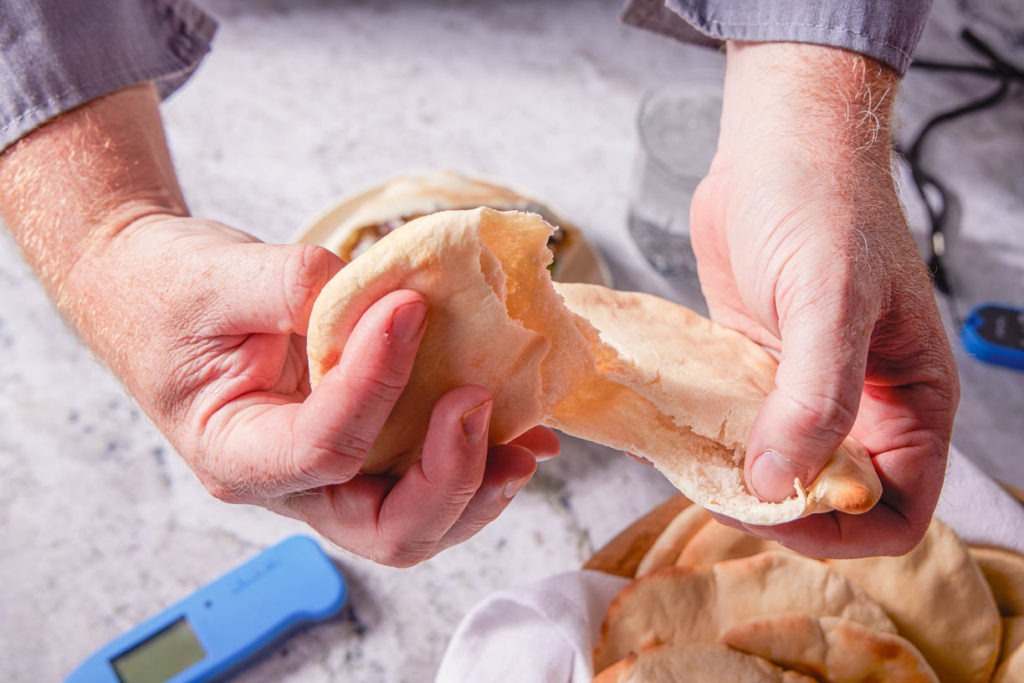
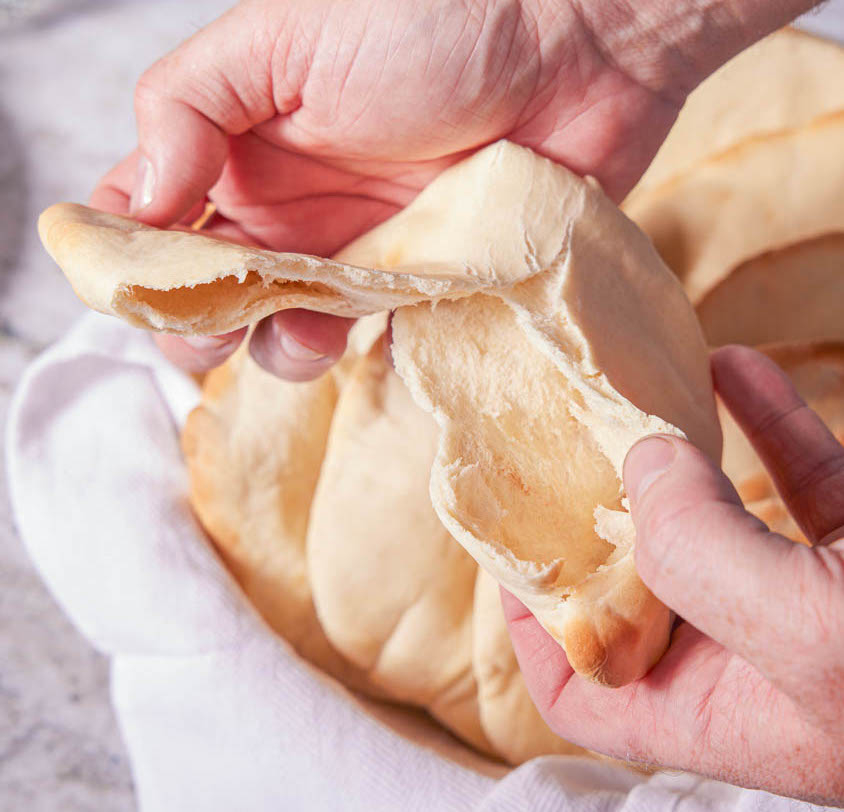
The pocket of the pita may seem like an industrial aberration—an unnatural corruption of bread, achieved solely through mechanical or chemical trickery. But in fact, the pocket was around long before any factory. It is a traditional feature of pita, not some weird wizardry. In fact, the pocket is simply a matter of geometry and temperature.
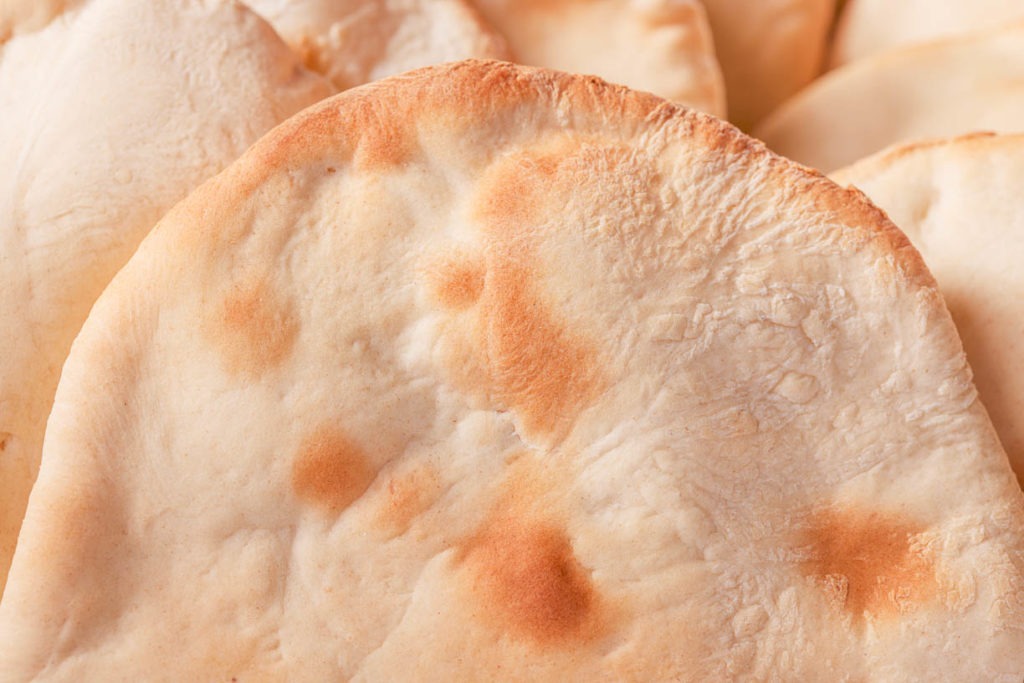
Pita is cooked at a very high temperature, 450–500°F (232–260°C), and that high temperature causes water in the dough to quickly turn to steam. In fact, it turns to steam so rapidly, that the expansion of the steam (and the carbon dioxide gas formed during the fermentation) literally rips the dough apart on the inside. The result is a pocket that opens readily to accept fillings.
Temperature and shape for perfect pita
As noted, the pocket forms because of a sudden formation and trapping of steam and expansion of carbon dioxide gas. But for each of those to have effect, we must prepare our dough properly.
Water temps for bread dough
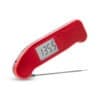
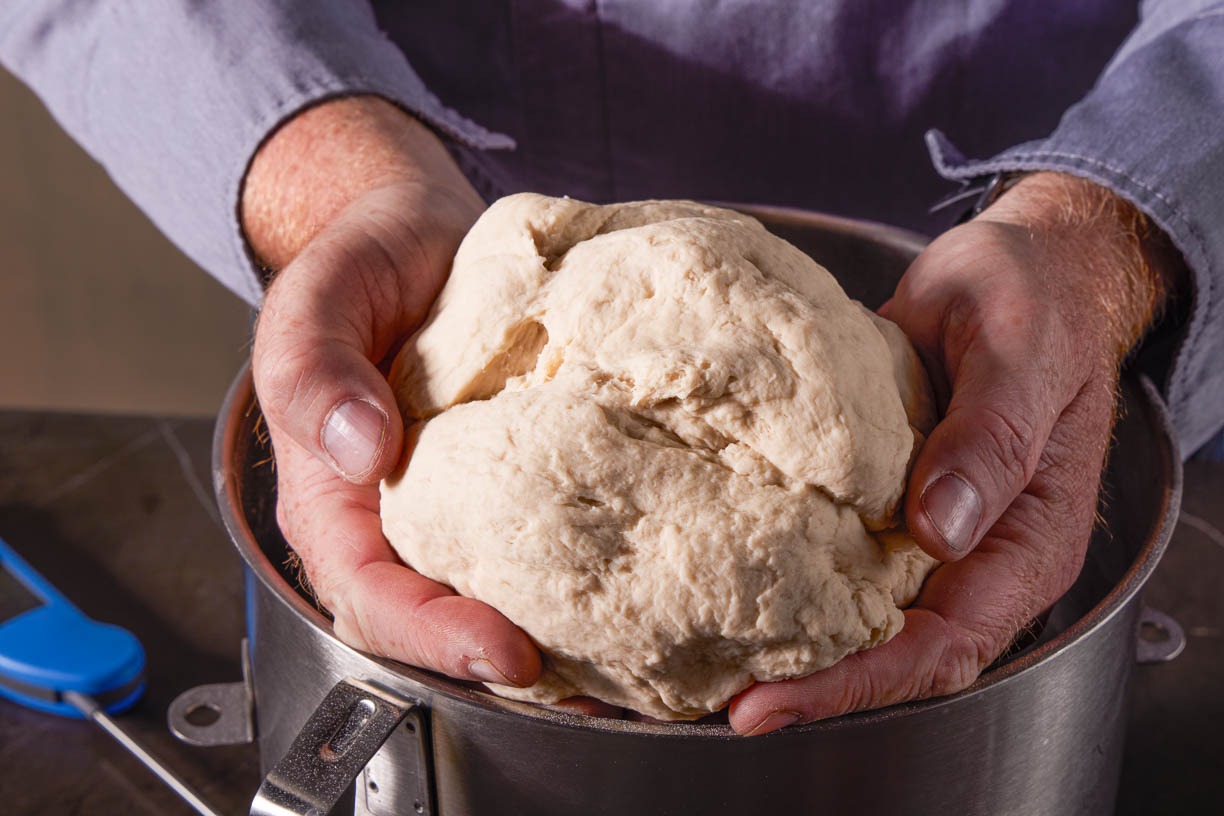
To ensure proper fermentation and rising, we need to make sure that our yeast is happy. This bread has a short rising time, so we don’t want to take extra time for the yeast to wake up—that’s why we need to get our water temp right. Mixing the flour/yeast mixture with 105–115°F (41–46°C) water will give it the best start so that the yeast can get right to work. Use your Thermapen® ONE to temp the water before mixing it with the flour. The resulting temperature should land you right around the perfect temperature for proofing, 85°F (29°C). The proofing, though brief, will create enough carbon dioxide in the bread to help it puff up, and will create that characteristic spongy texture inside the crumb of the finished product.
Shaping pita for perfect pockets
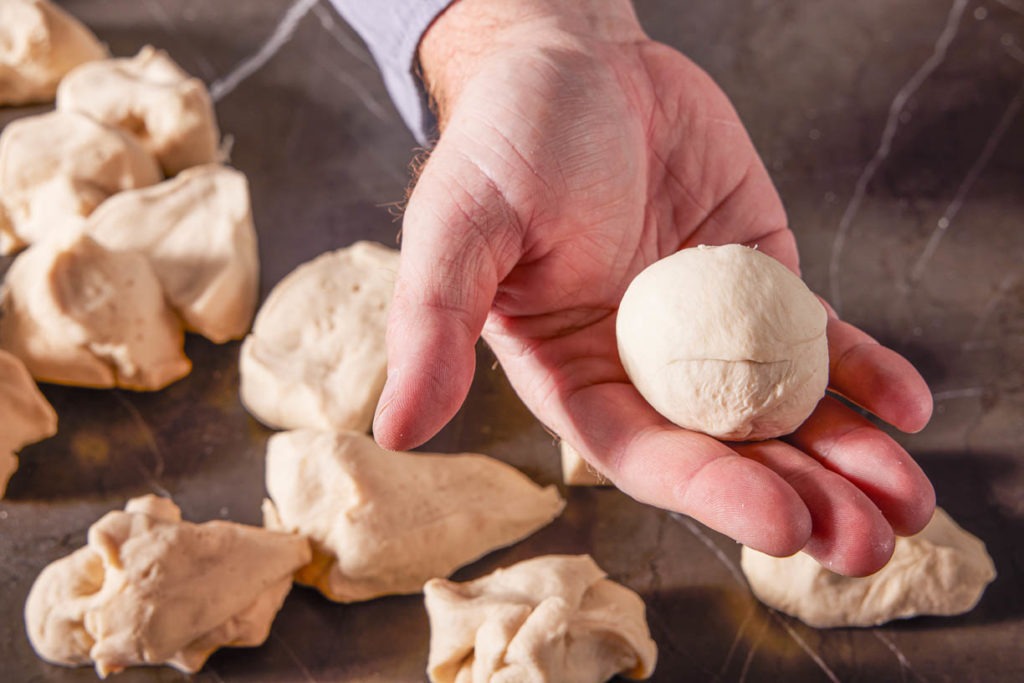
Before you let the dough rise, you need to portion it. A two-ounce portion will make a pita that is about eight inches across, just the right size. Portion them on a scale for the most even results.
Once they are rolled, let them sit under a tea towel or sheet of plastic wrap in a warm spot in your kitchen for about 20 minutes. They will poof up slightly, but should not be double in size.
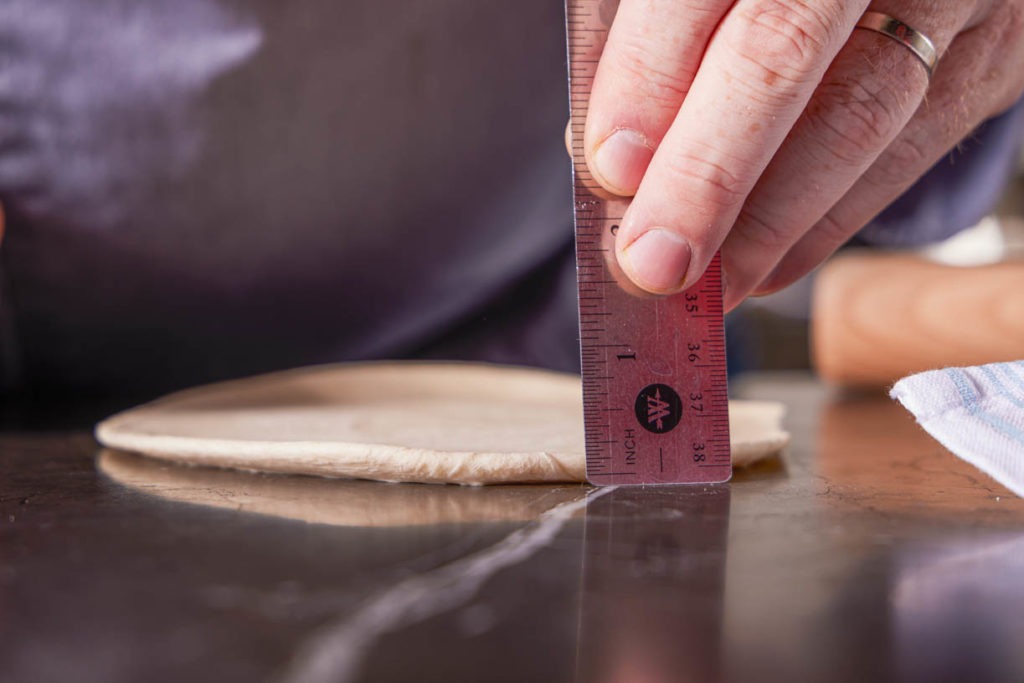
Now it’s time to roll, and this is the other key to your pocket bread. You need to roll them thin. In fact, the need to roll them out thinly is the reason we ball them up and then let them ferment—the fermentation time is also a resting time, during which the gluten can relax after its firm kneading.
How thin should you roll them? About 1/8–3/16″ thick. Just thinner than a yardstick. if you don’t roll them out thinly enough, there won’t be enough instant steam to lift the bread and you’ll get a pocketless flatbread. Sure, that’s tasty too, and there is nothing wrong with it, but we want pita!
To help roll them out, don’t dust your countertop with flour. Instead use a very thin, very light coating of oil. It provides traction to the dough, helping it stretch.
Roll half of them out, then put them on to bake while you roll out the rest.
Note on baking:
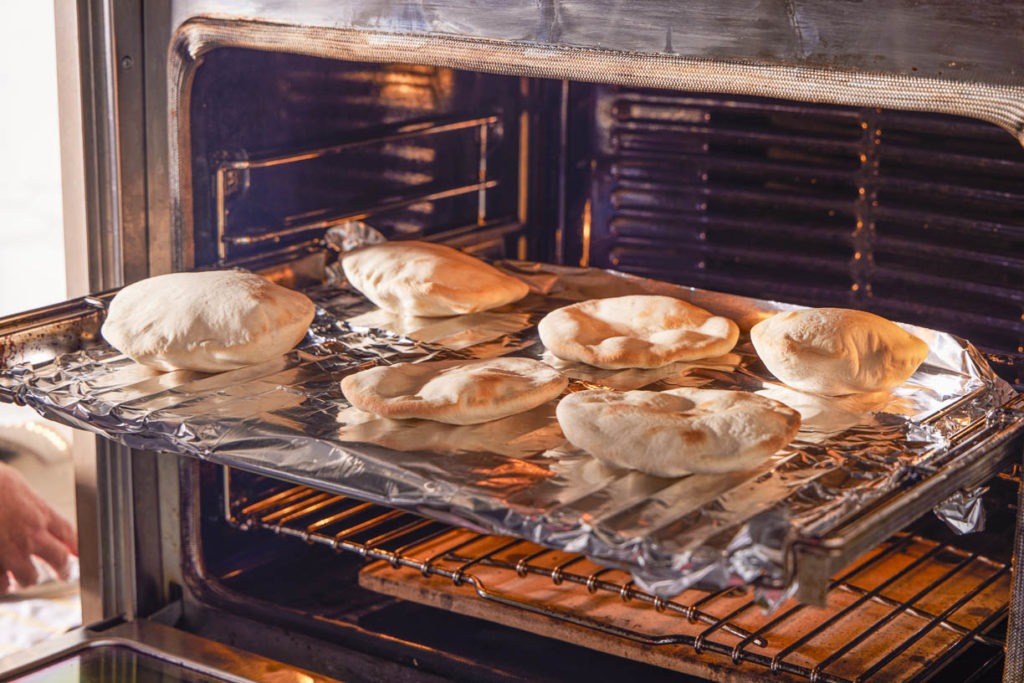
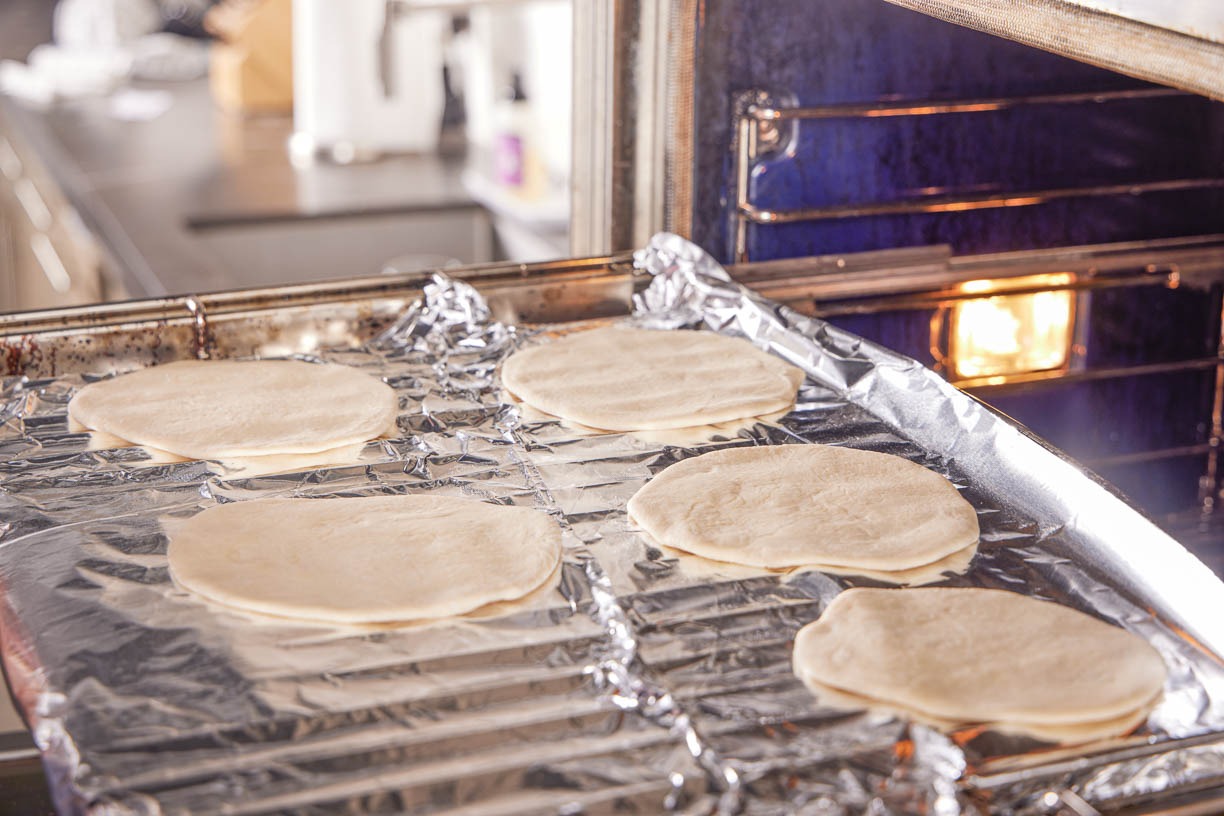
Pita need a little space, so it’s best to cook them on a sheet of foil that you’ve put on your oven rack before preheating. You can lay the pita right on the foil, fitting six-ish pitas in the oven without difficulty.
Hot, fresh, fluffy, tasty pita should be a bigger part of your life. They’re super cheap to make (far cheaper than buying stale pita from the store), and easy to make—if you follow our thermal thinking! And, again, you can basically make pita between the steps of other cooks. Give this a try tonight, or this weekend at the latest, and start a new chapter of home bread baking in your life! Happy cooking!
Homemade Pita Bread: Pillowy and Light, Temp Tips Included
Equipment

Ingredients
- 1 Tbsp granulated sugar
- 1 Tbsp instant yeast
- 1 tsp kosher salt
- 2 1/2 C bread flour
- 1 C water 105–115°F (41–46°C)
- 2 Tbsp extra-virgin olive oil
Instructions
- Tear two sheets of aluminum foil long enough to cover your oven rack and put them on the rack, tucking the foil into the rack so that it stays put. Preheat your oven to its highest setting, 475–500°F (246–260°C).
- Put the flour, sugar, salt, and yeast in the bowl of a stand mixer. Blend with the dough hook until mixed.
- Verify your water's temperature using your Thermapen ONE. Add the hot water and mix until it comes together, then knead it until supple and smooth.

- Form the dough into 2-oz portions, rolling into a neat ball. (A better ball will make a rounder pita later.)
- Allow the balls to rest, covered, for about 20 minutes.
- Roll half the balls of dough out on a very lightly greased countertop until 1/8–3/16″ thick.
- Place the dough discs on the foil in the oven and close the door to let them bake. They will take about 4–5 minutes to cook. Use a timer like TimeStick® to track the time.
- When the pitas are lightly golden brown on top and nicely puffed, remove them from the oven using tongs (they will be full of hot steam).
- If the pita failed to puff, roll your next ones out more.
- Repeat the rolling and baking with the rest of the batch.
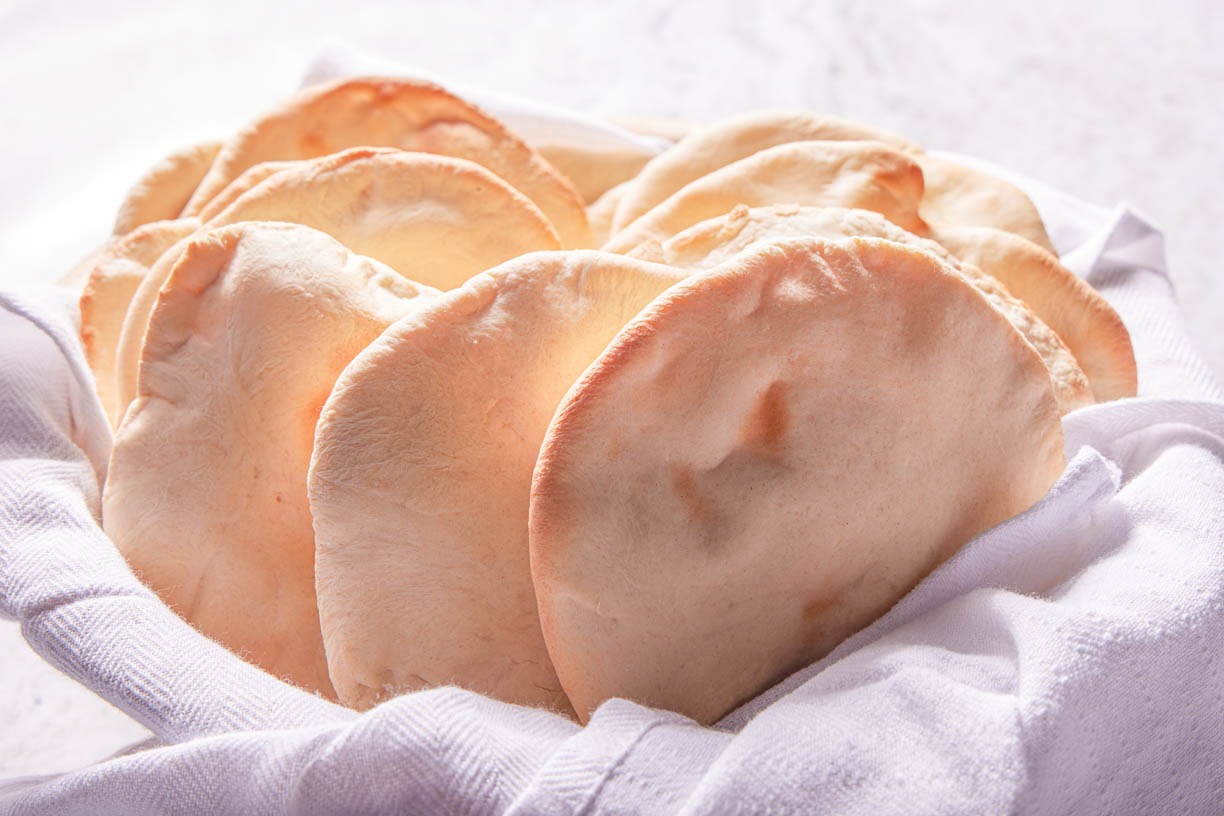
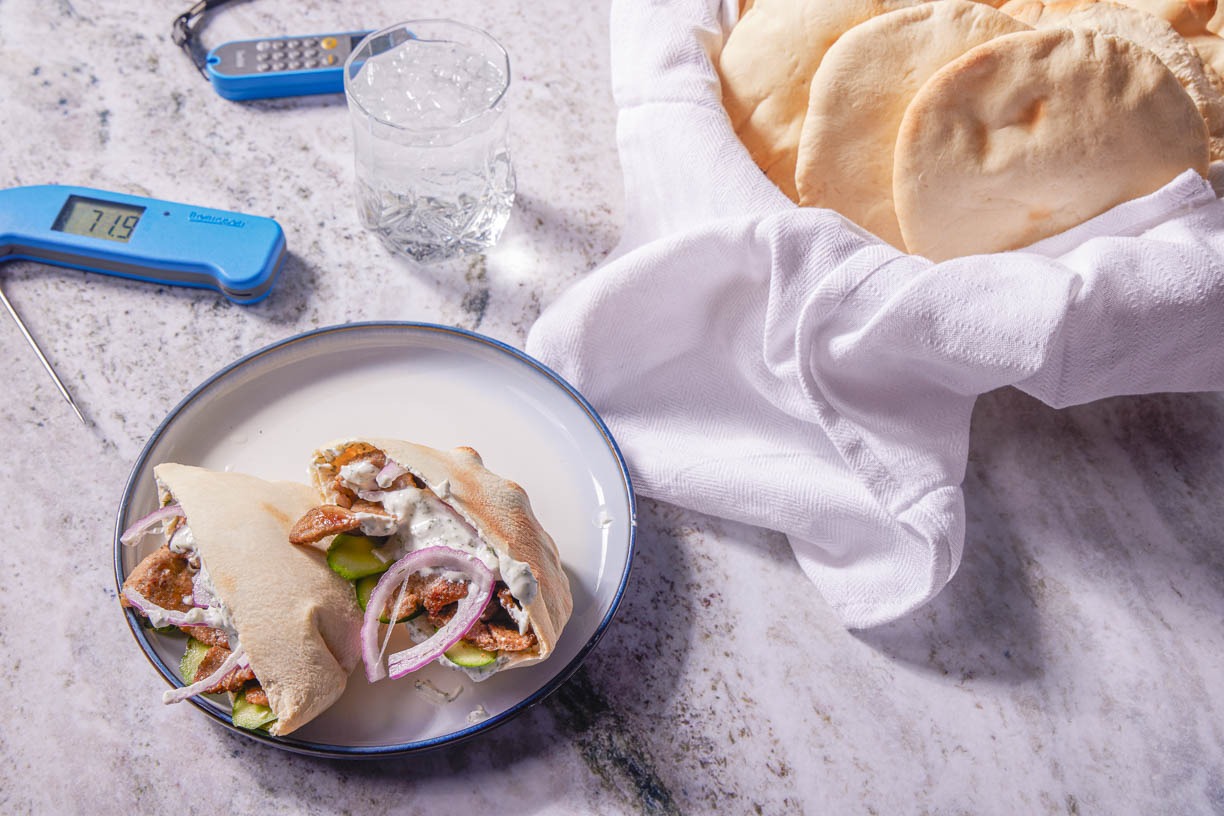
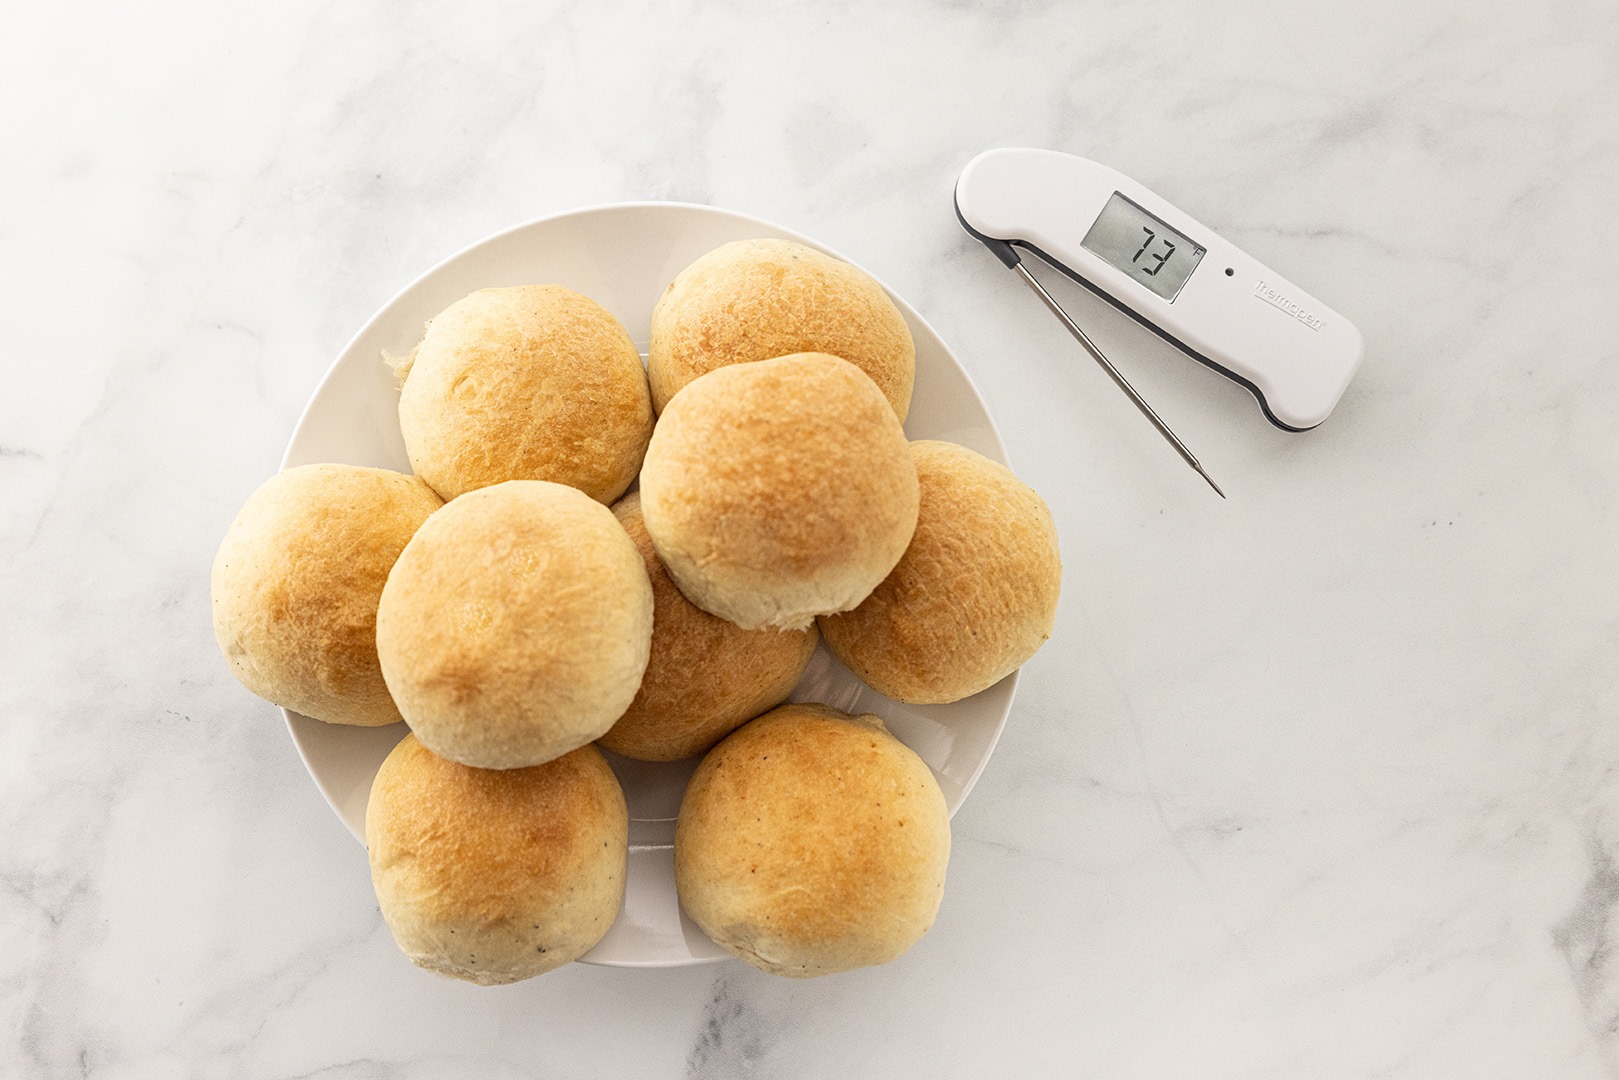
- Put your fresh pita in a towel-lined bowl or basket and carry them to table to serve!
Shop now for products used in this post:


I tend to roll thin rounds, such as tortillas, between two sheets of parchment in a tortilla press. Will this work for rolling the pita?
It might, if the dough is very well relaxed. Give it a try and let us know!
I’ve found that a little instant mashed potato flakes in the dough improves the texture dramatically. In summer, especially when it’s too hot to heat an indoor oven, I use my outdoor gas grill. Cook on low heat; experiment with the timing based on your particular grill (they’re all a little different). I’ve been using this method for almost 50 years.
Great tip!
Does this dough not have a rising period or just the 20 min?
Just the 20 minutes.
Do you add both tablespoons of olive oil when you add the water? Or is some for oiling the rolling surface? Unless I missed it, it’s not mentioned in the directions. Thanks!
Add the oil with the water, yes. Any oil for the counter is in addition to that.
Really good.