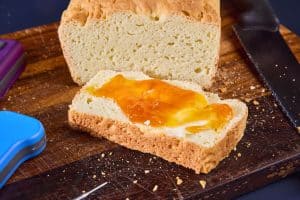
Gluten-Free Bread Temperatures You Need
Homemade bread is one of the great joys of life, but it is one that some people don’t get to enjoy. Or at least, not in the same way. One of the things that makes bread bread is the gluten found in wheat flour. That protein structure makes bread stretchy, chewy, and light, but it also causes trouble for some people, especially those afflicted with celiac disease. For them, regular bread is off the menu. But the last decade or so has brought about many solutions for homemade gluten-free bread. But gluten-free baking is a thing unto itself! Some of the rules and methods of “regular” baking don’t apply to gluten-free breads, or they must be modified to work. In this post, we will look specifically at the thermal processes of gluten-free baking and the temperatures you need to know to get things right. Let’s bake!
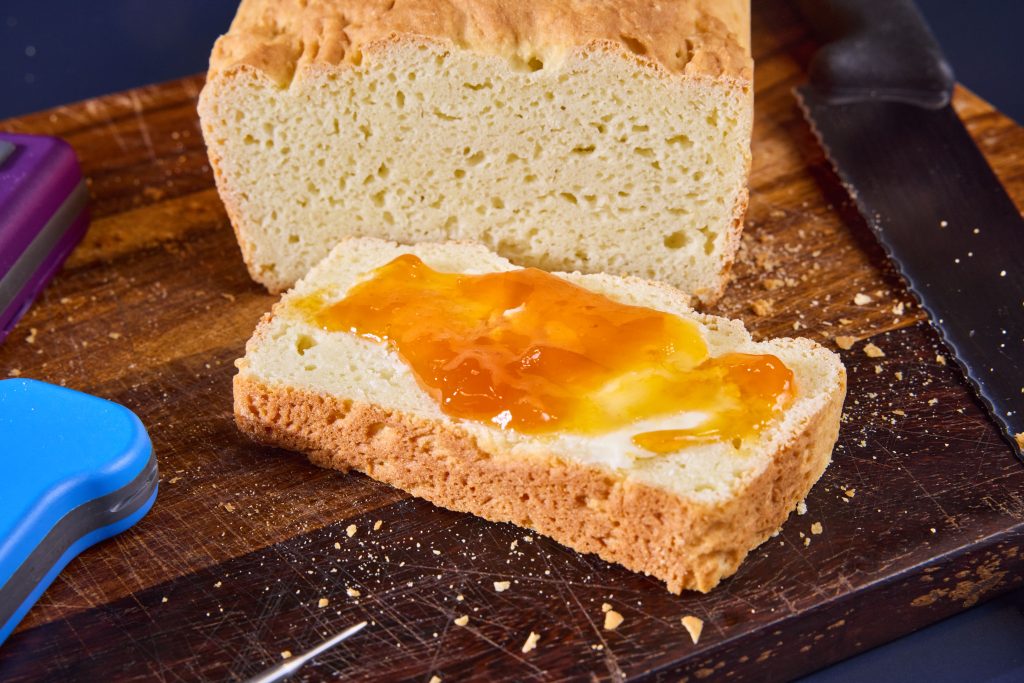
Gluten-free flour: what is it?
Gluten-free flours attempt to mimic all the functions of wheat flours without the gluten. Wheat flour has two major actors, proteins and starches. The protein is mostly gluten, which is composed of linked chains of glutenin and gliadin. These linked chains create the stretchy network that makes bread dough spring back into place when kneaded, and give finished bread its springy chew. They denature when cooked, to create the final structure of the bread. The starches, on the other hand, gelatinize when they are mixed with water and heat, and help provide some structure and moisture retention.
Where gluten-free flours cannot use gluten, they often use proteins from other sources (such as milk powder) and thickeners (such as xantham gum) to provide structure to the bread. Of course, the starches in these flours can’t come from wheat, so they are taken from other sources. Rice flour is common, as is tapioca starch. Do these behave exactly like wheat flour? No, but in some applications they are certainly close enough.
Baking bread with gluten-free flour: what are the differences?
The differences you should be aware of fall into two camps: the physical making of the bread and the cooling of the bread.
When mixing GF breads, you can’t expect them to behave the same way. They won’t form up into a nice ball and whip around inside the mixer bowl, self-cleaning the sides. In fact, you probably won’t even use the dough hook at all, as these doughs tend to stay pretty squarely in the realm of thick batters. The beater attachment will be your friend.
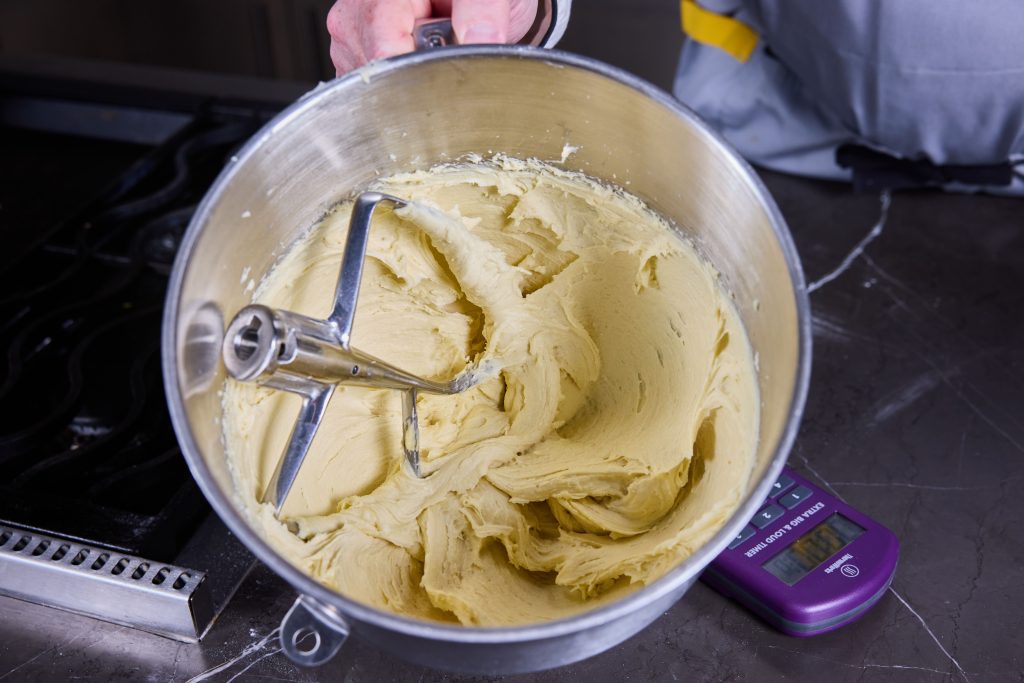
Moreso than standard breads, GF breads are finicky about their ingredient ratios. So if you end up working with a dough on a work surface, don’t add more GF flour to the surface, or it will kill the ratio. Instead, use a well-oiled surface to keep things from sticking. And gloves can be your friend when working with these doughs—kitchen prep gloves will help you keep cleaner.
Gluten-free pans?
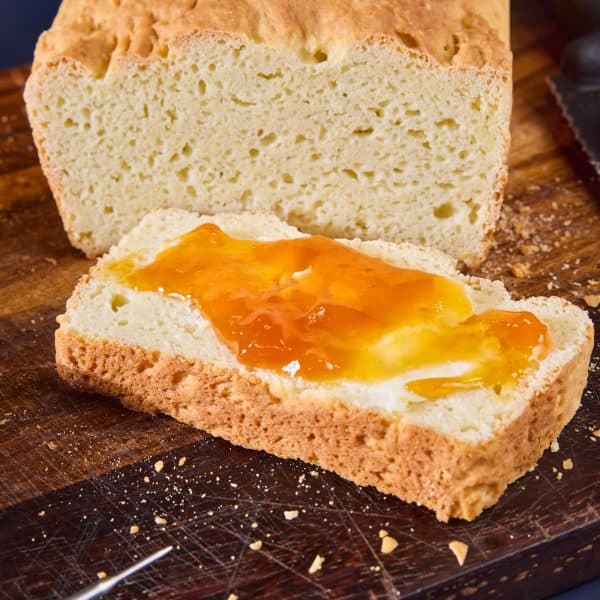
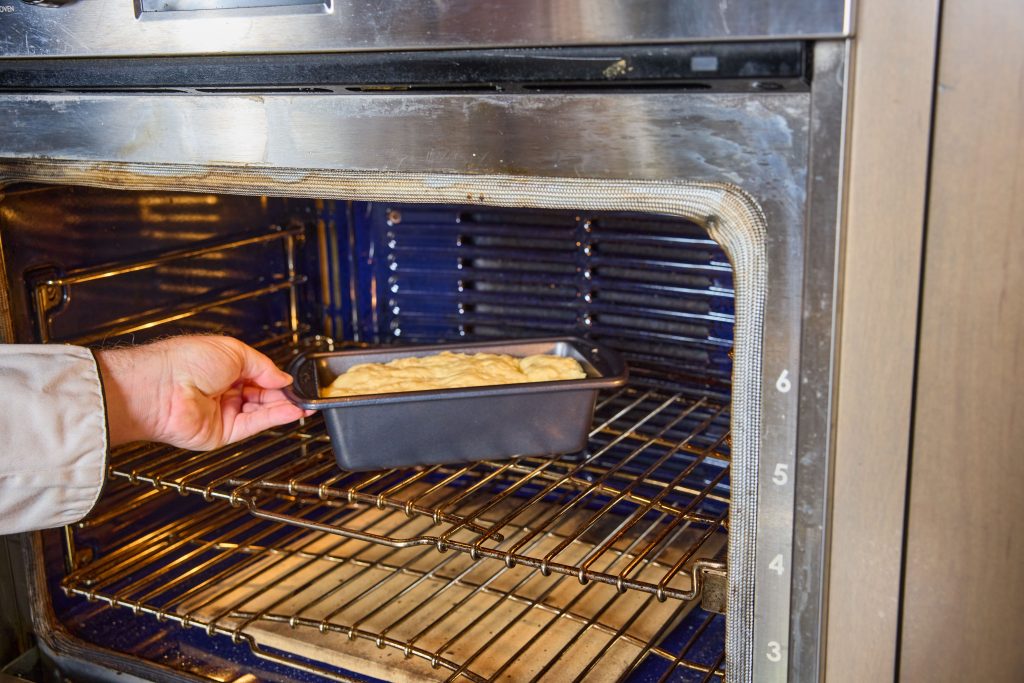
At the outset, it seems ridiculous that there should be gluten-free bread loaf pans. After all, metal has no gluten! But it’s not the makeup of the pan that matters so much as the shape. Gluten-free bread loaf pans are taller and thinner, providing more structural support for the bread as it rises and experiences oven spring. Think of the closer, taller sides as buttresses for the dough to prop it up and keep it from slumping. You can use a regular loaf pan, as we did, but your bread will be a little more dense and a little less fluffy.
Cooking and cooling GF bread
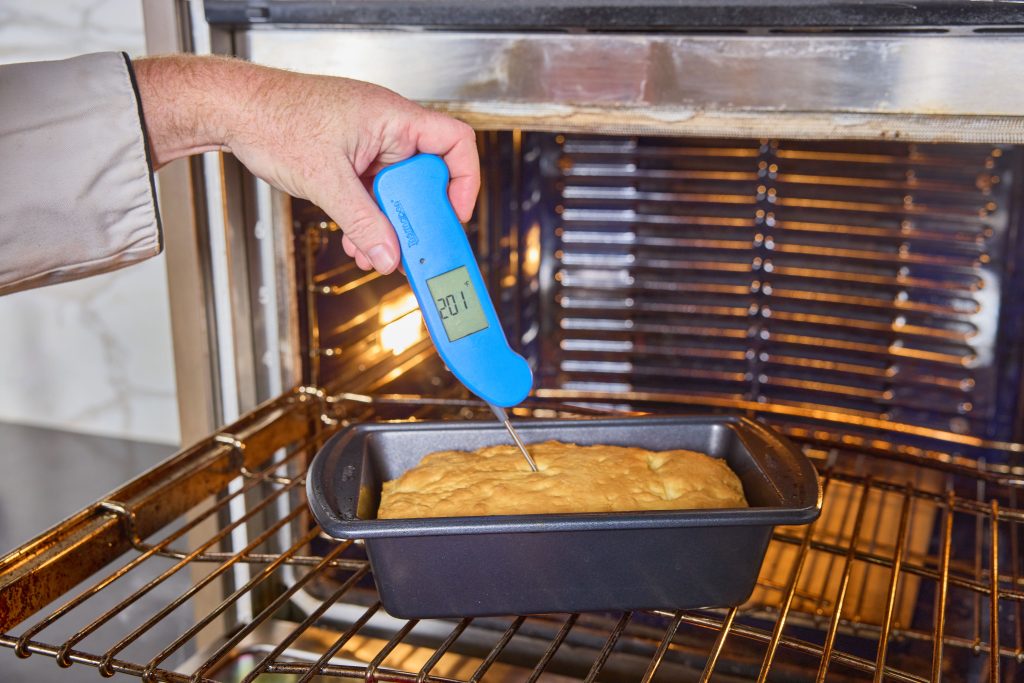
When it comes to cooking GF bread, it’s not much different than full-gluten breads. Make sure your oven is cooking at the right temperature and cook to temperature, not to time. Yes, you can use time as a guideline for when to check the temperature, but one ThermoWorker in our department makes a GF recipe that says to cook it for 90 minutes and he finds that it is inevitably done to temp after only 60. Breads have doneness temperatures, and gluten-free breads are no exception. Rachel Ciordas, the brains behind Next Level Gluten Free, warns about not cooking to temperature:
gluten free baked goods (especially breads & yeasted products) can feel “gummy” if they don’t get to 205-210°F [96–99°C] degrees.
-Rachel Ciordas, Next Level Gluten Free
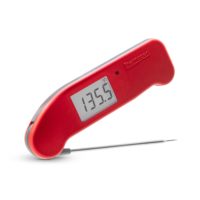
And some very rich GF breads are done when they get to 200°F (93°C). Be sure to verify the temp of your bakes using Thermapen ONE. If you find an internal temp that is lower, keep cooking!
Cooling GF bread
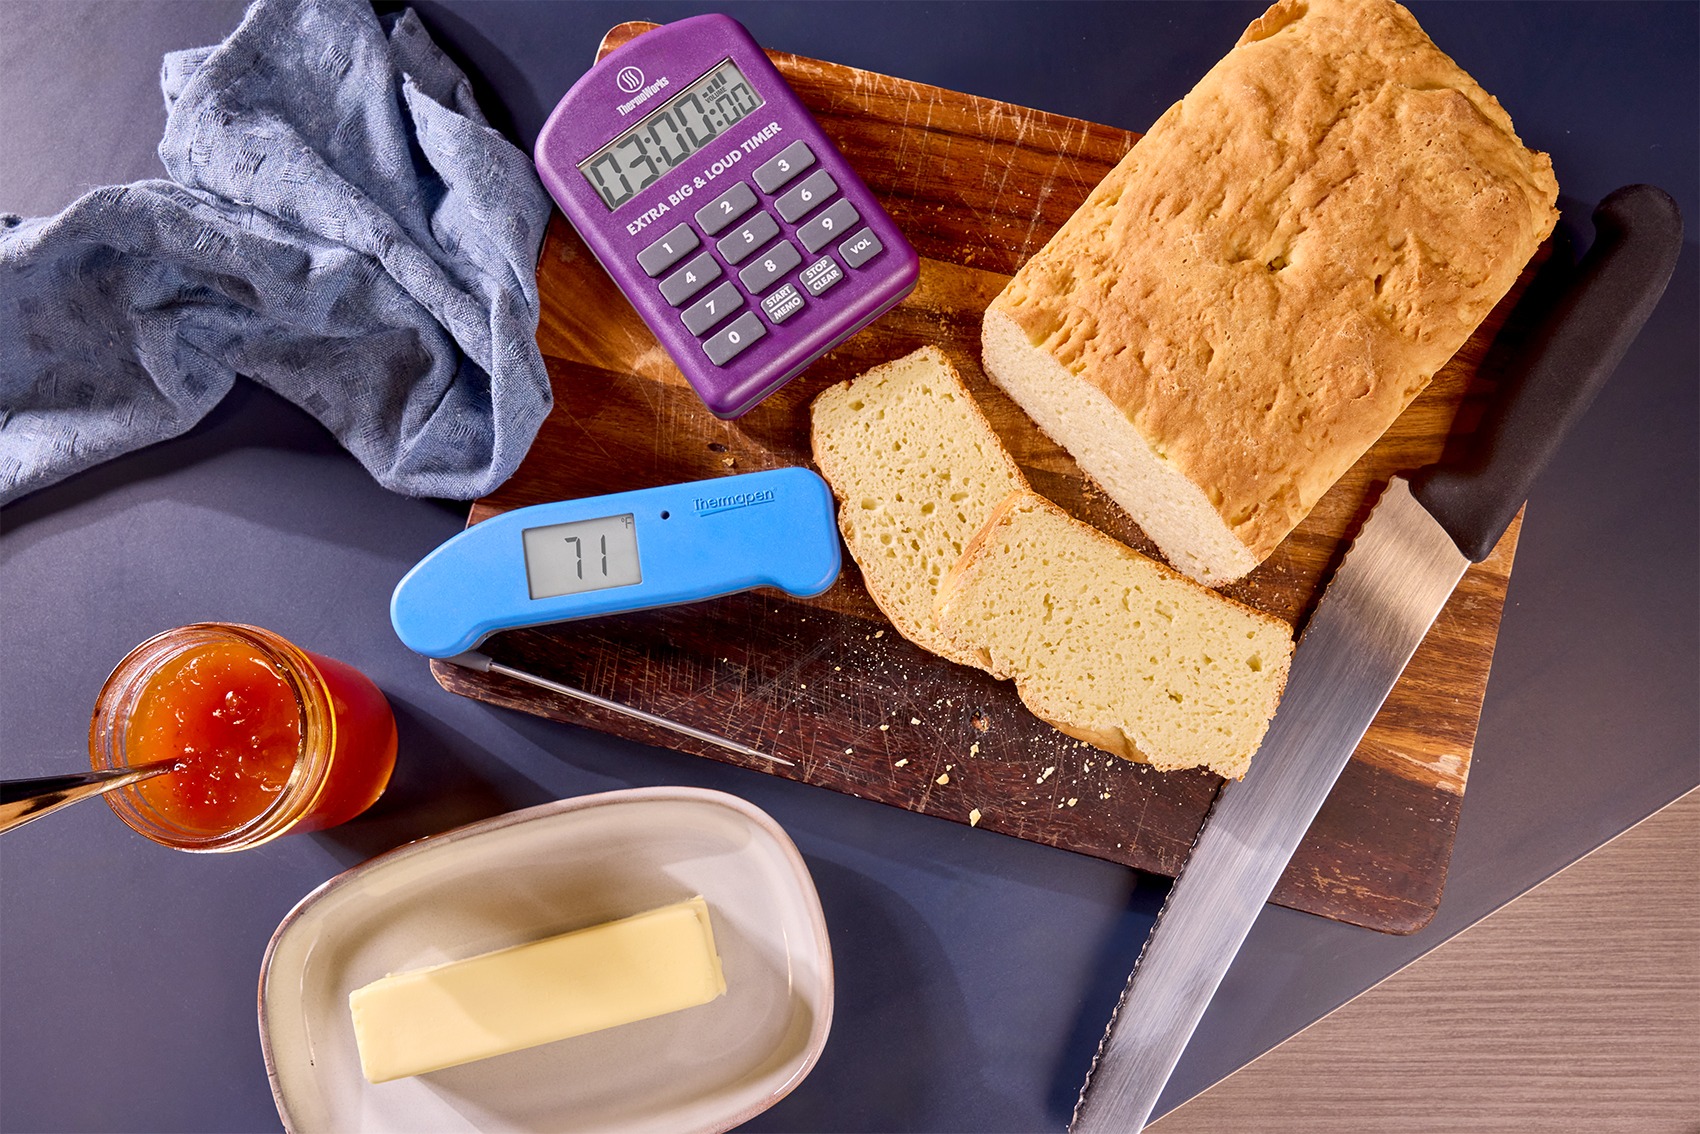
But equally important for baking gluten-free bread is the cooling. Cooling is even more important to GF baking than it is to glutenous baking. These breads need to cool fully. How cool? Get them below 80°F before you slice into them. Again, you can use your Thermapen to be sure it’s cool enough. If you don’t wait until the bread is fully cooled, it will be gummy, and whatever you don’t eat right away will get especially hard, dry, and stale. The starches in the bread need the time to retrograde back to a more solid state before you vent any steam or heat from the loaf.
GF baking is even more demanding than regular baking, in a way. But it is by no means out of reach! If you need to eat gluten free, having a fast and accurate thermometer can help you get the best results every time, no matter what kind of flour blend you use. Grab your Thermapen ONE and get baking today!
Gluten-Free Bread Temperatures You Need
Ingredients
- 3 C 468g King Arthur Gluten-Free All-Purpose Flour
- 3 Tbsp granulated sugar
- 2 tsp instant yeast
- 1 1/4 tsp table salt
- 1 1/4 tsp xanthan gum
- 1 C milk warmed to 100 degrees F
- 4 Tbsp butter softened
- 3 large eggs
Instructions
- Weigh your flour and put it in the bowl of your mixer along with the sugar, salt, yeast, and xanthan gum. Mix.
- Using the flat paddle attachment on your mixer, start mixing the flour on medium-low speed as you drizzle in the warm milk. (Use your Thermapen ONE to verify the milk temp before adding it.)
- Add the softened butter and beat to combine.
- Beat in the eggs one at a time, waiting until combined before adding the next one.
- Scrape the bottom of the bowl then turn the mixer to high speed and beat for 3 minutes.
- Cover the bowl and allow the dough to rise in a warm spot for 1 hour.
- Deflate the dough somewhat by scraping the sides of the bowl with a spatula. Move the dough to a prepared, greased loaf pan.
- Allow the bread to rise once again, covered with a well-oiled piece of plastic wrap, until the dough approaches the rim of the pan, about 45–60 minutes more.
- As you near the end of the rising time, preheat your oven to 350°F (177°C).
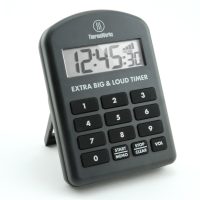
- Remove the plastic wrap and bake the bread for 35-45 minutes. Set a loud timer to monitor the time.
- Check the internal temperature of the loaf with your Thermapen ONE. The target temperature for this recipe is 200°F (93°C), so be sure you find no temperatures lower than that.
- Remove the bread from the oven and tip the loaf out onto a cooling rack. Let the loaf cool completely before slicing into it.


