Thermal Tips: Searing Meat
Regardless of whether you’re cooking beef, pork, or chicken, many recipes require measures to create a beautiful brown crust on the exterior. The crisp, salty outer edge pieces are so delicious, and the favorite part of the meat for some. How exactly is the crust developed, and why is it so delicious? Many variables are in play during the searing process, the most important of which is high heat. We have the thermal tips you need to understand what’s going on during this Maillard Reaction.
Why We Sear Meat
Many experts have debunked the myth that searing meat seals in juices, but that isn’t why we sear. This extra step gives a brown color and develops the characteristic rich flavors and aromas that we associate with meat.
You’re likely very well aware of this reaction when searing meat, but don’t know the exact name for the process. The “Maillard Reaction” is often confused with caramelization (even by professional chefs), but the latter is a completely separate reaction dependent only on sugars. What’s going on in seared meat is a more complex interaction of chemicals first observed and documented in the early 1900’s by the French scientist Louis-Camille Maillard, for whom it is named.
Maillard Temps
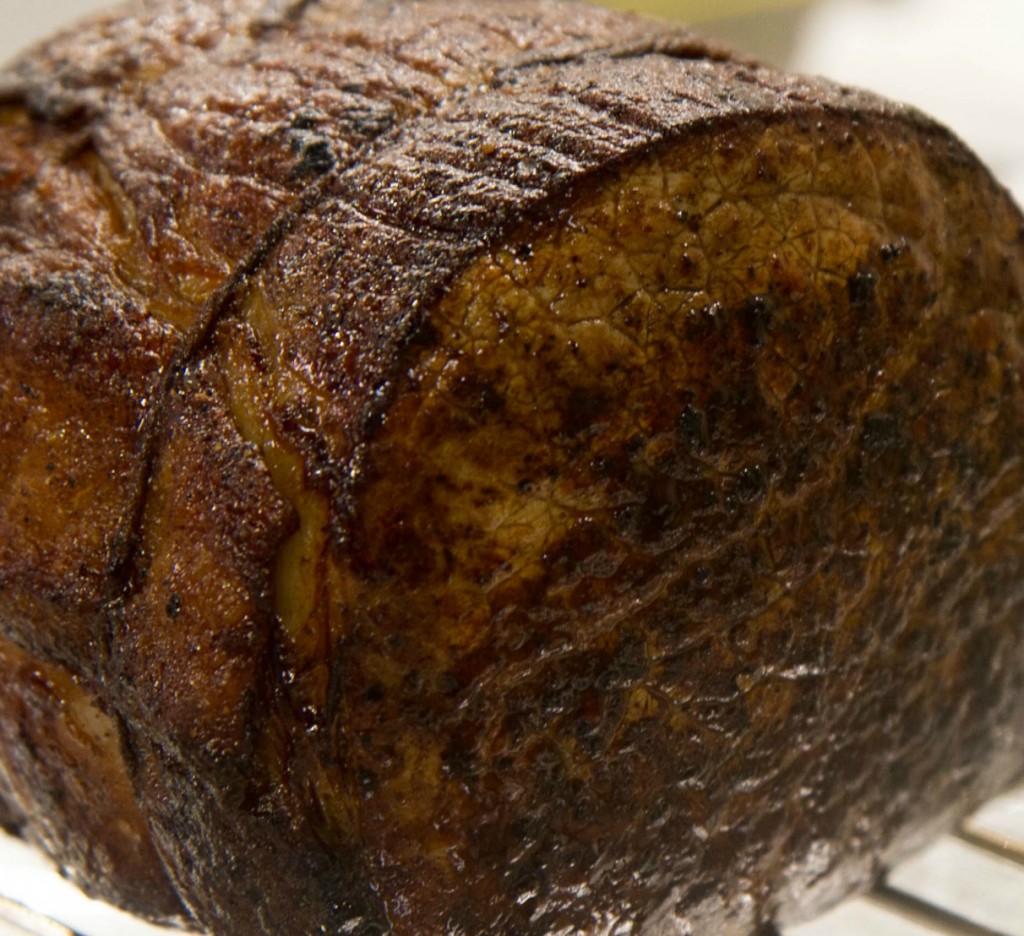
The Maillard reaction begins slowly at 250°F (121°C) and progresses rapidly once the temperature of meat fibers reaches 350°F (177°C)—we generally sear at high temperatures to maximize the meat’s color and flavor development. This reaction only occurs in foods that contain sugar AND protein. In the high temperature range it all begins when a free sugar molecule and an amino acid react. After the first reaction, an unstable intermediate structure is formed, undergoing subsequent changes, ultimately producing literally hundreds of different by-products (dicarbonyls) that continue to react with each other forming still more by-products. Very large molecules produced through these interactions, called melanoidin pigments, are what create the deep brown color on the crust of seared meats.
Flavor profiles created through the Maillard reaction vary depending on the specific amino acids and sugars present in the meat. The compounds developed through roasting are different than those that exist after deep frying. All of these complex new flavor compounds are unique to each type of meat and the method used in cooking. The depth and complexity of flavors produced through the Maillard Reaction absolutely cannot be imitated without very high heat.
Umami: The Fifth Element of Taste
Umami is a Japanese term that translates to delicious or savory. In 1909 a Japanese physical chemistry professor identified glutamates as the source of the taste effect that gives food a meaty or savory flavor. The receptor in the mouth for glutamate was discovered by molecular biologists as recently as 2000, confirming umami as one of the five basic tastes. Glutamates are responsible for imparting an umami flavor to foods and can be found in meats, nori, parmasean cheese, and soy sauce just to name a few. When combined with nucleotides found in meat, seafood, and dried mushrooms, the sensation of umami is greatly magnified by as much as 20 to 30 times greater than with glutamates alone.
Savory flavors are intensified with searing meat as the level of flavor and aroma compounds increases exponentially through the Maillard Reaction. A good sear creates a heightened umami taste experience.
 Dry Surfaces Brown Best
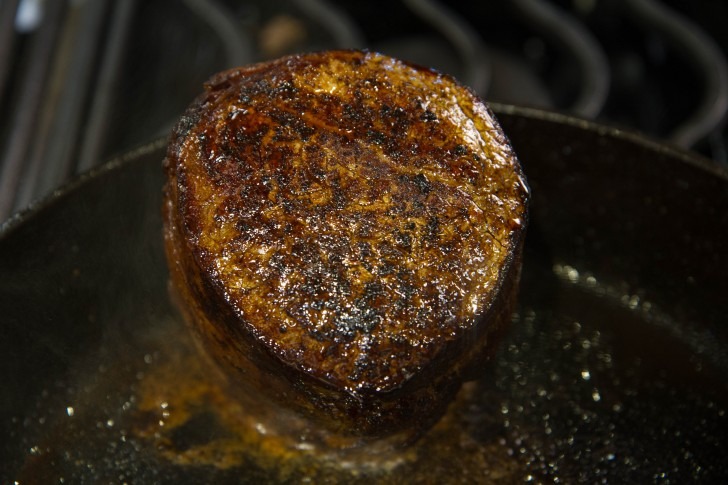
Since surface temperatures need to be well above 350°F (177°C) for the most rapid browning, all water must be eliminated first. Water’s upper temperature limit of 212°F (100°C) is too low for any flavor or color development. For this reason, poached and boiled foods will never brown. The more moisture present on the surface of the meat, the less effective the sear will be. All surface water has to be evaporated before the Maillard Reaction can begin, and the resulting evaporative cooling can actually decrease the temperature of the pan itself. Will meat that hasn’t been patted dry ever brown? Yes, but the sear will be far more effective the drier the meat is before it hits the pan.
The Pan: Keep it Hot!
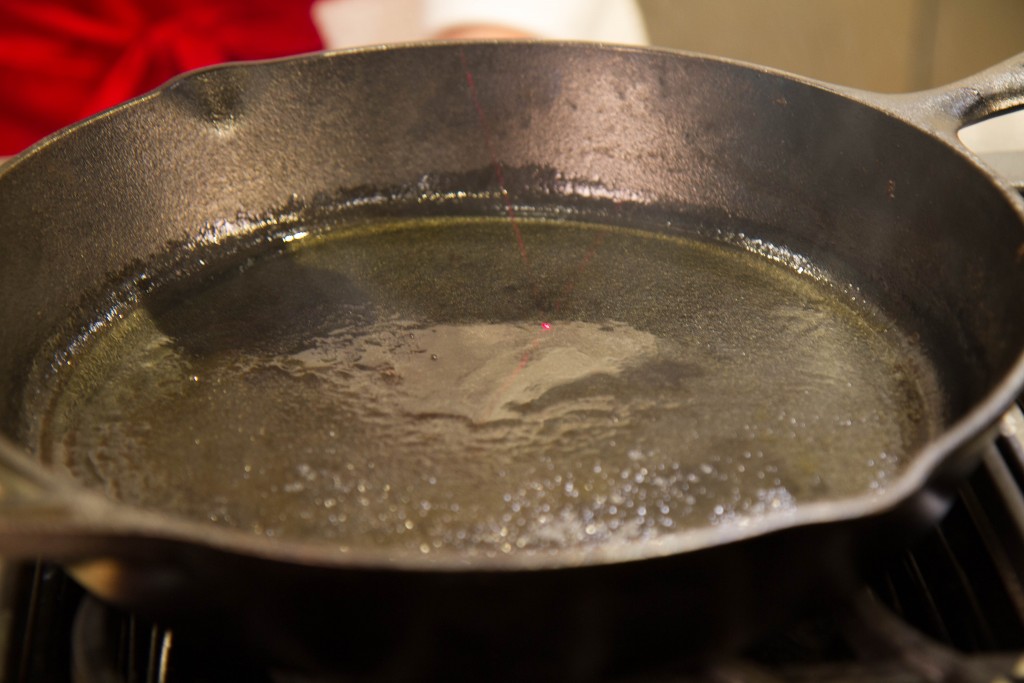
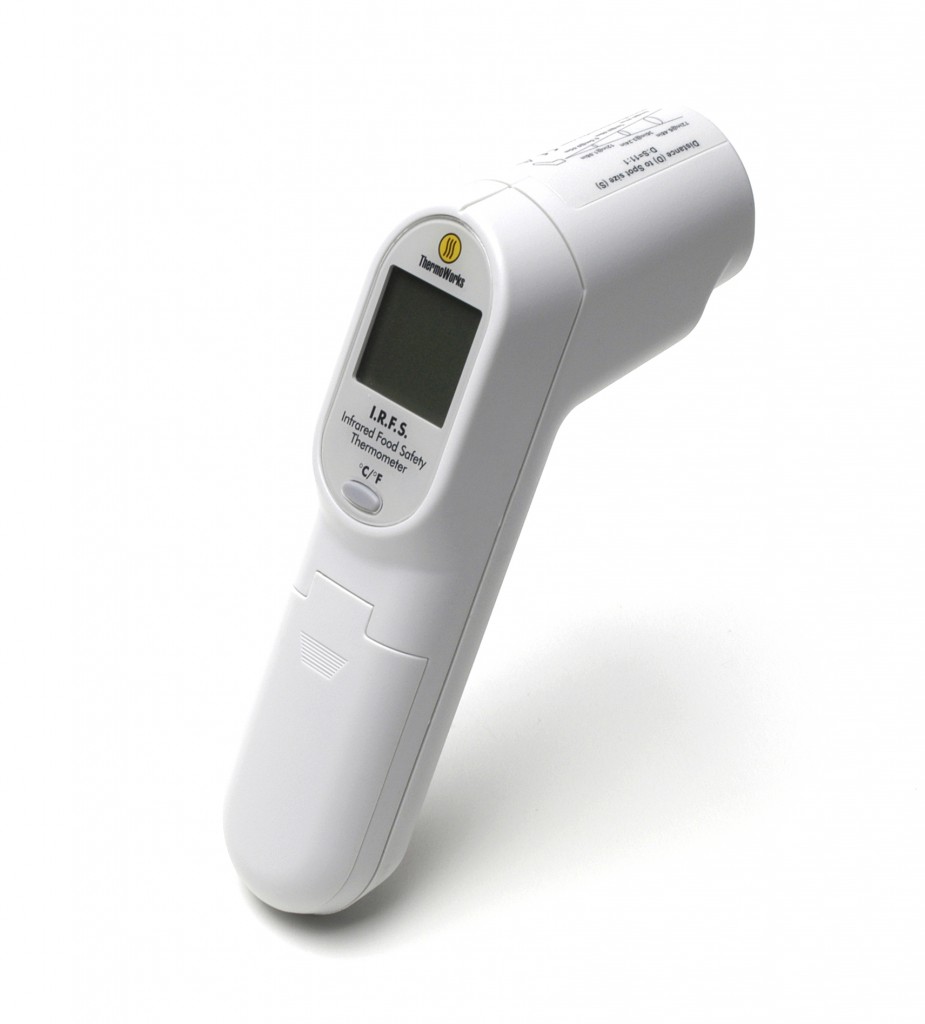
Our favorite deep-frying vessel is an enamel-coated cast iron dutch oven for its ability to maintain a steady temperature through the cooking process. The surface temperature range to aim for when searing is 400-450°F (204-232°C). Choose a cooking fat with a high enough smoke point to withstand the heat. The smoke point of vegetable oil is about 440-460°F (204-238°C)—perfect! Preheat the cast iron skillet with the vegetable oil spot checking with an infrared thermometer like the Infrared Food Safety Thermometer to preheat accurately, and properly maintain the pan’s temperature while cooking.
The Cook
Slow-Roasted Beef
—From Cook’s Illustrated’s The Science of Good Cooking
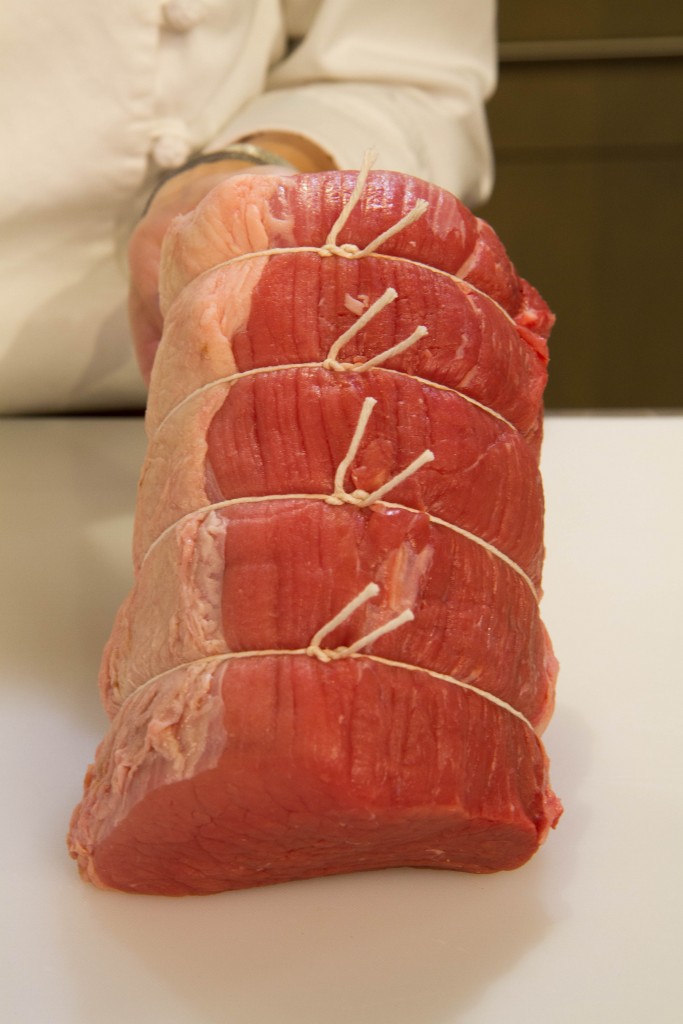
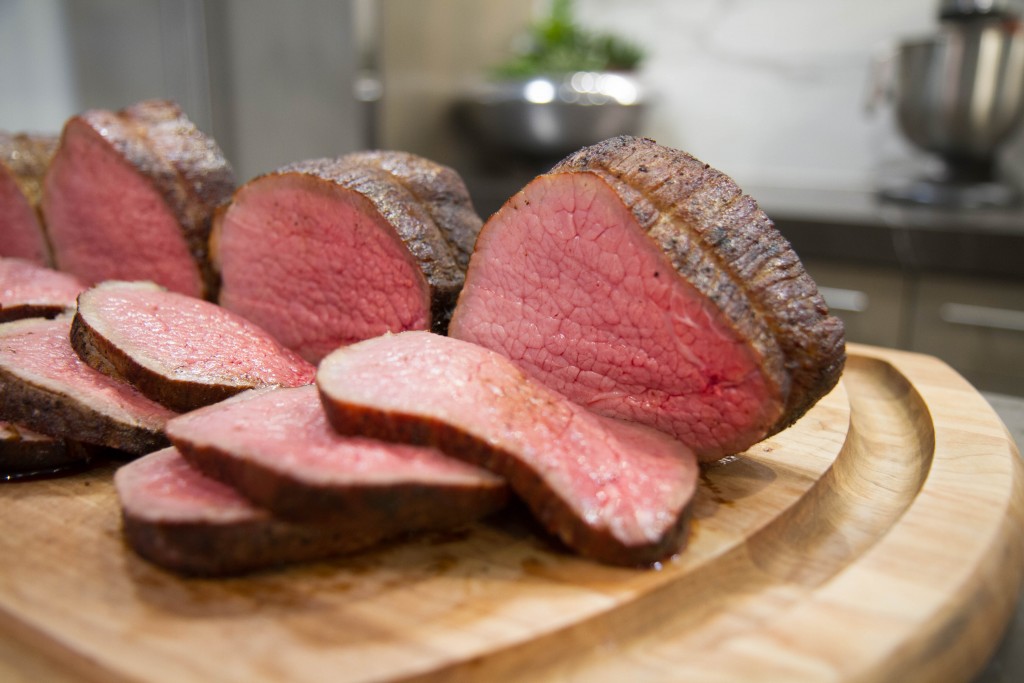
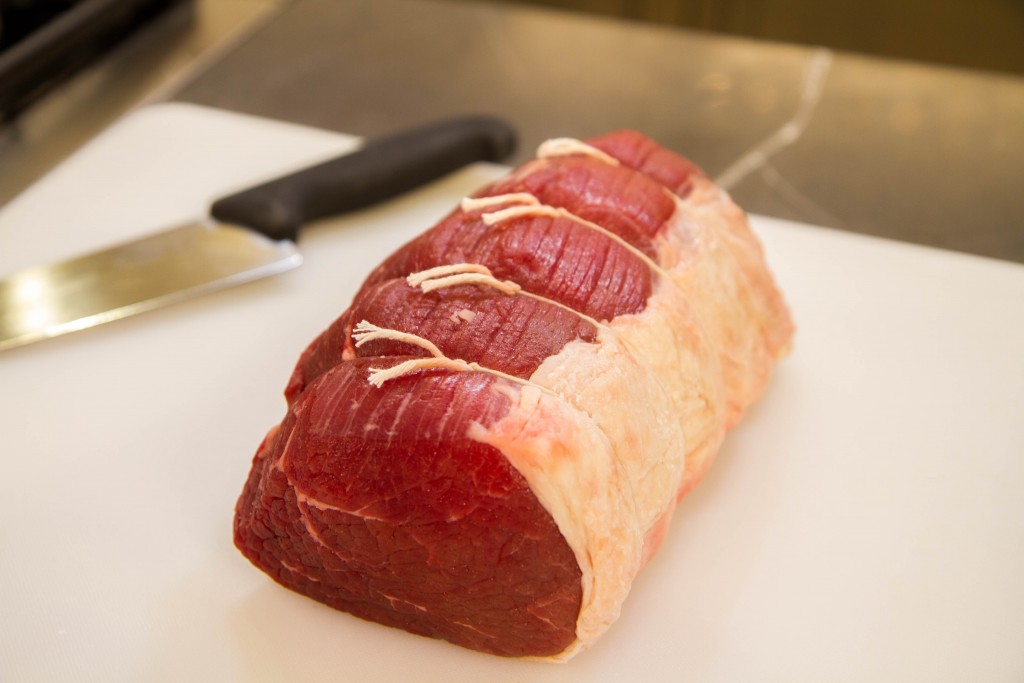
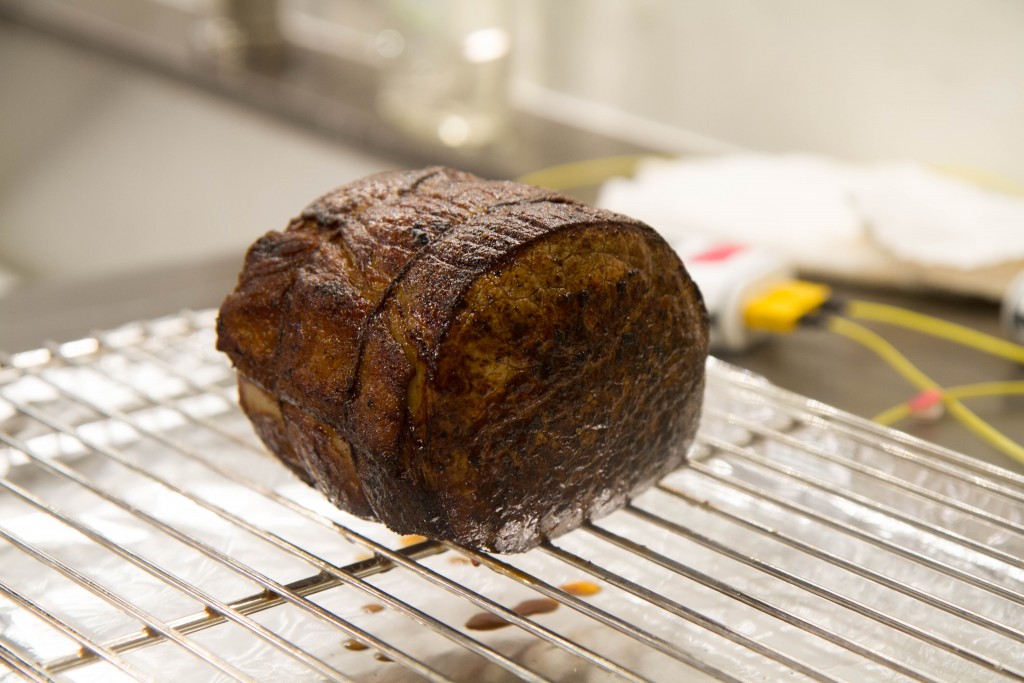
Eye of round is a very lean cut of meat and as such doesn’t have the same rich, meaty flavor like a prime rib roast does. The lean protein isn’t terribly tender either. To help boost the flavor of this relatively inexpensive cut of meat, we’ll give the roast a good sear, then slow roast in a low oven to allow enzymes to break down the tough protein to make it as tender as possible.
—1 3-1/2 to 4-1/2 pound boneless eye-round roast
—4 tsp. kosher salt
—2 teaspoons plus 1 tablespoon vegetable oil
—1 teaspoons ground pepper
Instructions
• Preheat cast iron skillet over medium-high heat with vegetable oil to 400-450°F (204-232°C), verifying the target temperature with an infrared thermometer.
• Preheat oven to 225°F (107°C). Prepare a baking sheet pan by lining with heavy duty foil and place a cooling rack in the pan to elevate the roast during the cook to allow for adequate air circulation around all sides of the meat.
• Remove roast from the refrigerator and pat dry any surface moisture. Sprinkle pepper around all sides of the meat.
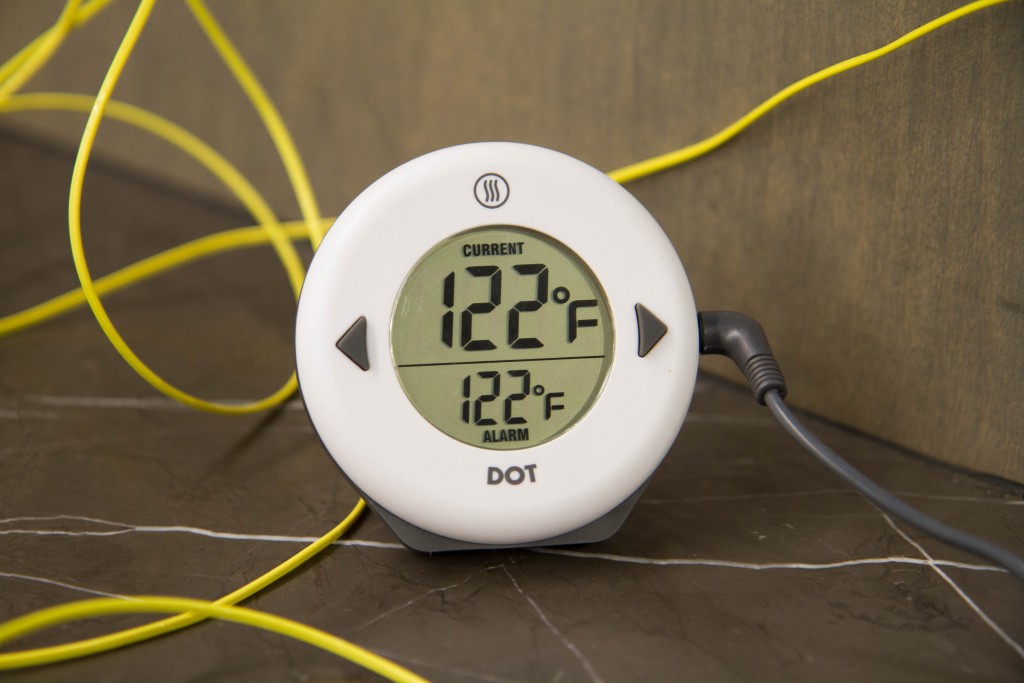
• Place the roast onto the rack on the prepared pan, place the probe of a DOT® leave-in probe thermometer into the center of the roast (set the alarm for 122°F [50°C]), and place roast into preheated oven and cook until the internal temperature reaches 122°F (50°C) for medium rare doneness—about 1 to 1-1/2 hours.
• Pull the roast from the oven and allow to rest, covered with heavy duty foil for about 15 minutes. Slice, and serve.
The overnight salting and searing gives the meat excellent flavor and texture on the exterior, while the slow cook allows the meat to reach its pull temperature while maximizing its tenderness.
The Maillard Reaction is a very complex process that needs the right conditions to optimize its effect with a given application and is worth the effort to get it right!
Products Used:
Infrared Food Safety Thermometer
DOT®
Resources:
The Science of Good Cooking, Cook’s Illustrated
On Food and Cooking, Harold McGee
For a great case study on searing, see our post on searing stuffed burgers!


 Dry Surfaces Brown Best
thank you for the info. I love all of the thermo works thermometers that I have purchased from you. Again, THANKS!
Thank you for sharing the above information! It is clearly written with detailed steps and the rationale for all of them! I’m looking forward to putting the instructions to use!
Ralph,
So glad you feel inspired to try something new–happy cooking!
Thanks,
-Kim
Is it possible to augment the reaction by rubbing a bit of sugar on the outside of the meat?
Ken,
Yes! You can use sugar when searing. Use about half as much sugar as you do salt.
Thanks,
-Kim
Just discovered your blog and am looking forward to learning more about grilling et al. Anyway, can you expand on how to use a gas grill with sear burner? That would help a lot as I’m sure there’s some help you can provide.
Also, I just read the recent blog post about Tri Tip and it mentions searing after most of the cooking is complete. Hmm….. when to do searing? Before primary cooking process or after? I guess it can depend on the meat.
Appreciate any enlightenment you can send this way
Thanks
Mark,
Sear burners, or a sear station, are an area of the grill with a few burners very close together. This creates an area of high heat on the grill that reaches searing temperatures much faster than the rest of the grill. Simply turn on those burners, cover the lid and allow the grill grate to heat up to 500-550°F—about 15 minutes. After the 15 minutes are up, sear away!
As to your question with when to sear, it’s something that can be done before the primary cook, or if you sear after the primary cook as we did with the tri tip it’s referred to as “reverse searing”. Searing does not seal in the meat’s juices, it adds color and rich, complex flavor to the meat (check out our post Thermal Tips: Searing Meat for more information). It’s important for the surface of the meat to be patted dry of any moisture for a good sear, and reverse searing can accomplish searing faster than searing before the primary cook. For a deeply seared crust on a large cut of meat like a rib roast, many choose to sear first before cooking all the way through. Play around the methods of searing to see what you feel works best for you!
Thank you for your comment.
-Kim