Temperature Tips for the Perfect Christmas Prime Rib Roast
Have you ever eaten $30 slice of Prime Rib at a high-end restaurant? Have you marveled at how the savory bark on the outside contrasted with the tender perfectly pink end-to-end interior meat? Well, now you can have that experience at home. Don’t be intimidated by the cost. Perfect Prime Rib is all about careful temperature control and we’ve got you covered. Don’t be surprised if your guests this year tell you they’ve never had a better cut of meat!
You can do this. Here’s what to do…
______________________________________________
Preparing the Prime Rib Roast
Pull the rib roast out of the fridge and let temper on the counter for three hours. USDA guidelines requires food not be held above 33°F (1°C) for more than 4 hours. A three-hour rest on the counter is well within time constraints. We pulled our roast out of the fridge at 33°F (1°C), and after 3 hours, found the temperature had warmed to between 43-45°F (6-7°C) from one end to the other.
While some recipes suggest letting your meat come “to” room temperature (70°F [21°C]), famed meat man, Bruce Aidells suggests letting your meat sit out “at” room temperature. Even though the meat will probably not warm up to room temp, it’s still very important to let it sit at room temp. He says, “The interior may only warm up to 50°F…but the meat will cook more evenly and the cooking time will be shorter.”
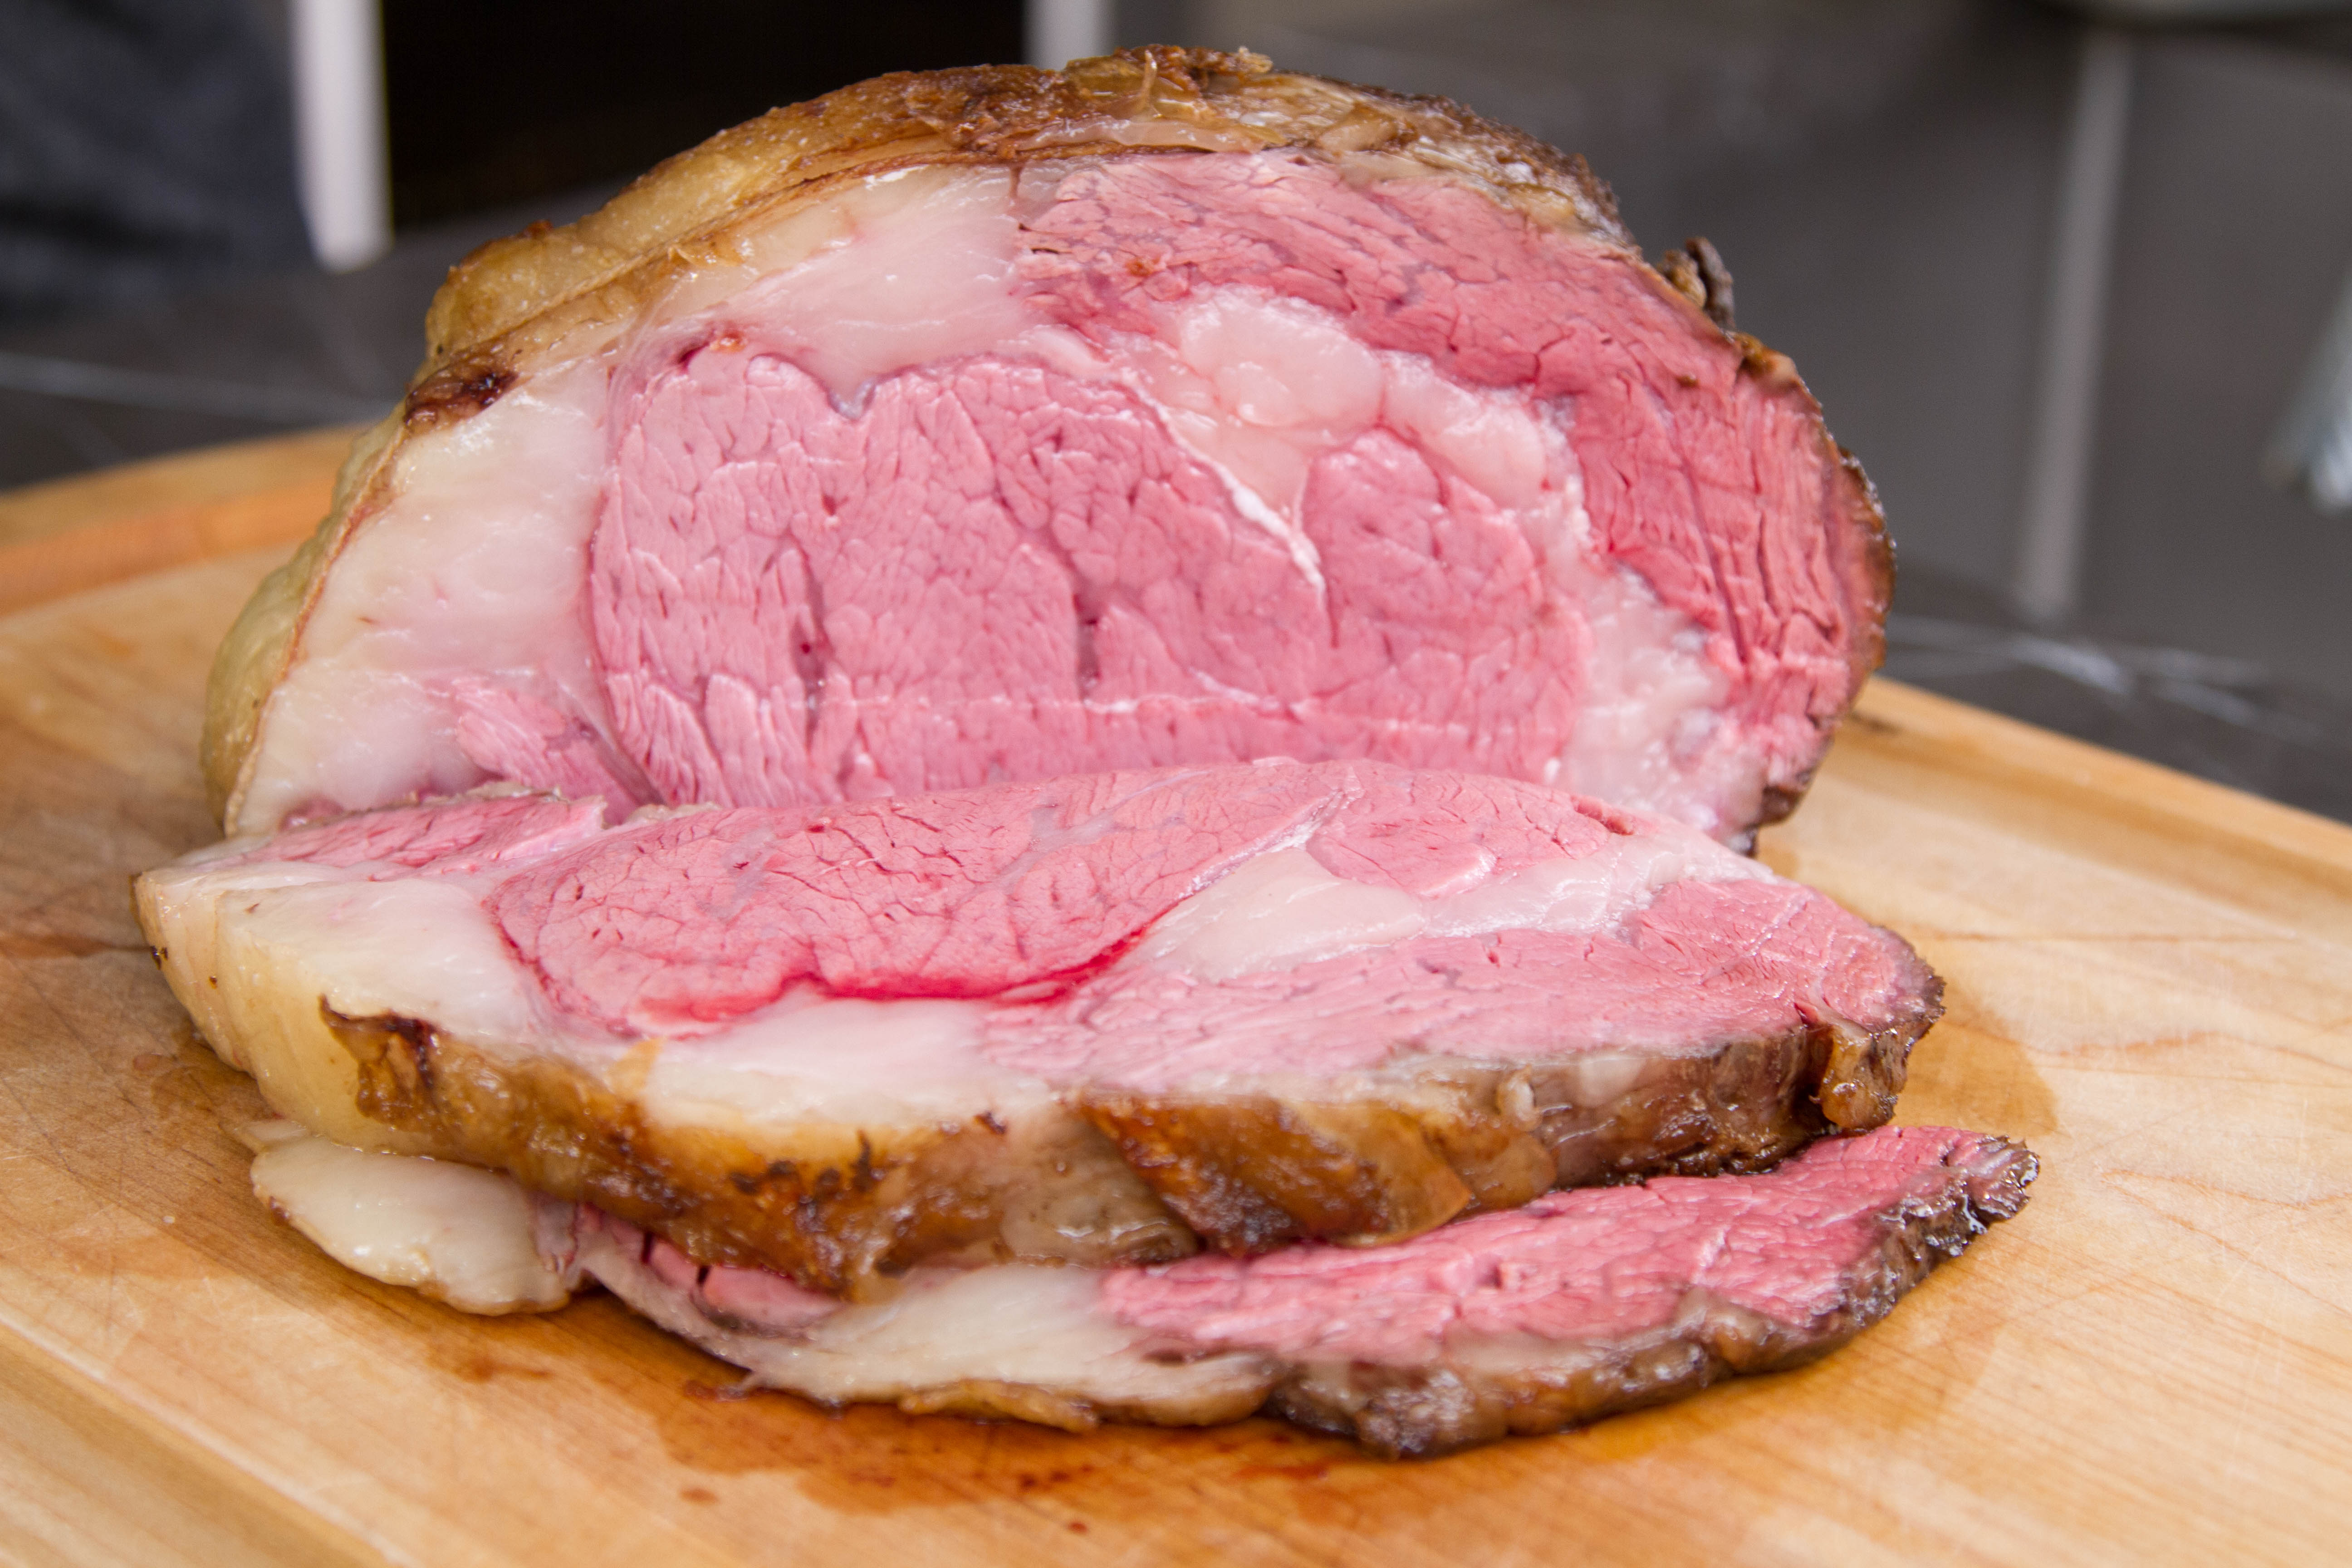
When the roast is good and tempered, massage with a light coating of olive oil. Add herbs, coarse kosher salt, and fresh ground pepper. We tied the roast with butcher’s twine to hold the meat together in a tight, uniform shape. This will aid in even cooking.
Searing the Prime Rib Roast – Achieving the Desired Browning
We chose to pre-sear the roast prior to putting it in the oven. Searing first allows us to achieve the desired browning on the surface without overcooking. If we were to sear after cooking we would risk overcooking a quarter to half an inch of the meat closest to the surface leaving a thin layer of gray meat. While this doesn’t completely ruin the roast, it does not achieve the goal of edge-to-edge even coloration and doneness.
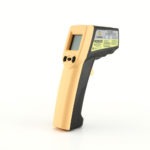
Preheat a roasting pan or skillet over the oven burners and add a dribble of olive oil. Wait until the oil is just ready to start smoking or the pan reads 500°F (260°C) on an infrared meat thermometer. Very carefully place the roast in the pan. Sear the meat on all sides, including the ends.
When you’ve achieved your desired coloration, remove the roast and, if using the roasting pan for the sear, wipe the excess oil from the roasting pan to prepare it for the oven.
Cooking the Prime Rib
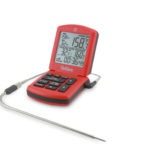
Insert your Pro-Series® oven probe into the center of the roast. For larger pieces of meat, it may be difficult to find the exact center. An easy way to estimate the center is to line up the probe over the meat with the tip of the probe at the center of the cut. Grasp the probe where it meets the surface of the meat with your fingertips. Insert the probe into the center until your fingers touch the meat surface. That’s as close to the center of the roast as you’re going to get!
Using the ChefAlarm, set the high alarm to sound when you’ve reached your desired temperature. Cooking to medium rare requires a finish internal temp of 130-135°F (54-57°C). We set our high alarm to sound at 125°F (52°C) in anticipation of a 5° temperature increase during the resting period. For more chef recommended temps see our Recommended Temperature Guide.
Place the roast on the middle rack in the oven set to 200°F (93°C). While this temperature may seem low, consider we’ve already achieved browning on the surface when we pre-seared; all we have to do now is slowly cook the meat until we reached our desired temperature. Roughly 125-130°F (49-54°C) for a perfect medium rare.
Upping the temp now and roasting at a 350-400°F (177-204°C) will leave you with overcooked meat near the surface resulting in that unsightly gray band we’re working so hard to avoid.
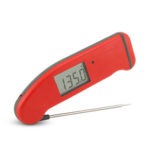
When the alarm sounds at 125°F (52°C), remove the roast and spot check temperatures in various locations. The Thermapen® is ideal for this process because it gives you super-fast temperature readings that are spot-on accurate. Insert the probe into multiple locations moving the probe slowly from the bottom to the surface until you see that temperatures are relatively uniform throughout.
Resting the Prime Rib – Achieving Your Desired Finish Temperature
Tent the roast with aluminum foil and allow the rest for 20 minutes. As we said before, the residual heat will move from the surface of the meat to the center resulting in a 5 to 8° temperature increase. Pulling the roast out of the oven at 125°F (52°C) will result in a perfectly cooked 130-135°F (54-57°C) medium rare when we’re ready to carve.
Although we’re not cooking by time, we recognize that it’s important to know how long the process takes so you can let your dinner guests know when to arrive. Anticipate roasting 3 to 4 hours when cooking to medium rare—depending on the size of the roast.
Watch our full prime rib “how to” video here!
Products Used:

Paul DeSalvo says
I have enjoyed your blog very much. It has given me much needed information in a concise manner. thank you
Harold Jones says
Thank you for the info to get the most from my Thermapen and ChefAlert
Flo Odell says
how long would it take to cook 21 lb. rib roast with bones
Jesse says
Oh boy! Using our method, it may take upwards of 4-5 hours. Try it out and let us know.
matt says
Good instructions, particularly with the low and slow method of cooking…I did this last Christmas and relied on my Thermapen for great results. The only thing I do differently is that I don’t pre-sear the roast but do that as the final step right before serving.
Two main reasons for this. One is that having cooked low and slow for so long the exterior is much warmer and drier and allows for the Maillard effect to occur much more rapidly without the heat getting to far into the roast.
The other big advantage to this is that you can time it perfectly with serving the other dishes, so that the outside of the roast is ready to slice and hot while the inside is cooked to perfect temperature.
You already know how great the thermapen is, but for those who don’t have one, if you are going to make a roast and spend $100 on a piece of meat, make the investment to ensure that it comes out perfect.
The compliments I got last year was worth every penny I spent on the thermapen….
J F Renish says
America’s Test Kitchen recommends separating the meat from the ribs, then browning the meat all over, then tying the meat back onto the ribs to roast. I have found this method to be spot-on.
Jesse says
A little more labor intensive, but a great method for sure.
Janice says
Jesse, the butcher will cut away the bones and tie it back on, just ask….that is except Costco, they won’t.
Jesse says
Thanks, Janice
John Wilhelm says
It seems like a pain to have to sear the meat on the oven. Can it be done on the stove top?
Jesse says
Hi John – Should have said stove-top burners, not oven burners. Pre-sear on the stove-top and roast in the oven.
Gerry Evoniuk says
I love this article! I have long let my steaks rest on the kitchen counter before cooking to come to 40-50 ° in temperature never realizing that USDA says 4 hours is the maximum. Now I have some justification for family and friends who question this practice. I have often said that the best chefs in the best steakhouses follow this practice but it never went over all that well.I am definitely going to give this a try for my next standing rib roast.
John Hansen says
Thank you for this great info. Can’t wait to try it.
Leon says
I always cook a bone in rib roast for Christmas at 200 degrees, and pull it at 125 degrees internal. I always have a hard time with the cooking time. Some time I’m early some time I’m late. Any input on cooking time when cooking at low temp would help. Thanks.
Bill says
I seperate the roast from the bones, season, and then sear on my Weber. I then tie the roast to the bones to use as a rack. When the roast comes out of oven, the bones are MINE.
Jason DeLuca says
How long at what temps? How long per pound? Basic answers make a recipe (a procedure) complete. You leave too many questions unanswered; too many things left to be assumed and not completely known.
Martin says
As we say in the post, cooking it at 200°F with the rack set in the middle position is a great way to go. Going with a “hours per pound” calculation doesn’t take into account your initial meat temp (is your fridge very very cold, or barely food-safe?) or meat geometry (a very wide rib that carries its mass through a wider circumference will cook very differently vs. a longer, skinnier rib) not to mention whether you have a bone-in or boneless rib roast. It’s safe to say that you’re looking t a good 3 hours for a medium-sized rib, but you should probably plan on 4 and have a cooler ready to keep it warm in if it’s done early.
Ricky says
When the standing rib roast comes out of the frig after defrosting, should it be covered when standing at room temperature before going into a 450f oven?
Martin says
It doesn’t matter.
Grace Dodds says
Going to school performance then all returning to my home for dinner. Have 7 pound boneless prime rib, how ca I leave cooking while at play?
Martin says
That depends on how long the play is! If the play fits into the cook time, leave it. If the play is too long, finish the rib first, then put it in a cooler to stay warm until the play is over. It will still be hot and exceedingly tender when you get back.
If you live close to the school and can duck in and out (I know, bad play etiquette), you could use Signals to monitor the cook with your phone during the play, then sneak out to take it out tf the oven when it’s done.