Indirect Heat: Grilling Tri-Tip
Tri-tip is a lean and juicy cut from the bottom of the sirloin that boasts big, beefy flavor. Its boomerang shape and uneven thickness require a little extra TLC for the best results. The secret to getting this tender, flavorful cut just right is in the grilling method, and temperature tracking is critical every step of the way. Keep reading for the key temps you need, and grill one up tonight!
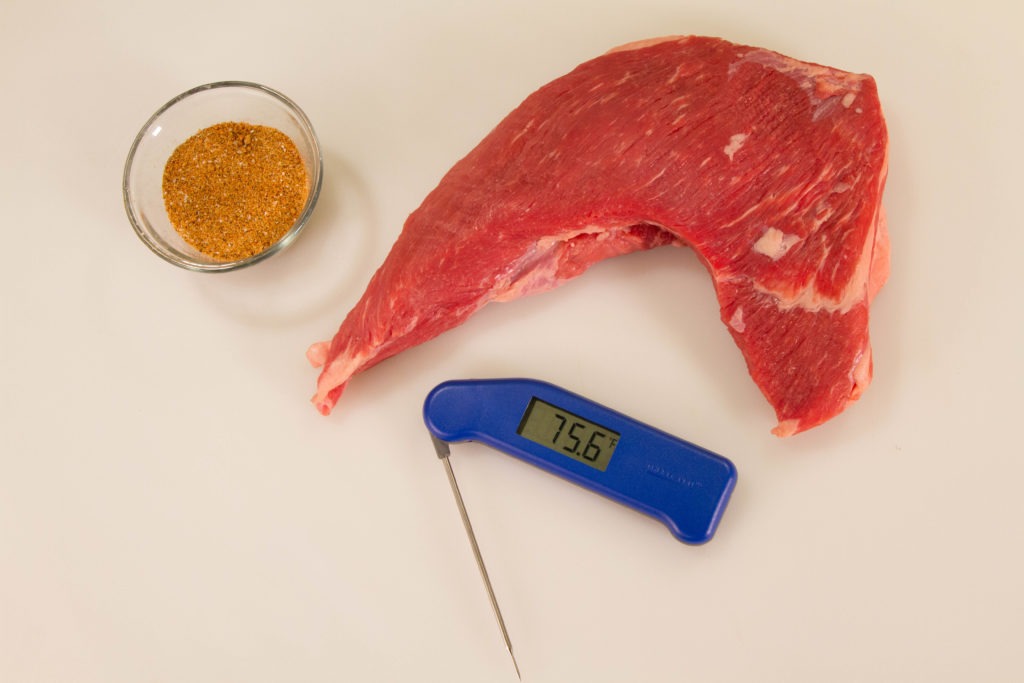
Tri-tip pull temp: 125°F for medium rare
Tri-Tip: The Cut You Need to Know!
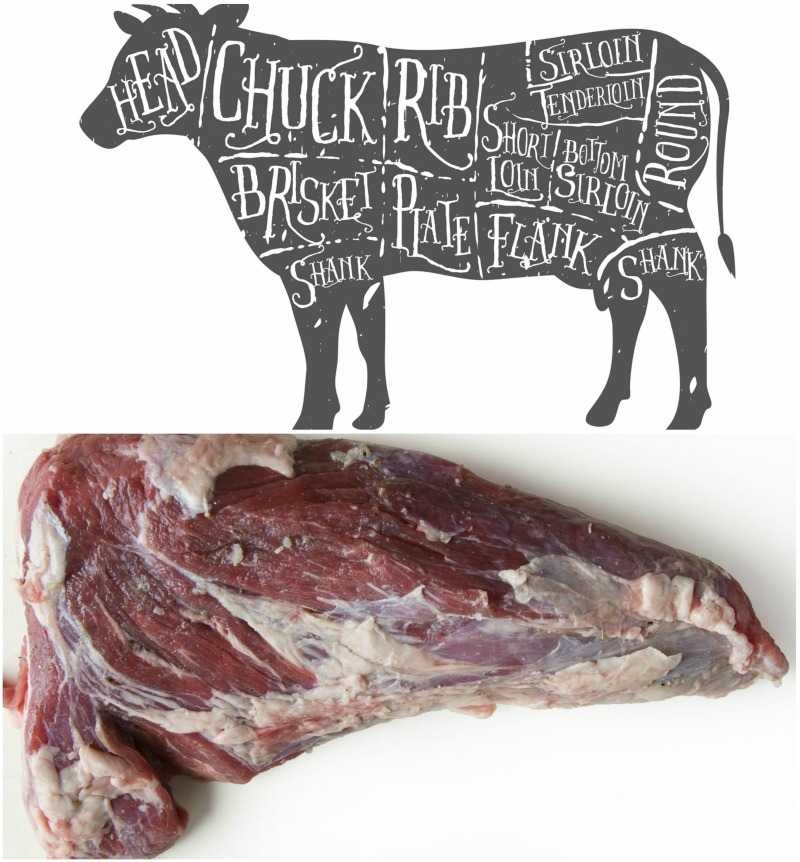
The fasciae latae muscle from the bottom sirloin is what to ask your butcher for if tri-tip isn’t readily available near you. The preparation for this unique cut originated in Santa Maria, California in the 1950s. Even though tri-tip lacks intramuscular fat, its flavor is very rich. Superb flavor and a modest price tag make this triangular cut one that you really need to know!
Simplicity in Preparation
Something we love about this tri-tip project is its simplicity. All you need is the meat, your favorite dry rub (or just salt and pepper!), a grill, and the right temperature tools. Tri-tip is so juicy and flavorful that you won’t want to overwhelm it with a strong marinade or sauce. In the traditional Santa Maria style preparation the meat is served with pico de gallo, but after being carefully sliced against the grain, tri-tip is delectable enough to be served alone. Try yours on top of a green salad, for steak tacos, or use it to make sandwiches.
One of a Kind
What makes the tri-tip unique is its boomerang/triangle shape that’s usually about 8 inches long, 3 inches wide, 3 inches thick in the center, with thin tapered ends. Weighing in at 1-1/2 to 2 pounds, it’s essentially a large boneless steak.
If grilled over high heat the ends will burn before the thick center is at an appropriate doneness temperature. But the muscle is fairly lean and tender without connective tissue and fat that needs to render with a long, slow cook. So what’s the best way to cook a tricky tri-tip??
The Santa Maria Grill
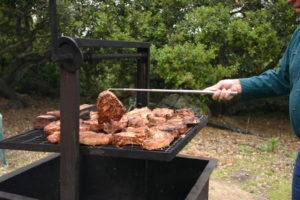
The solution for this finicky steak is for it to cook over indirect heat. A tri tip’s need for indirect heat led to the development of a very specific type of grill. The aptly named Santa Maria-style grill has a wheel and pulley mechanism to control the heat intensity by lowering or raising the grill grate above the hot coals (traditionally with red oak logs). Genius!
The trick to the best tender, juicy tri-tip is starting off with moderate heat to cook the meat close to its pull temperature first (to avoid overcooking the tri tip’s narrow ends) while occasionally flipping for even cooking, then quickly searing both sides over high heat for a beautifully flavorful crust.
The Key to an Ideal Tri-Tip Cook
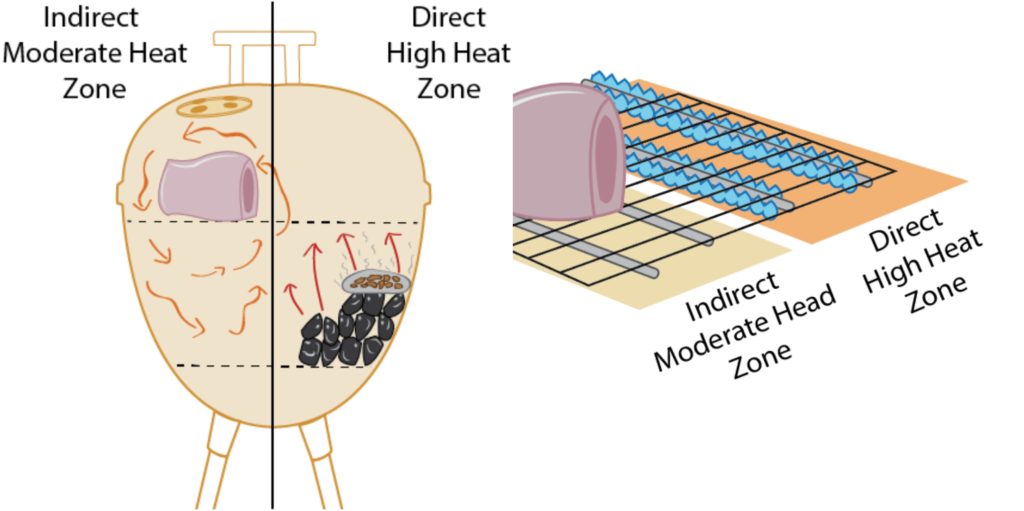
Indirect Heat with a Two-Zone Fire: Most of us don’t have an authentic Santa Maria grill in the backyard, so we took our tri-tip to a gas grill. A two-zone fire configuration for indirect and direct heat cooking is in order to let this cut’s best qualities shine through. Read more detail on how to set up a two-zone fire with a charcoal or gas grill in our post Indirect Heat: Sweet Stuffed Pork Loin. The ambient temperature surrounding the meat cooks it more gently than direct heat.
A grill grate’s surface is usually around 500-600°F (260-316°C) over high, direct heat. On the indirect-heat side of the grill where the grill is turned off—or there aren’t any hot coals—the grill grate will typically be in the range of 200-250°F (93-121°C)—perfect to avoid overcooking the outside of the meat. Even at low cooking temperatures, the tri-tip will cook through quickly because of its size and shape.
Two-Zone Fire Setup
Charcoal Grill Gas Grill
Not only is a two-zone fire the ideal setup for grill-roasting larger cuts of meat, it’s a good practice anytime you’re grilling. When cooking multiple items on the direct-heat side of the grill, each can be moved over to the indirect heat side once at their ideal pull temperature. This dual-heat method along with careful temperature tracking is a simple way to manage the ideal doneness of several foods at once.
Temperature control is the most important skill you can learn. That’s why I recommend a two-zone setup in almost every situation. The most common grilling mistake is spreading coals across the bottom of the entire grill or turning on all our gas burners. A two-zone setup gives us better temperature control on both charcoal and gas grills. Food placed on [the non-heat producing] side cooks by indirect convection heat wafting over from the hot side. —Meathead Goldwyn, Meathead
Let it Rest
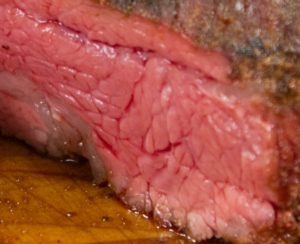
Resting is always an important step, but with this large steak it is especially essential because of the muscle’s large protein fibers. Other cuts like the tenderloin have thin protein fibers that retain their juices more readily than the tri-tip. Resting allows those large protein fibers to relax a bit and retain more moisture than they would if sliced and served directly after cooking. Even with a rest there will be more juices flowing out from this cut than what you may be used to with other steaks. A carving board with a groove to catch juices is helpful.

The Cook: Grilling a Delicious Tri-Tip
We followed the cooking method for grilled tri-tip as outlined in the book Meathead written by Meathead Goldwyn of AmazingRibs.com.
Ingredients
- 1 1-1/2 to 2 pound tri-tip
- Your favorite dry rub (enough to coat the meat on all sides), or salt and pepper
Equipment
- Grill setup for a two-zone fire
Directions
1—Prepare grill
(either charcoal or gas) with a two-zone fire setup for indirect and direct heat cooking as described in our post Indirect Heat: Sweet Stuffed Pork Loin.
 2—Track the Temperature of the grill
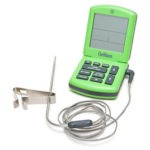
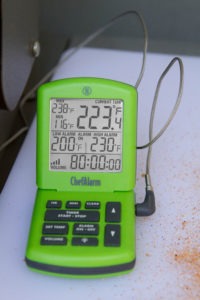
with a ChefAlarm®. Attach a Pro Series® air probe to the grill grate with a grate clip on the indirect-heat side of the grill. Set a ChefAlarm’s low alarm to 200°F (93°C) and the high alarm to 230°F (110°C) to keep the ambient temperature in the grill in the range of about 200-225°F (93-107°C). Adjust the vents, charcoal, or gas to maintain the proper temperature.
3—Trim tri-tip of any chunks of fat or silver skin, and pat dry with paper towels.
4—Apply dry rub or salt and pepper.

5—Place the tri-tip on the indirect heat
side of the grill, close the lid, and set a TimeStick® for 20 minutes.

6—Flip the tri-tip
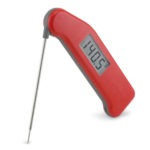
after the TimeStick’s alarm sounds. Continue flipping about every 20 minutes until the internal temperature reaches 110-115°F (43-46°C)—spot-checking with a Classic Thermapen®. This should take about 40-45 minutes depending on grill temperature fluctuations and the size of your tri tip.
7—Transfer the tri-tip
to the hottest area of the direct heat side of the grill once the meat’s internal temperature has reached the range of 110-115°F (43-46°C). Sear on both sides—about 3-5 minutes per side.

8—Pull the tri tip from the grill
when the internal temperature reaches about 125-130°F (52-54°C), for a final medium rare doneness temperature of about 130-135°F (54-57°C).

9—Allow the tri-tip steak to rest
(covered with aluminum foil) for 15 minutes to allow the protein fibers to relax and reabsorb some of its juices. Slice, and serve.

Slicing a Tri-Tip:
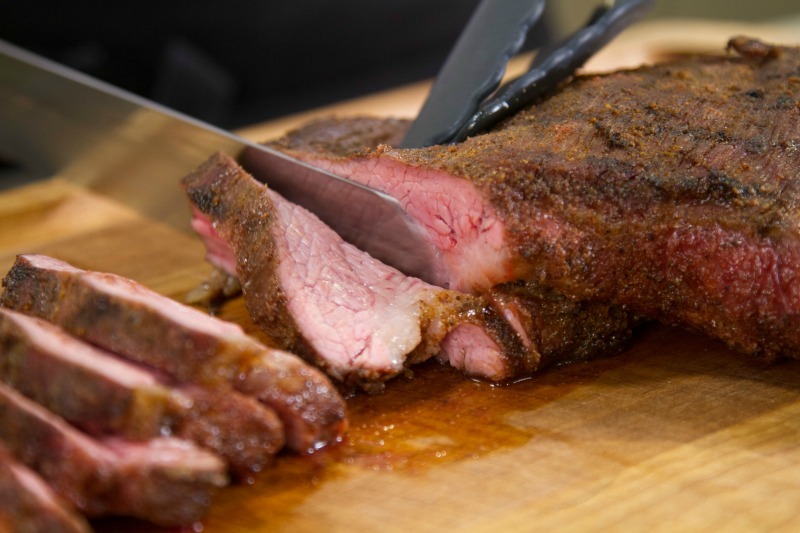
The triangle shape of this cut makes it a little bit tricky to slice properly. Protein fibers in meat are like long thin strands, and they are arranged in one direction. It’s important to slice the meat against this directional grain so the strands of cooked protein are then in a slice that is a collection of short strands, rather than long, stringy ones that are tough to chew.
- Cut the steak in half through the center (as shown in the video above)
- Then begin slicing each half from the tip to the cut end into 3/8 to 1/2-inch slices.

The extra TLC a tri-tip needs is an indirect heat cook followed with a direct heat sear. This two-stage grilling method guided by careful temperature control, allows this unevenly-shaped cut of meat to reach its tender, juicy best.
Products Used:


 2—Track the Temperature of the grill
Your article was very informative as usual.I have used your articles in the past with great success. Keep them coming please.
Chris,
So glad our posts have been helpful for you! Temperature control and understanding how it affects food really improves the quality of what you cook and serve. Stay subscribed to our email list so you don’t miss any of our content.
Thanks!
-Kim
The typical Santa Maria tri-tip seasoning is equal parts kosher salt, cracked black pepper, and garlic powder. Slice across the grain, but notice that the direction of the grain changes at the tri-tip’s “elbow.”
Serve with a pot of beans (they have a local type called pinquito in the St Valley; use small pink beans instead). A simple green salad. Crunchy garlic bread. Classic.
Suggestion: make two. (1) You and your guests might eat more than you’d think, because this is a delicious meal. (2) Leftover tri-tip sliced thin makes fantastic sandwiches.
I’ve done tri-tips and on occasion have tweaked the various cooking steps to see “what happens.” By far, this recipe, which is “my” recipe, too, hits all the marks. One difference – while my Thermapen is blue like yours, my Chef Alarm is white, unlike yours. RE: the great debate among enthusiasts (who like me sometimes border on the obsessive) of “to wrap” or “not to wrap”, I usually can go either way, depending on what I feel like and how far along the rest of the meal preparation is going, but for tri-tip, I wrap. A grooved carving board is a must, too. One can always serve this as an open-faced sandwich and use those juices, and the wrap also collects some for use.
Harry,
I think wrapping is a great idea. We’ll need to try it with our next tri tip cook. That would be a great way to capture all of the flavorful juices. It’s a fun and versatile cut of meat. Thank you for your comment!
-Kim
I love the ease of printing a printer friendly copy of your recipes and articles. Great information in everything I have looked at this morning. I have several timers and just ordered a grilling cookbook.
Thanks for the great information and clear instructions!!
Susan,
I’m so glad you noticed the printer-friendly format! Our new website and blog have allowed us to have more user-friendly features.
Thank you for your comment,
-Kim