

Grilled Ribeye: Bone-In or Boneless?
Beautifully marbled ribeye steaks are one of the richest, beefiest, most flavorful cuts available. When grilling this delectable piece of meat which is better: bone-in or boneless? The answer is completely thermal.
 What is Ribeye?
 What is Ribeye?
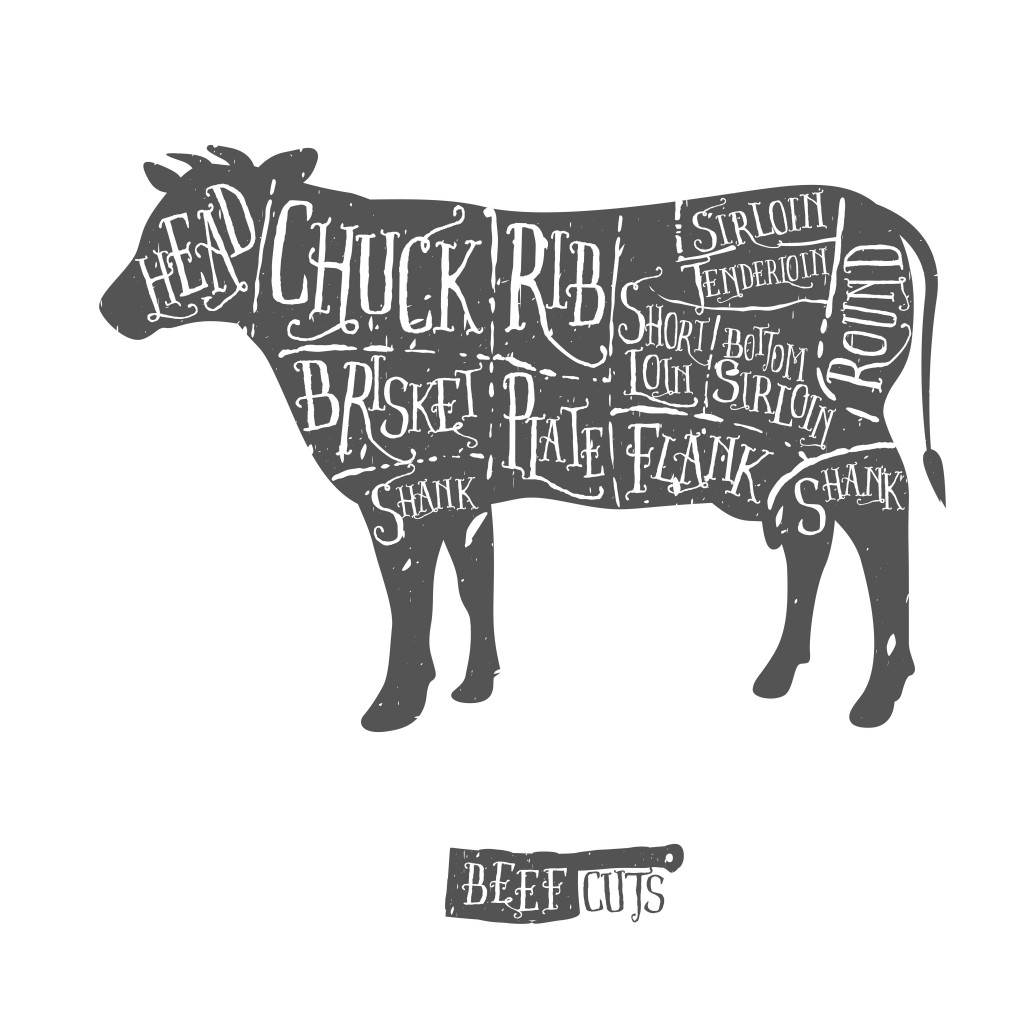
The ribeye cut (sometimes called the Delmonico steak) is from the front longissimus dorsi, from the rib primal cut of the steer. It’s very highly marbled—much of the rich, beefy flavor comes from the fat, making this an exceptionally flavorful steak. Some feel this is the tastiest quick-cooking cut of beef available.
The Bone-In Steak Theory:
It’s often said that bones impart rich flavors from the marrow, while others say it doesn’t make a bit of difference in the end result because the marrow won’t permeate the bone with such a quick cooking method. What’s going on with the bone, anyway? Does marrow permeate the bone as it cooks, making the meat juicier? Is there really a benefit to cooking bone-in cuts over boneless, or is it all in our heads?
What the Bone Doesn’t Do:
 There is connective tissue surrounding the bone, and for the collagen to adequately break down into moisture-absorbing gelatin, it needs to be exposed to temperatures in the range of at least 140-160°F (60-71°C) for hours. Gelatin does indeed help retain the meat’s juices and impart a silky texture; but the quick, high-heat cooking method of grilling is not designed to break down collagen, and our target internal temperature is below 140°F (60°C). Marrow does not seep through the bone (and there is very little marrow in rib bones as compared to shank bones). Simply stated, the bone truly does not impart juiciness to the meat.

What the Bone Does:
So what really is going on? Bones are made up of a very porous calcified material whose density is much lower than that of meat. This property insulates the meat during cooking. The meat surrounding the bone will remain at a lower temperature longer than it would without the bone—even during carryover cooking. The temperature-maintaining properties of the bone will leave the meat in a thermal range where the meat is more moist and tender, giving the perception that the bone is imparting moisture when it’s really controlling the level of protein denaturation in the meat. The texture of the meat is all about temperature!
Thermal Tip:
The hollow, honeycombed structure slows (heat) transfer and turns bone into an insulator. This is why meat is often said to be “tender at the bone,” more succulent there because less thoroughly cooked. —Harold McGee, On Food and Cooking

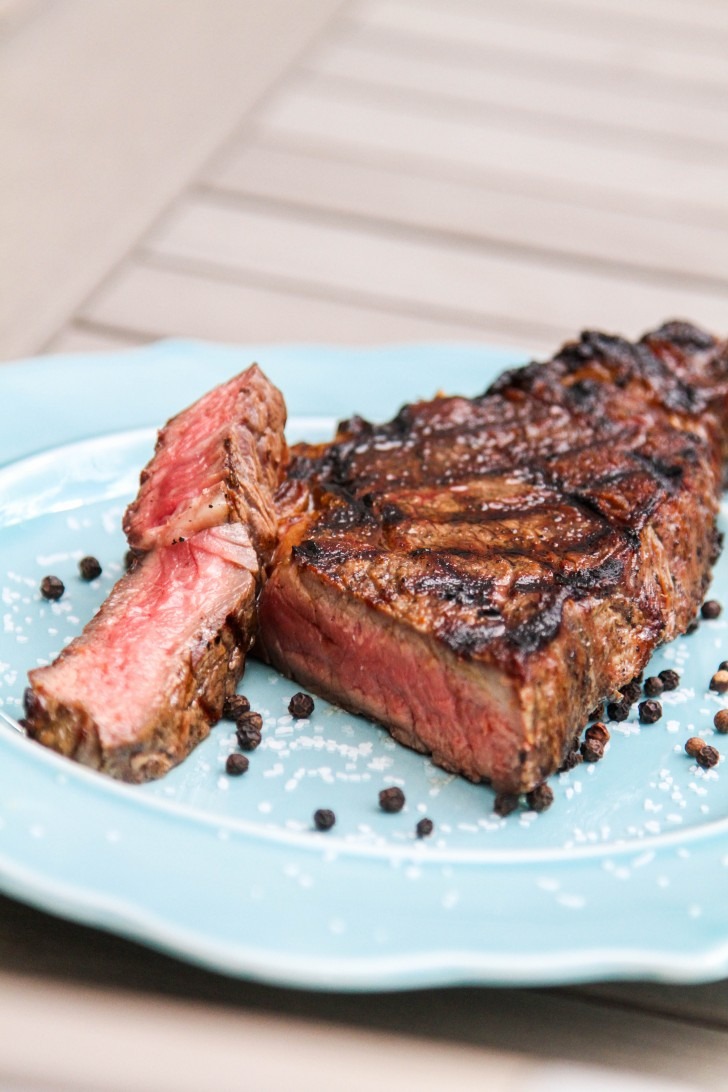
We decided to see for ourselves what difference the bone really seems to make. We had 1″ to 1-1/2″ thick cut ribeye steaks both bone-in and boneless and took them to the grill.
How to Grill Ribeye Steak
Ingredients
- Bone-in and boneless ribeye steaks cut 1″ to 1-1/2″ thick
- Kosher salt (or as an alternative, try smoked salt!)
- Coarsely ground black pepper

• Rub salt over the exterior surface of each steak and refrigerate overnight, uncovered on a wire rack to dry brine. This will not only season the meat but alter the protein’s structure to be able to retain more of its own moisture and become more tender. The outer surface will also dry out a bit during this process, the perfect makings of a crisp, brown crust. If you haven’t tried dry-brining before, it’ll be a game-changer!
 • Remove steaks from the refrigerator, rinse off the salt, and pat dry with paper towels. A dry surface is essential in creating a crisp, brown crust on the grill. (Moisture on the surface will just steam and prevent browning.) Sprinkle each side with black pepper. Do not sprinkle with additional salt. The dry brining will have seasoned the meat sufficiently.
• Prepare your grill for a two-zone fire with both indirect and direct heat.
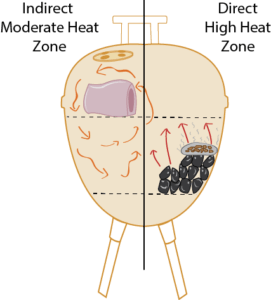 • Place steaks on the direct heat side of your grill for initial searing, and allow to cook, undisturbed, until a crust forms and it releases easily from the grate.
Safety Tip: Avoid Flare-Ups
Flare-ups are small, quick grease fires that occur when rendering fat drips onto the coals or heating element of your grill. Ribeye is an especially well-marbled cut of meat that is prone to flare-ups. To help prevent flare-ups (or at least keep them small), here are a few tips:
- Trim away excess fat. Fat is helpful for flavor and mouthfeel, but trimming away excess chunks can prevent grease fires.
- Use the two-zone heat method—one area of the grill set at high heat for searing, and another area of your grill set at low heat for cooking the meat’s interior to the pull temperature. If a flare-up occurs, move the meat away from the flame.
- Keep the grill clean. Debris and oil residue are great fuel for flare-ups.
- If the flare-up gets out of control, turn off the burners (for gas grills).
- Always keep a fire extinguisher close to the grill.
• Flip the steak after about 4-5 minutes, once the crust has formed.
Thermal Tip:
Flip as often as you’d like. Flipping multiple times not only gets your meat to cook a little faster, it also makes it cook more evenly and develop a crust just as nicely as a single flip will. —Kenji Lopez-Alt, The Food Lab, pg. 309
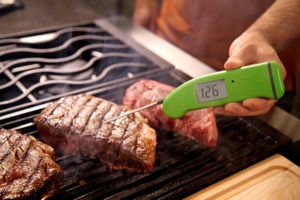
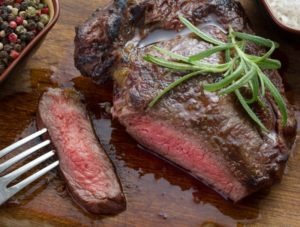
• Once a crust has been developed on both sides, move steaks to the indirect-heat side of the grill, and occasionally flip until pull temperature is reached. We spot-checked internal temperatures with our Thermapen® ONE. Thermapen’s quick readings and rotating display make it a great choice for checking pull temperatures from any angle. Our target pull temperature for medium rare doneness is about 125°F (52°C). Our steaks took a total of about 12-18 minutes to cook. (Note that very thick 2-1/2″ steaks can take up to 30 minutes to cook.)
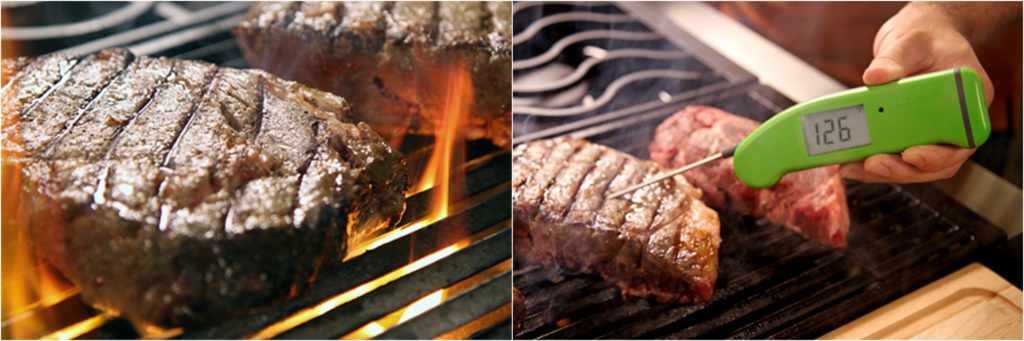
• Pull steaks at 125°F (52°C) and allow to rest tented with heavy duty foil. During the rest, carryover cooking will increase the internal temperature by 5-10°F (2-3°C) for lovely 130-135°F (54-57°C) medium rare doneness.
 Thermal Conductivity:
According to a study done by Dr. Blonder in measuring the temperature gradients in a t-bone steak as it cooks, the temperature of the meat nearest the bone was about 10°F (5°C) lower than in the center—the difference between rare and medium rare. Thermal conductivity is a measure of how fast heat passes through a substance. As water transfers heat more efficiently than protein alone, meat’s thermal conductivity is dominated by its water content that drives the heat energy through. The thermal conductivity of water is .59, raw meat is .45, and bone is .34. It makes sense that the inward-seeking thermal energy from the bone side of the steak isn’t as strong as it is from the meat-only edge.
During the cook, we noticed that the bone-in steaks did indeed remain at a lower internal temperature for a longer period of time (about 10°F, just as in Dr. Blonder’s study) than the boneless steaks. The meat nearest the bone remained at a lower temperature even after resting. The bone offers an insulating property to resist temperature increases for longer periods of time, and the result is a more tender and juicy steak.
Bone-in or Boneless? What is the Answer?
What is the answer to the perennial question of bone-in vs boneless? Experts agree that the clear runaway winner is bone-in. The key benefit the bone brings to the table is its insulating property that influences how heat transfers through the meat, affecting the final texture of the protein. Whether preparing a delectable ribeye, porterhouse, or even pork chops, start off with high-quality bone-in meat.
Put the bone-in theory to test on your own grill today!
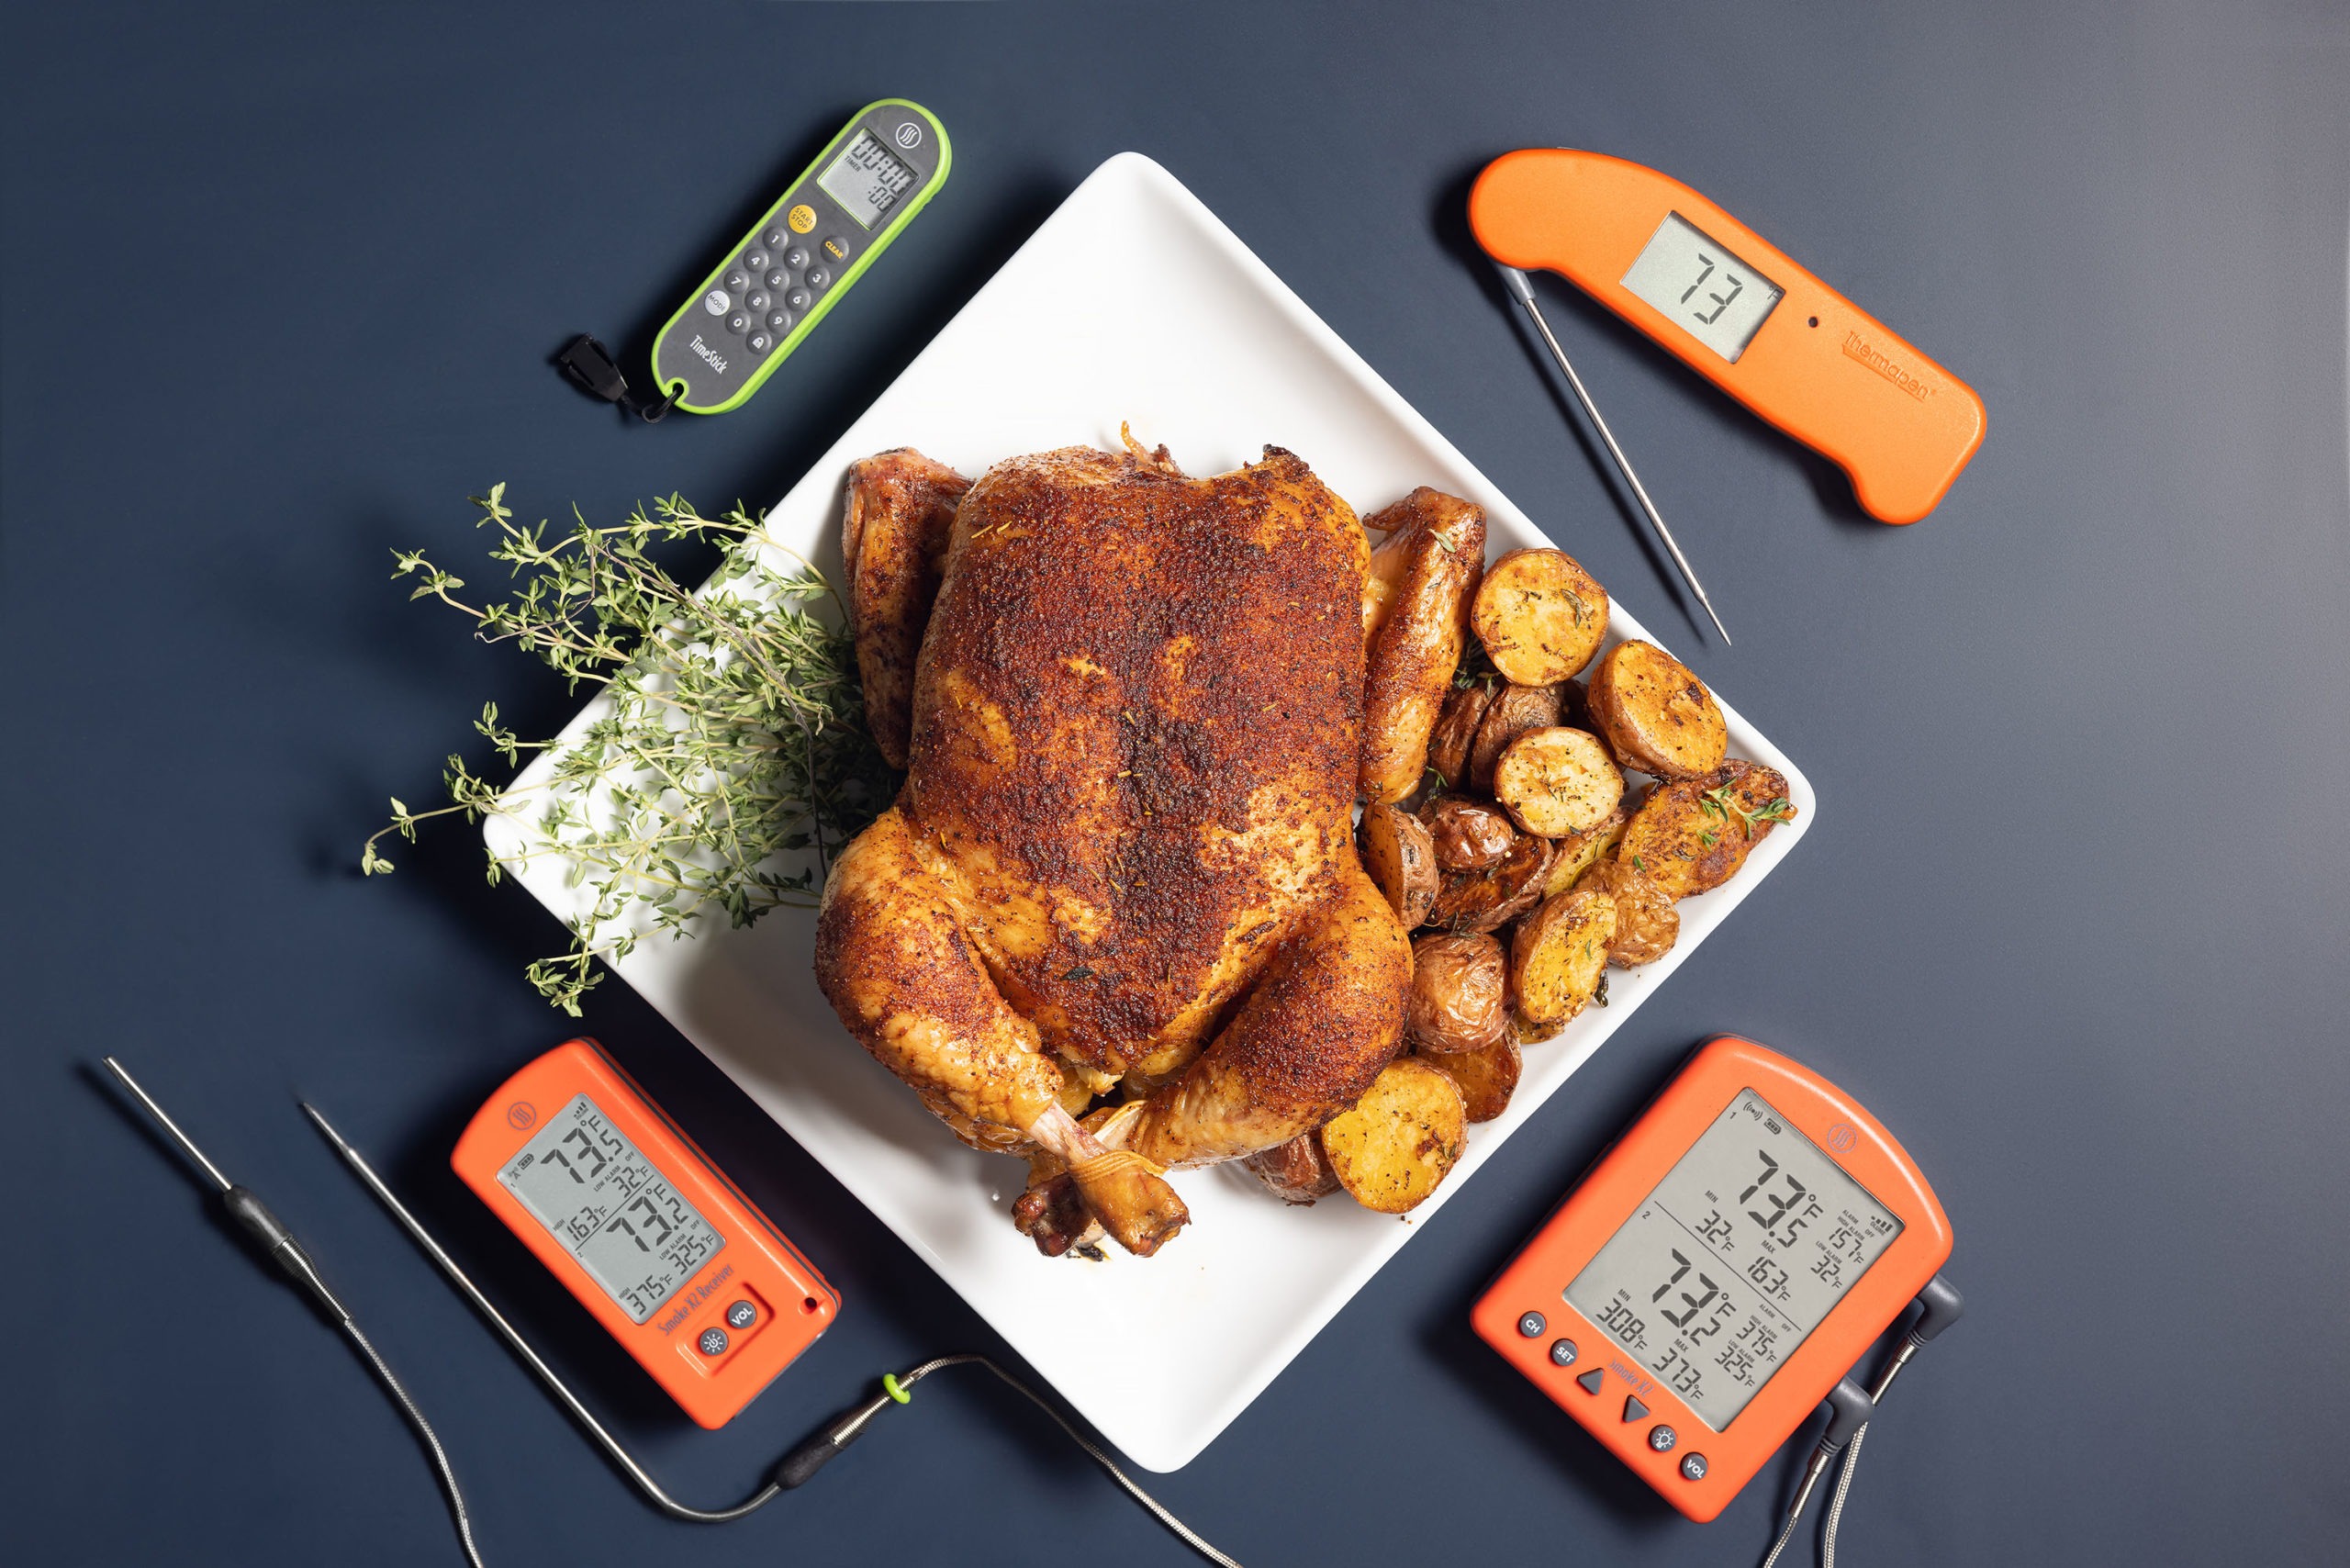
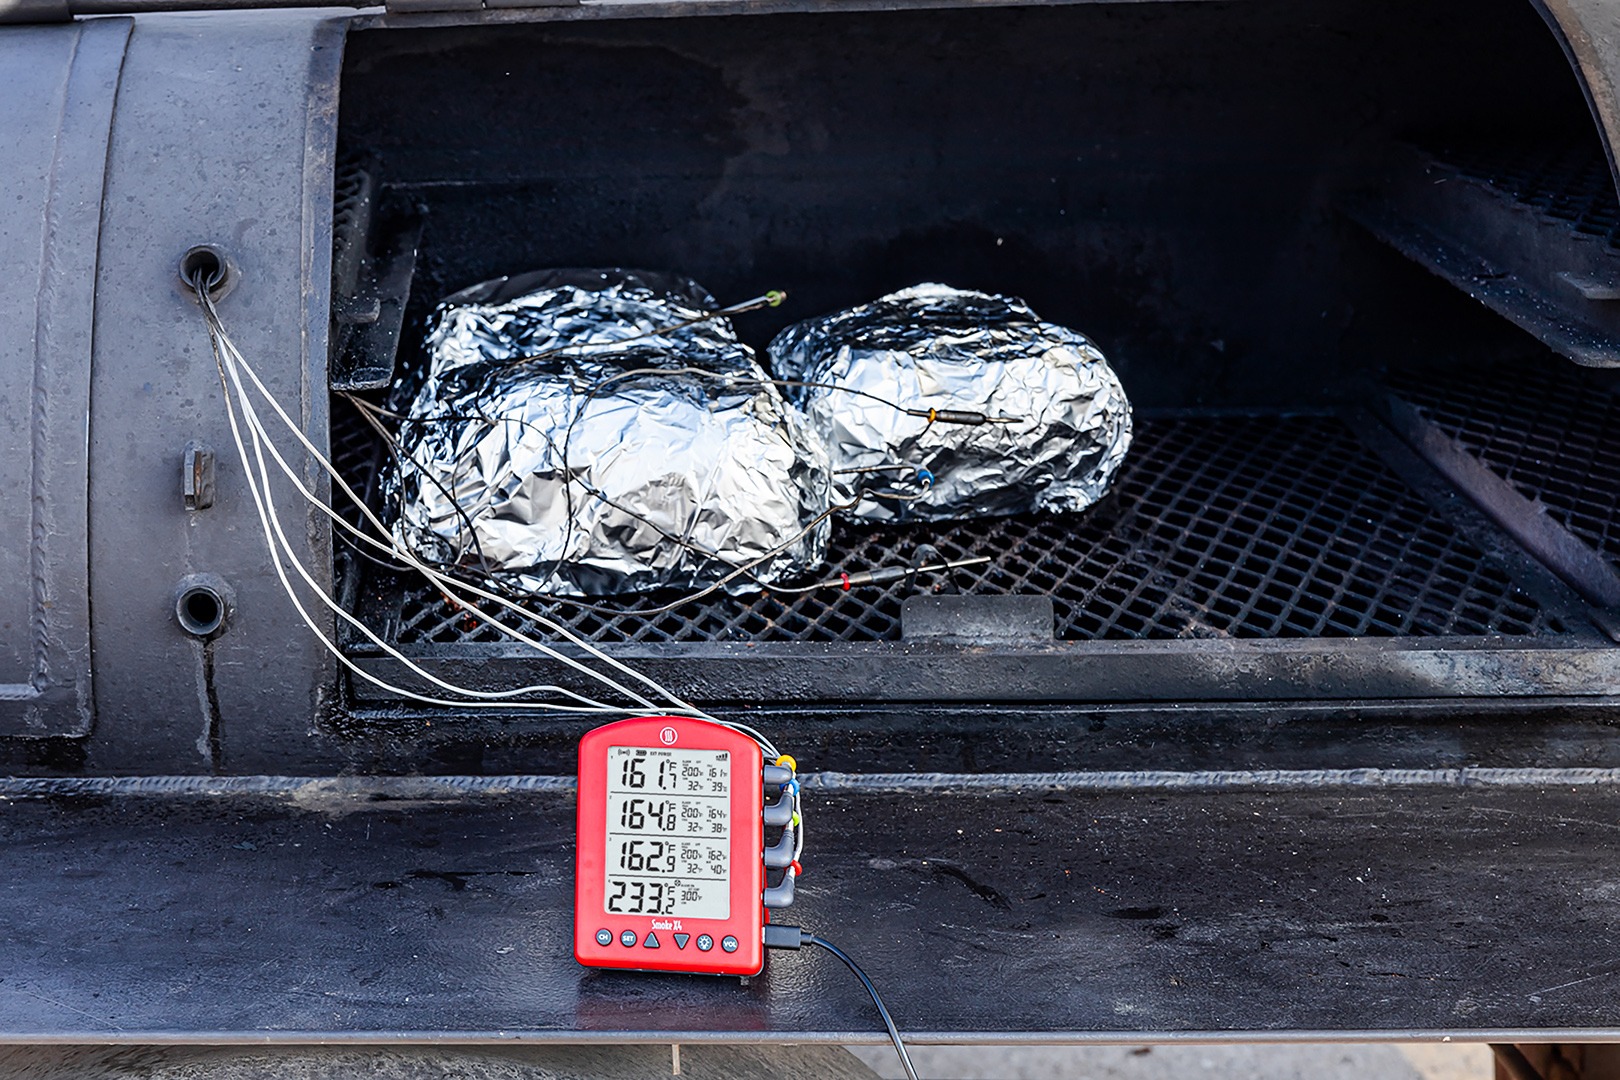
Products Used:
Resources:
On Food and Cooking, Harold McGee
The Great Bone-In vs. Bone-Out Debate, Chicago Steak Company
To The Bone, Genuine Ideas, Dr. Blonder
Shop now for products used in this post:

Thanks for the tips on “Bone-in, Bone Not In” steaks. Love rib eyes for the marbling….gives more flavor. Hope someday to get Infrared grill. Have infrared cooker which is super for turkey, standing rib, ribs, etc.
Richard,
Agreed! Ribeyes are incredibly flavorful–because of the marbling. And the bone really does make a difference.
Happy Cooking!
-Kim
That was a great article, very informative. Thank you
Just curious, could you also cook longer at a lower temperature?
Incidentally, I’m still experimenting on steals. I’ve been trying the “reverse sear” method with excellent results, where I cook the steak in a cooler zone at 225 and sear at the end. This gives a tremendous tender steak and even throughout. However, the big downside is that it takes 30-40 minutes.
I’ haven’t tried searing first, may do that, and also bump up the temp a little
BTW, one of the best things I did last year was buying your Thermopop and Chef Alarm! I smoke meat a lot, and they are fantastic (also great for burgers).
Kerry,
Absolutely! You can do a low temperature cook with the steaks and finish with a high temperature sear. With this particular piece we wanted to use a straight-forward one-step cooking method. Try pulling your steaks from the low temperature cook at around 115°F as the finishing sear will increase the internal temperature. So glad you’re pleased with your ThermoPop and ChefAlarm!
Thanks,
-Kim
I’ve been doing the reverse sear method also, start in the smoker on low heat, then sear over charcoal. Best steaks I’ve ever had!!! Including high end restaurants!!! Worth the time and effort, also prefer bone in.
Heat absorbing properties or not, I just love gnawing
the meat off of the bone…so what if your fingers get messy.
Winn,
Too funny! There really is something satisfying about devouring every bit of carnivorous perfection from the bone, and there are some foods where a little mess is just a part of the experience.
Thanks,
-Kim
Love your articles on grilling. I have also switched to the reverse grilling method with amazing success. I have been cooking prime quality rib steaks this method and did so again last night. I cooked a 77 day old, dry aged rib steak (bone-in) and boneless rib steak (not dry aged), both around 2 inches thick. I dry brine them with Himalayan salt 2 hours before cooking. I typically cook the meat to 110-115 indirect before finishing over the fire. I brush the steaks with beef love before moving them directly over the fire and again when I remove them. I let them rest for 5 minutes uncovered before slicing. I pour off the juice and over the meat when serving. Final temperature is 128-133 degrees. Serve on a slightly warmed plate or salt block. Both steaks are fantastic. My kids and I prefer the dry aged (bone-in) and my wife prefers the boneless, non-dry aged.
Chris,
Sounds like we need to have dinner at your place! Your method sounds phenomenal. Interesting with the meat preferences. It’s amazing how much of a difference wet vs dry aging, and bone-in vs boneless makes. Grill on, Chris!
Thanks,
-Kim
Chris,
Do you mind sharing your dry aging process? I love rib steaks and would like to try dry aging.
Thanks,
Mike
I have learned so much from your site, I read every one of them that come in my email and try them too. Now I can’t wait to try the bone-in rib-eye and the dry brine method. I’m 80 years old and still learning. Also, your products are the best, Thanks, and keep them coming!
Wanda,
Thank you so much for your comment! Let us know how your ribeye cook goes.
Thanks,
-Kim
Love this method, but still struggling with the proper amount of salt. Any suggestions?
Don,
I would recommend very lightly sprinkling salt on all sides of the meat. You can always add more salt to taste once served, but it can’t be taken away. Use less than we did as pictured in the post. A good rule of thumb is 1/2 teaspoon kosher salt per pound of meat. I hope this helps!
Thanks,
-Kim
thanks for the recipe for cooking meat, the idea on the gel is very awesome, at the sight of the photos, saliva immediately went, I saved the page in bookmarks. Thanks to the author as always! Cool!