How to Make Fried Chicken: Deep-Frying Thermal Tips
Southern fried chicken is one of the great additions to the culinary canon that America has come up with. Hot, juicy chicken makes a fantastic meal worthy of any celebration—but only if it’s good!
Perfectly fried chicken should be light and crisp on the outside with meat that’s tender and juicy all the way through, and never greasy. There are some very common errors that can occur when deep-frying your own chicken at home, and luckily they have simple thermal solutions. We have tips and an expert recipe for foolproof fried chicken that turns out perfectly every time!
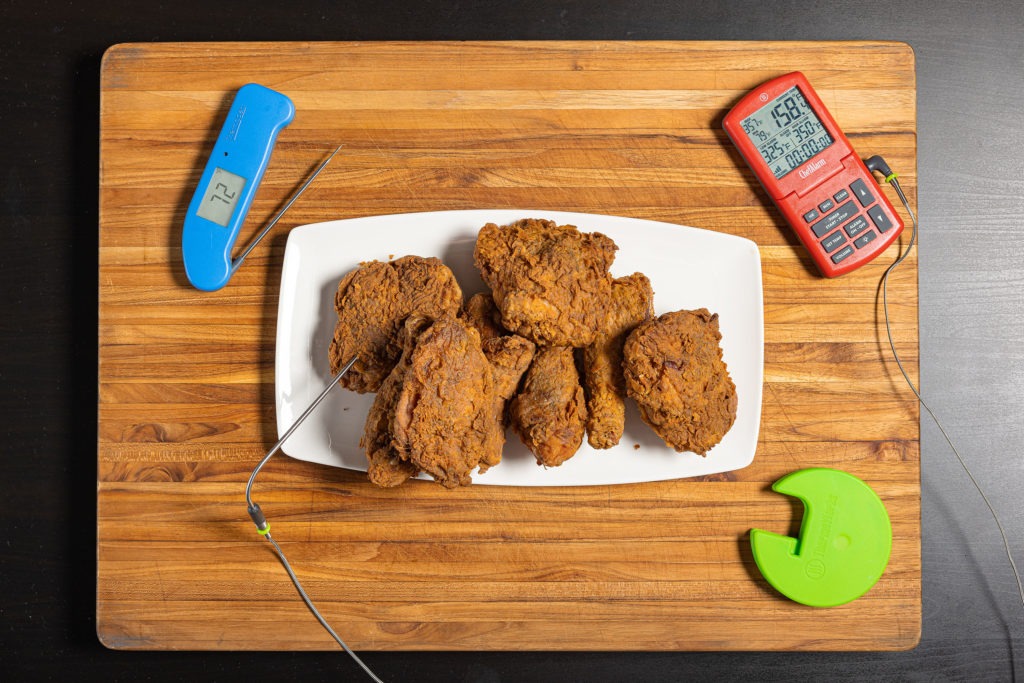
Get the tools for this cook here:
Fried Chicken Troubleshooting
Some of the most common problems that can befall a would-be perfect batch of fried chicken are:
1. Greasy Exterior
Fried foods easily become greasy when the cooking oil is too cool in the beginning. The breading absorbs the oil rather than immediately beginning to cook.
2. Undercooked Meat
This occurs when the cooking oil is too hot and the exterior of the fried chicken is done before the meat has a chance to cook all the way through.
3. Uneven, Patchy Breading
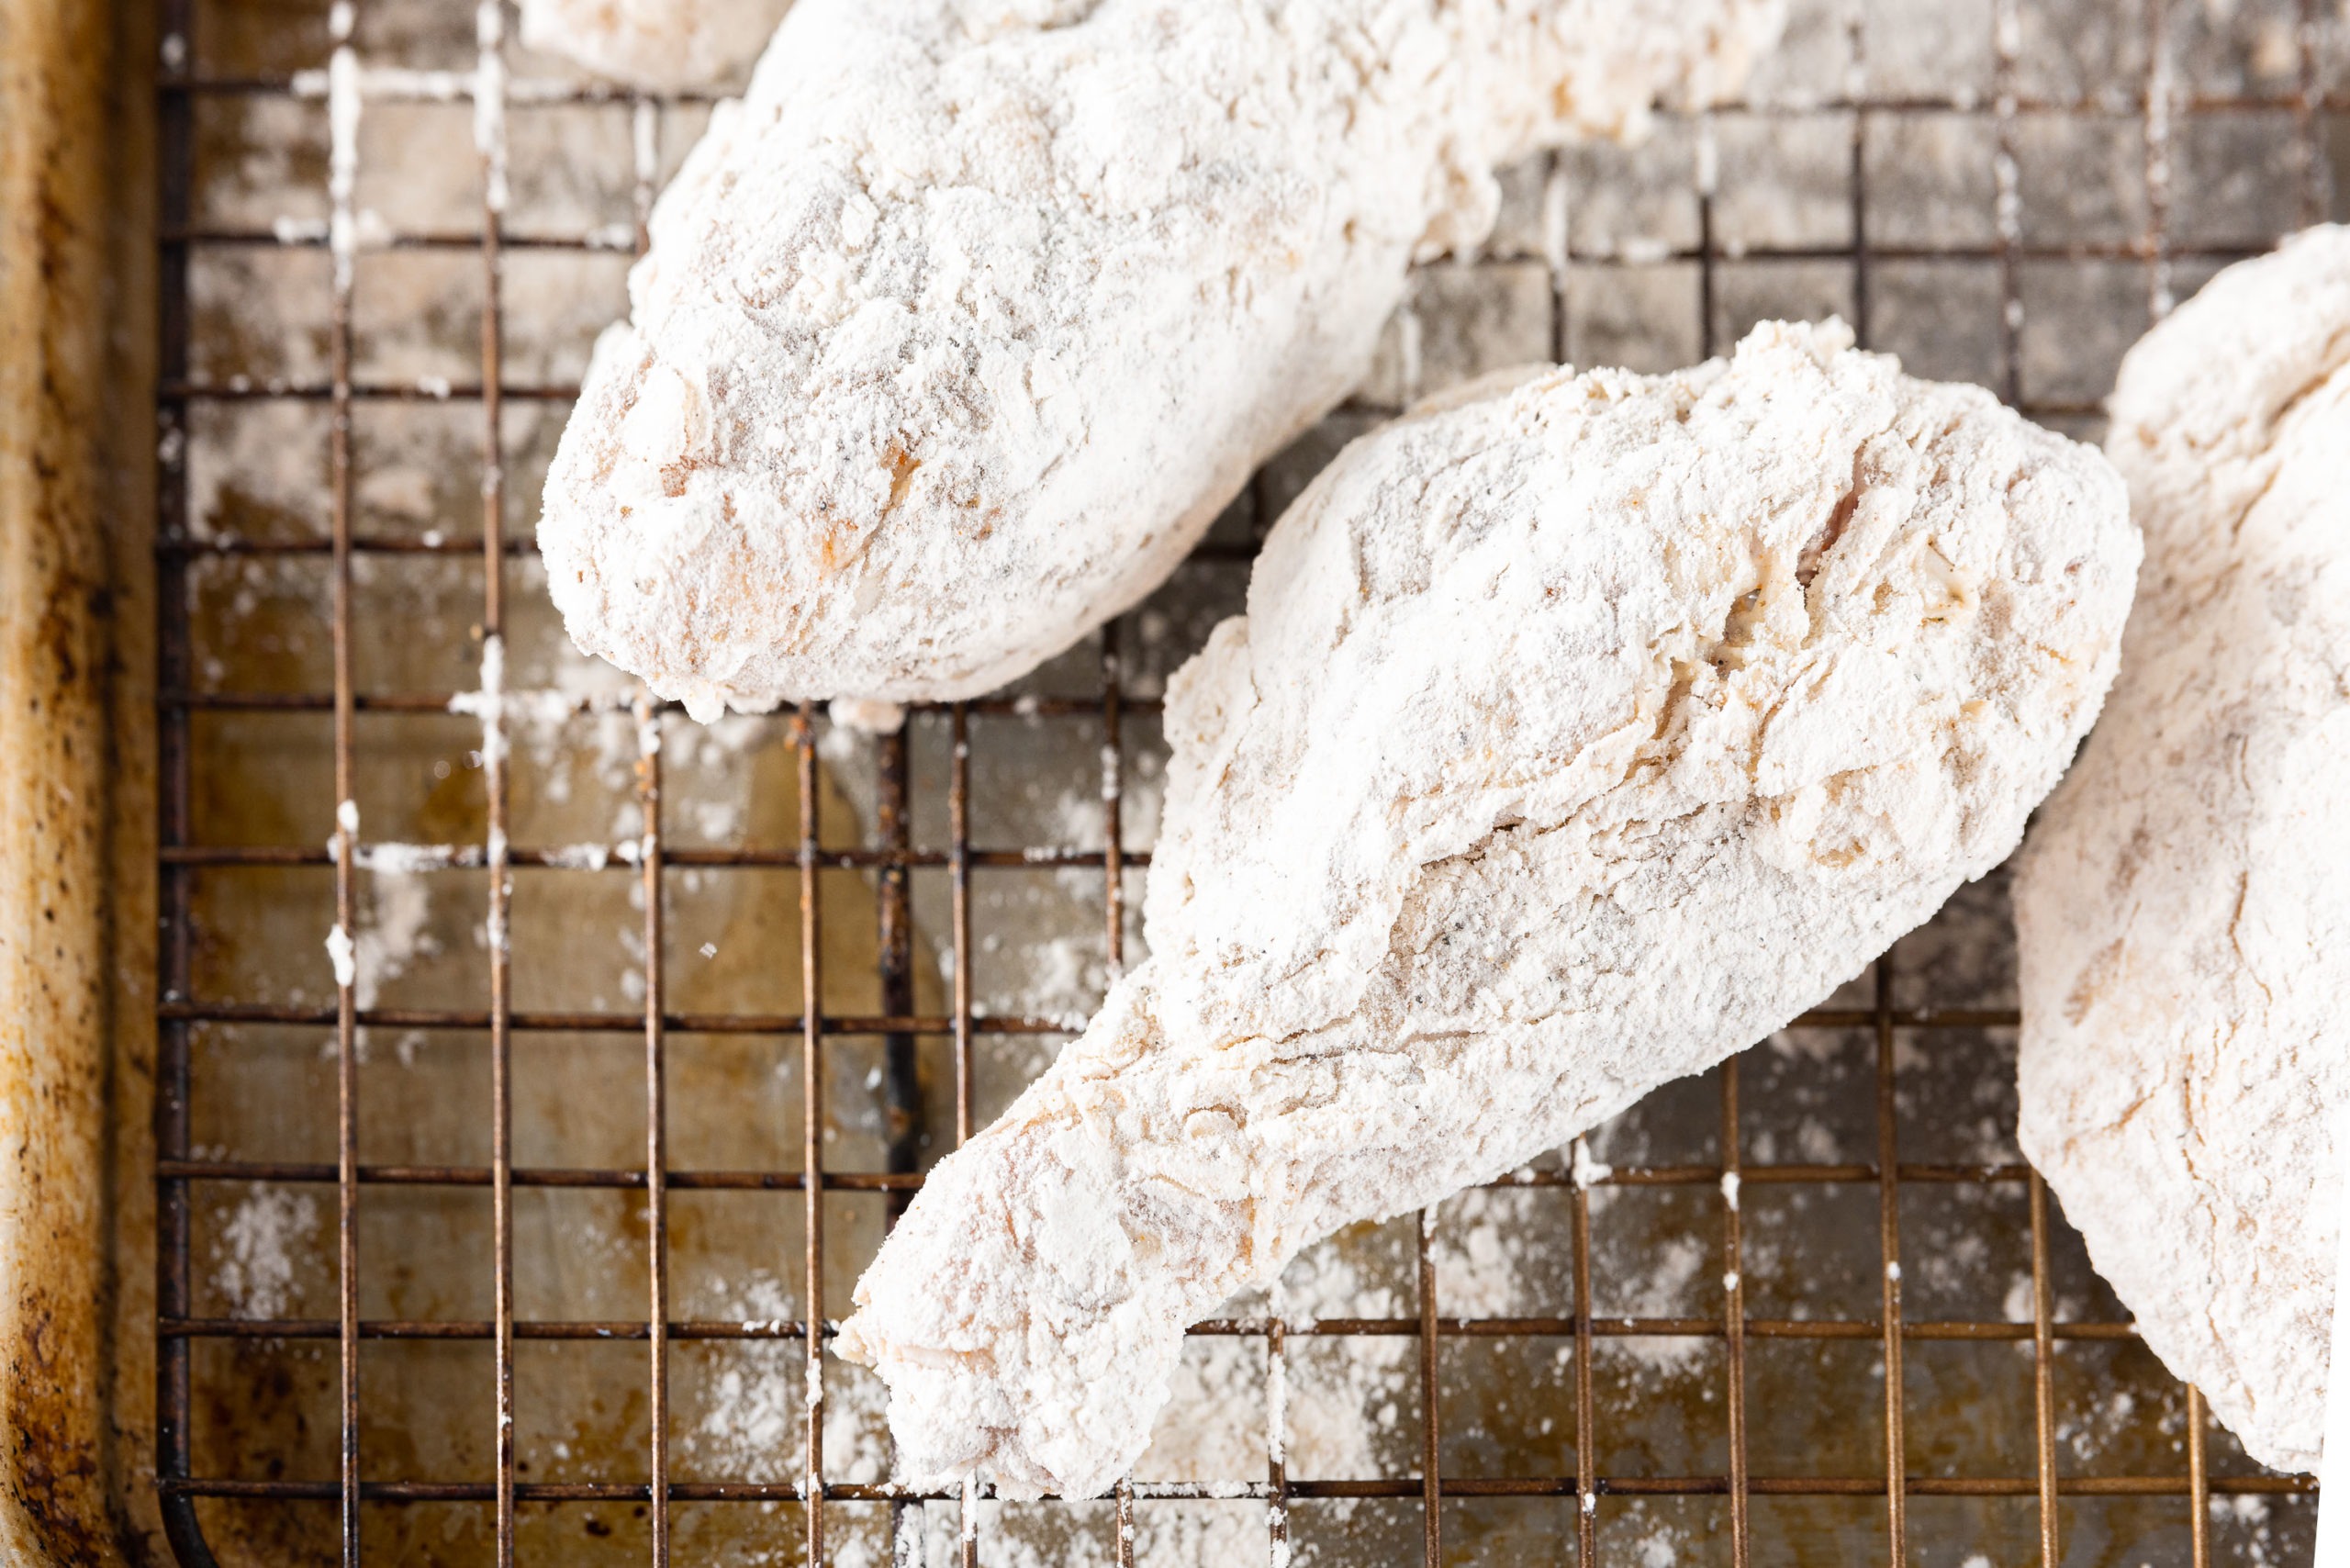
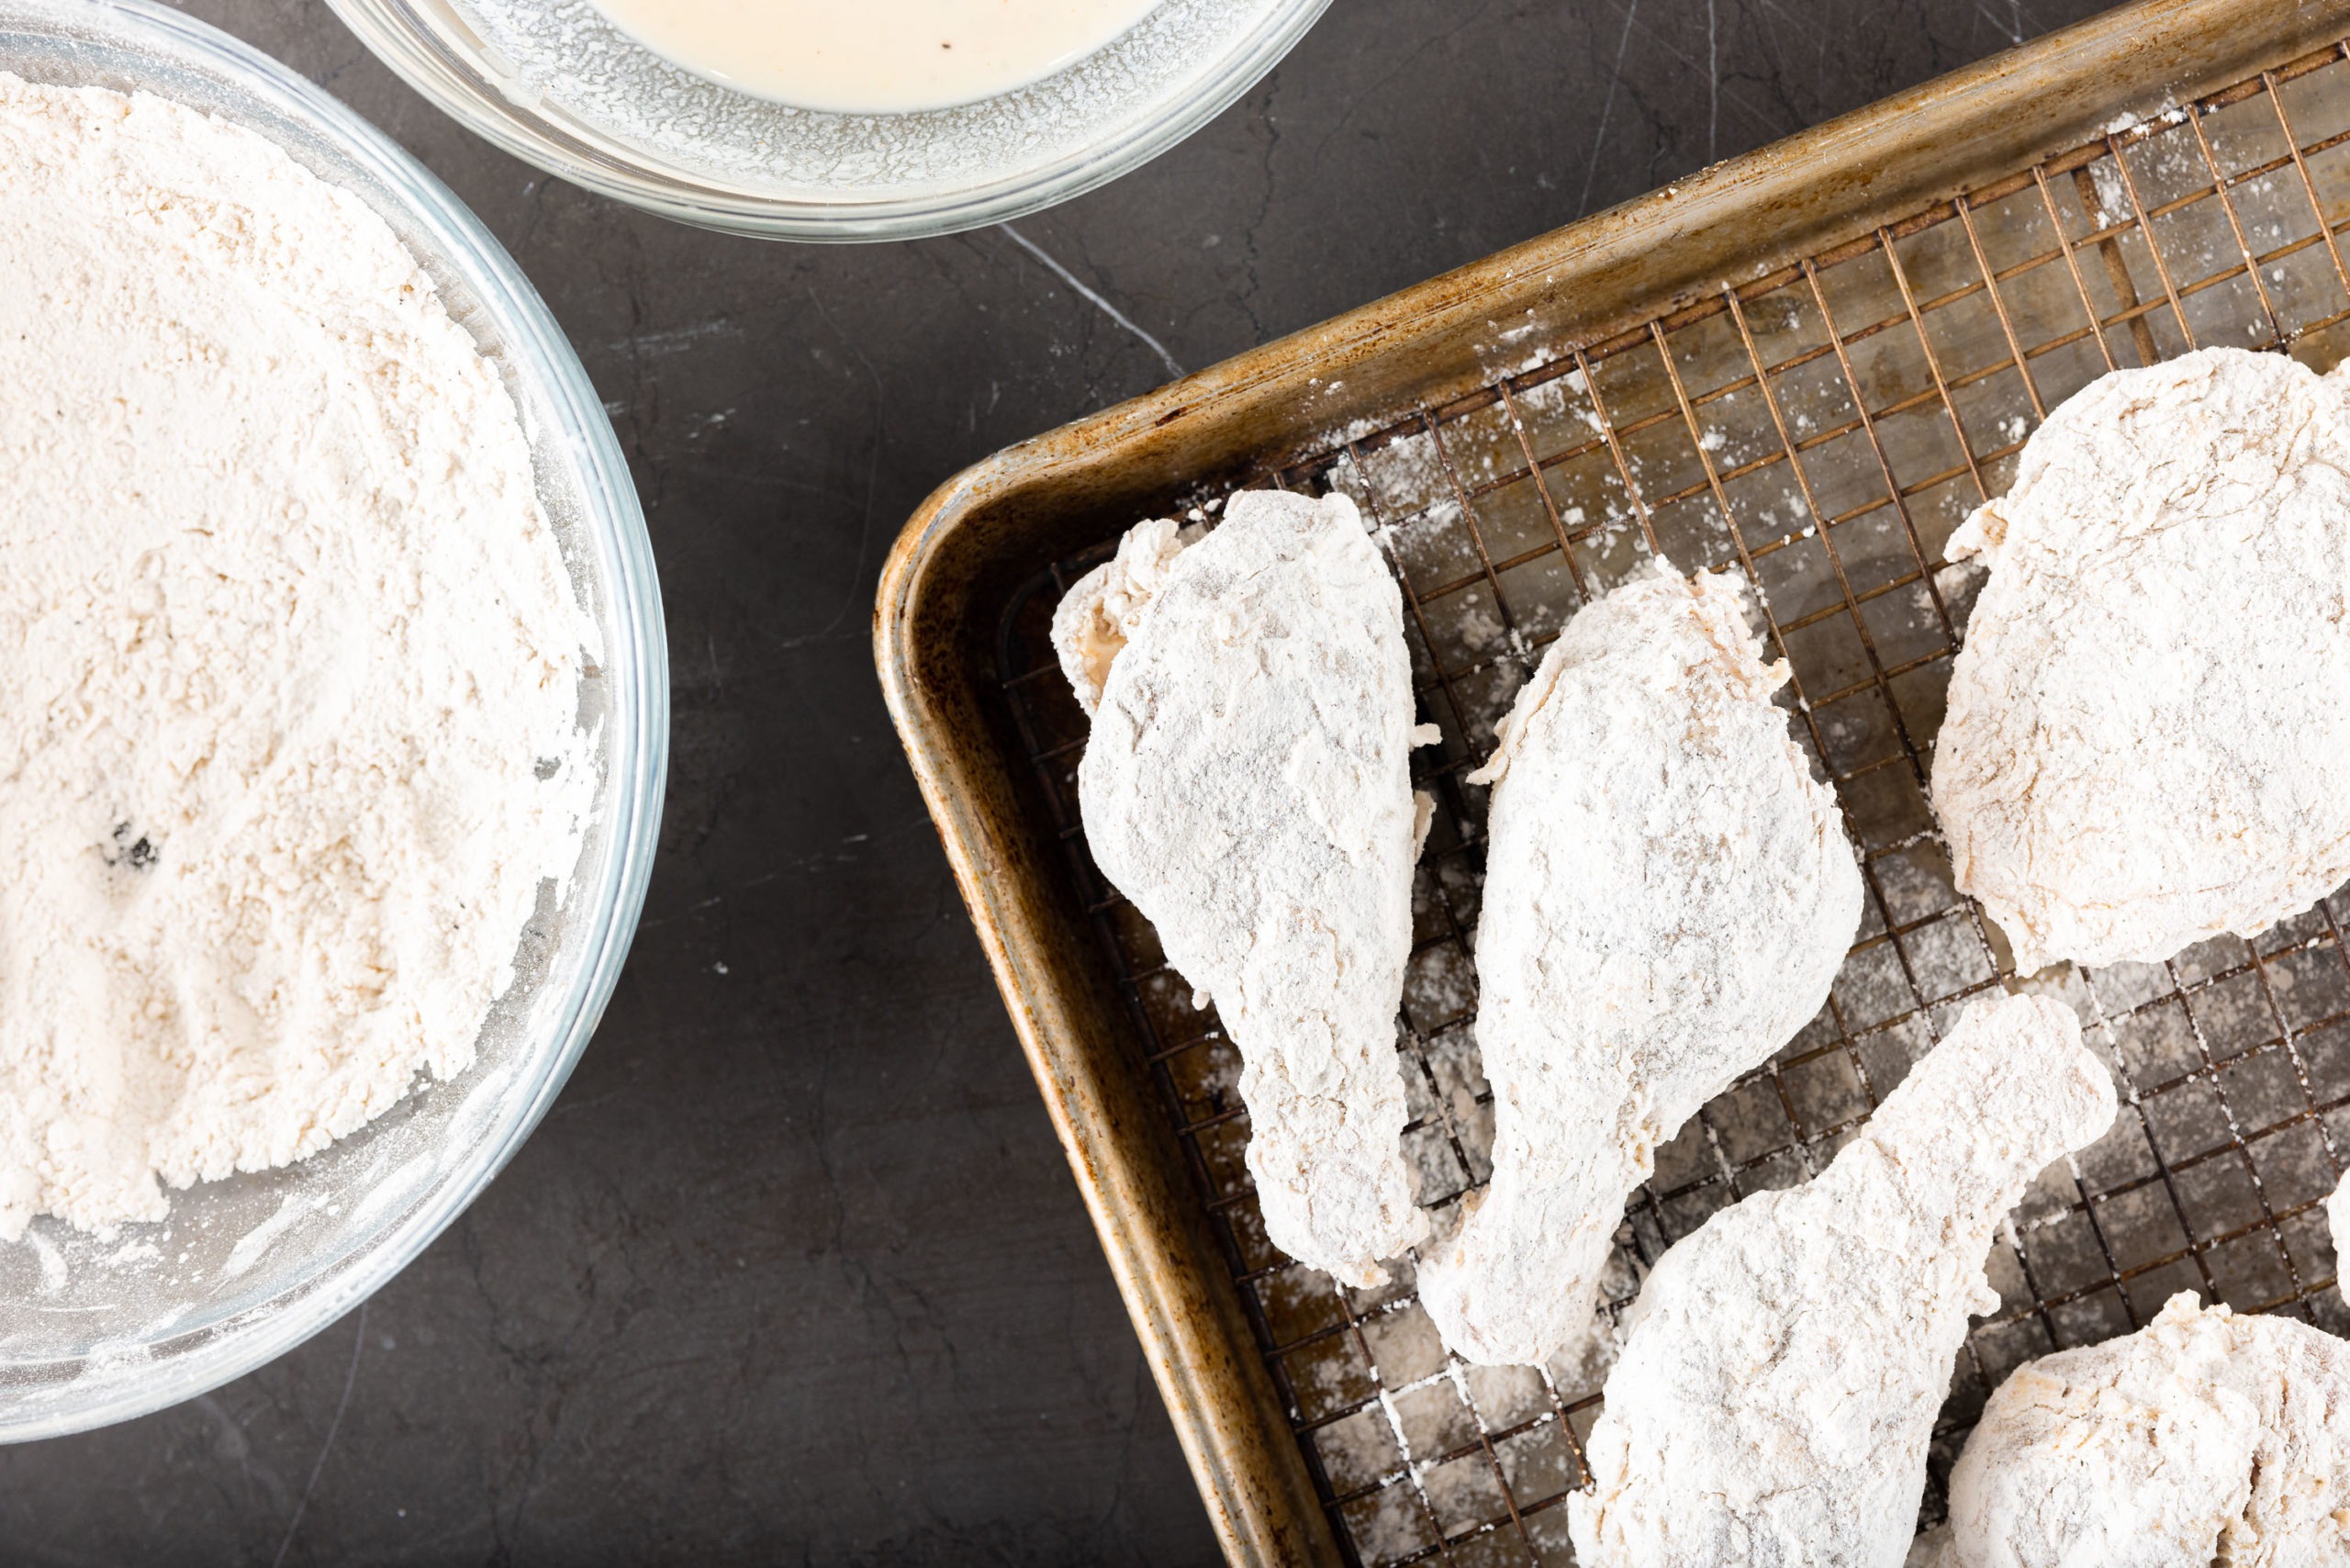
Evenly-breaded fried chicken is best coated with a buttermilk mixture, then coated in a dry breading before frying. Now, that’s no mystery, but what you might not know is that it’s important to allow the chicken to rest before frying so the coating has a chance to hydrate and get a little sticky. Otherwise, it can slide right off of the chicken when it’s placed in the hot oil.
Letting the breading rest before frying the chicken is the key to getting that craggy, crispy crust we all love so much with fried chicken.
Choose Oil Based on Thermal Properties: The Smoke Point
The smoke point of any cooking fat is the temperature at which it begins to scorch and emit smoke. Your oil choice should be based on the cooking temperature you will be using for the deep-frying project. Peanut or corn oil are usually the go-to oils for deep frying because their smoke point is 450°F (232°C), and they have a neutral flavor.
Carefully track the temperature of the frying oil. Once the chicken is placed in the oil, the temperature will drop dramatically and you’ll need to adjust the heat to get it quickly back up to the proper temperature range.
Don’t “Eyeball” the Oil Temperature
The most common mistake when deep-frying at home is failing to keep track of the temperature of the oil. Contrary to folk wisdom, you can’t know if the oil temperature is “just right” by dropping a few crumbs in the oil to see if they sizzle! Whether you’re frying chicken, doughnuts, or french fries, actually monitoring the oil temperature is critical to cooking food at the proper rate. Some foods need to fry quickly at a high cooking temperature, other foods like fried chicken need a more moderate cooking temperature to be sure the meat is cooked all the way through without scorching the exterior.
And since the oil temperature can drop dramatically after placing the food items in the oil, if you’re eyeballing it, you may not be adjusting the heat appropriately to maintain the proper temperature. Track your temps!
Use Two Thermometers
One of the most important ways to achieve perfectly fried chicken is to use two thermometers. There are two categories of thermometers that you need for this cook:
- Alarm thermometer: for tracking temperature in one location over time. As we said above, monitoring the oil temperature is a critical step that cannot be ignored. If your oil temp is too high, your fried chicken will be scorched on the outside with meat that is undercooked. If the oil is too cool, your chicken will be greasy and will lack the golden-brown crispy exterior you want.
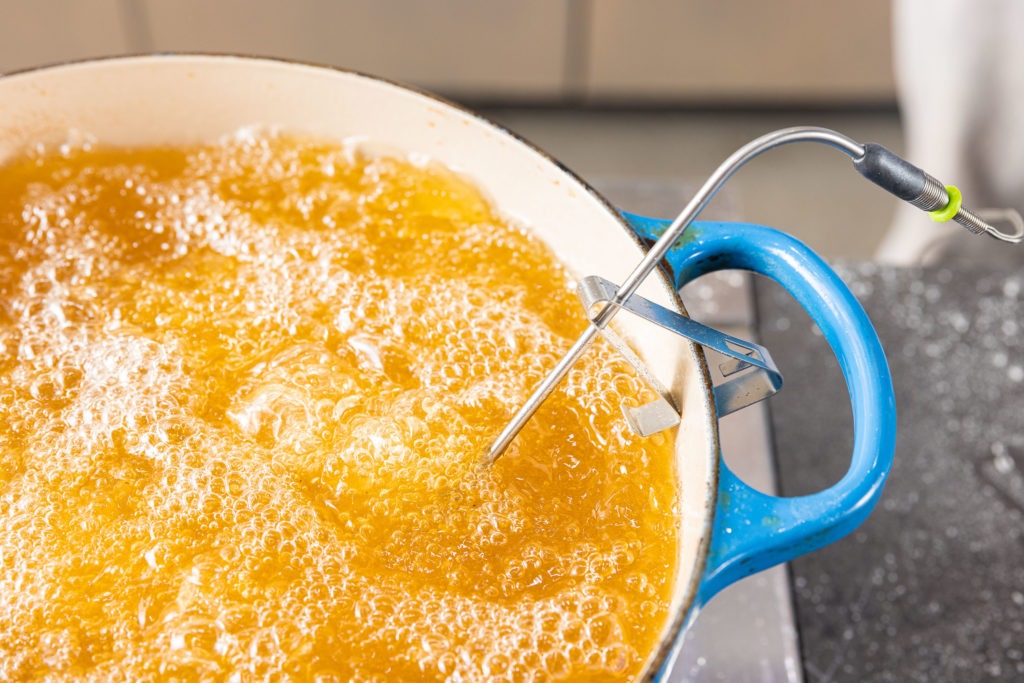
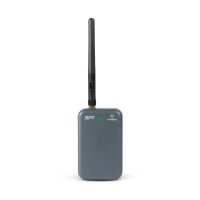
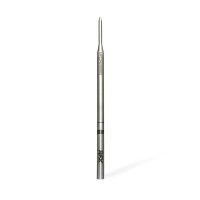
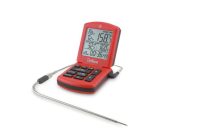
ChefAlarm® is a leave-in probe alarm thermometer with both high and low alarms to keep your oil in the right range, and it also records the max/min readings.
- Instant-read thermometer: for spot-checking temperatures in multiple areas quickly. (For more on this, see our post What Kind of Thermometer Do I Need?) Spot-checking the internal temperature of the chicken to verify its doneness will ensure that your chicken is not only done and safe to eat, but still juicy and tender rather than dry and overcooked.
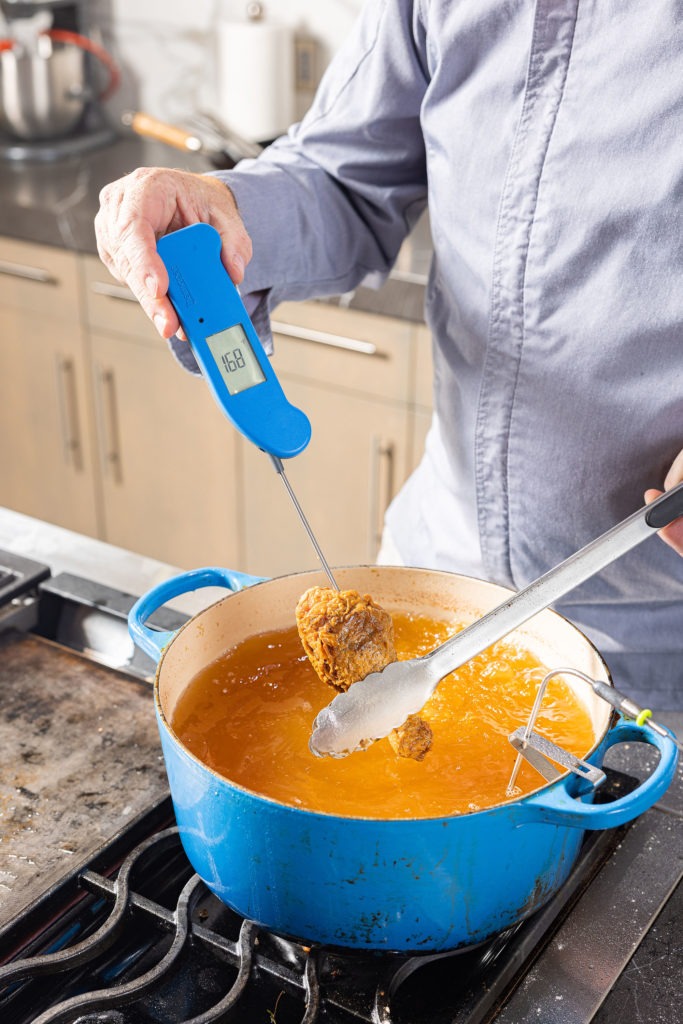
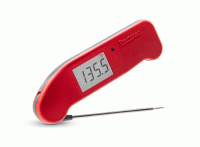
Thermapen® ONE is the best digital instant-read thermometer you can buy and is perfect for verifying the internal pull temperature of the chicken to be sure you know when it’s ready to come out of the oil.
Fried chicken doneness temperatures
For maximum juiciness, always fry dark meat. Legs and thighs are the best for frying because they are less likely to dry out. Breast meat dries out if the internal temperature is off by only a few degrees, but because of dark meat’s higher connective-tissue content, it can withstand a wider range of temperatures. In fact, it’s best when cooked to a minimum temp of 175°F (79°C), but it’s good all the way up to 200°F (93°C). We can take our chicken out of the oil a few degrees cooler than that doneness temp and it will continue to cook. When you spot-check your chicken temps with your Thermapen, look for a temp no lower than 168°F (76°C). It’s guaranteed safe already at that temp, but it will become more tender as it rests and carryover cooks. But don’t worry if leave it in a little longer! Anywhere between 168°F and 200°F (76°C and 93°C) is great for dark meat.
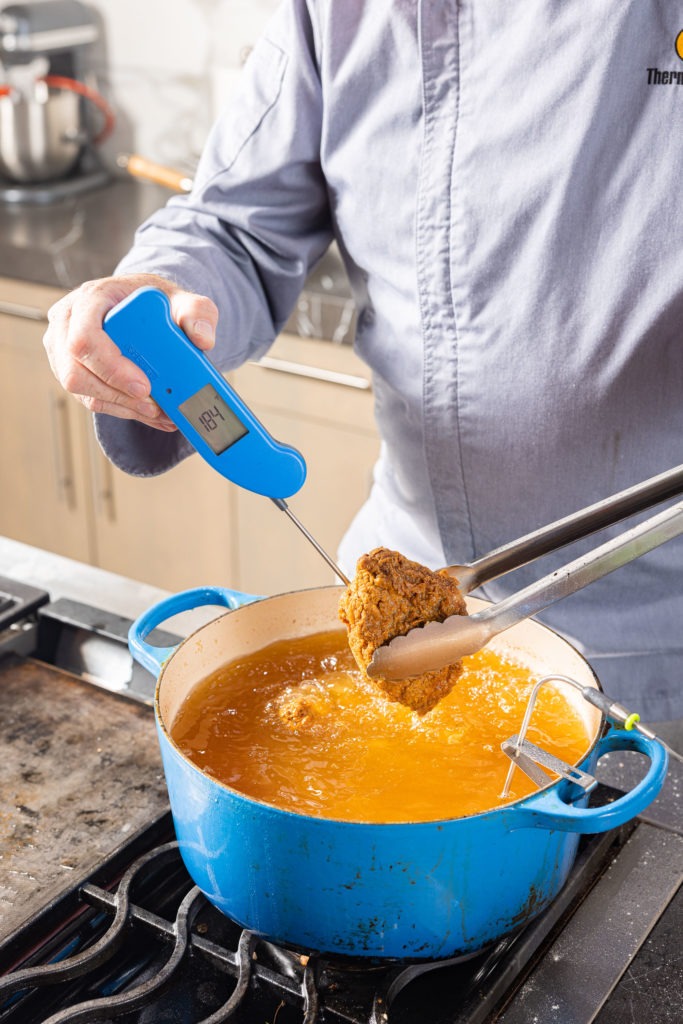
When it comes to fried chicken, temperature control is everything! Accurately tracking the oil’s temperature is the only way to ensure your chicken will be cooked properly with a light, crisp exterior, and a juicy interior.
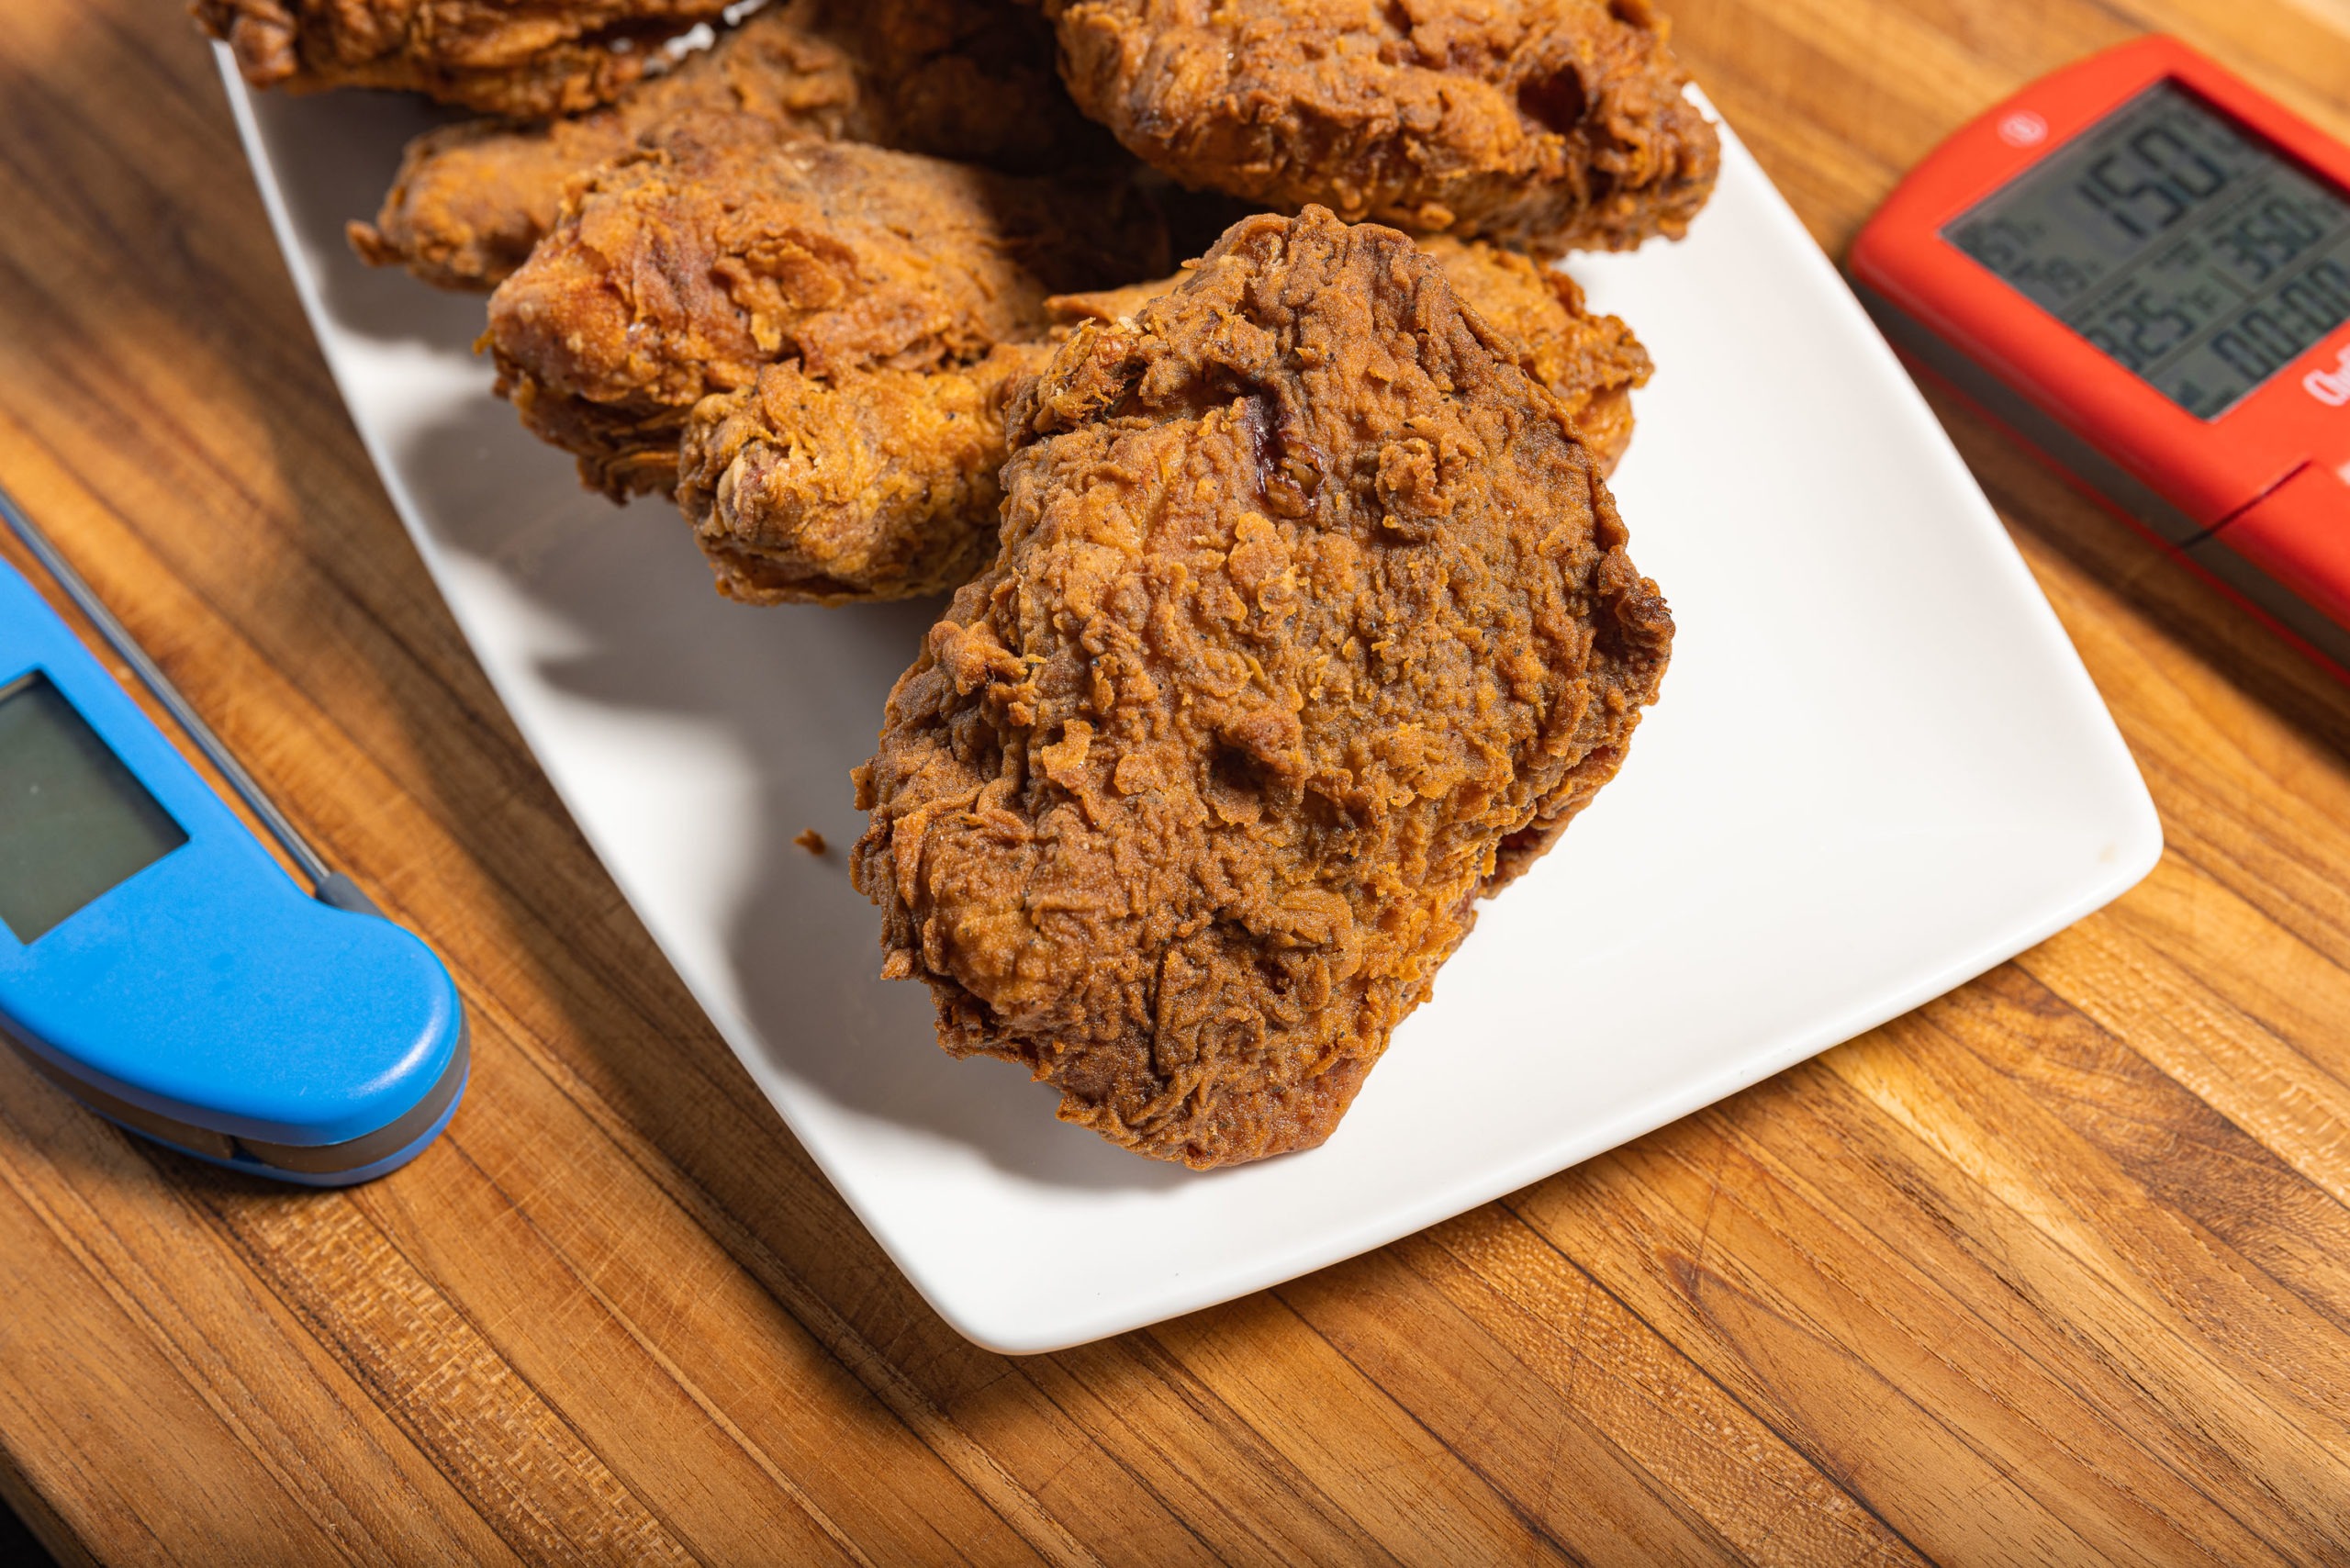
Homemade fried chicken recipe
Description
Based on and adapted from The General’s Fried Chicken Recipe, from Alton Brown’s EveryDayCook
(A General is better than a Colonel!)
Ingredients
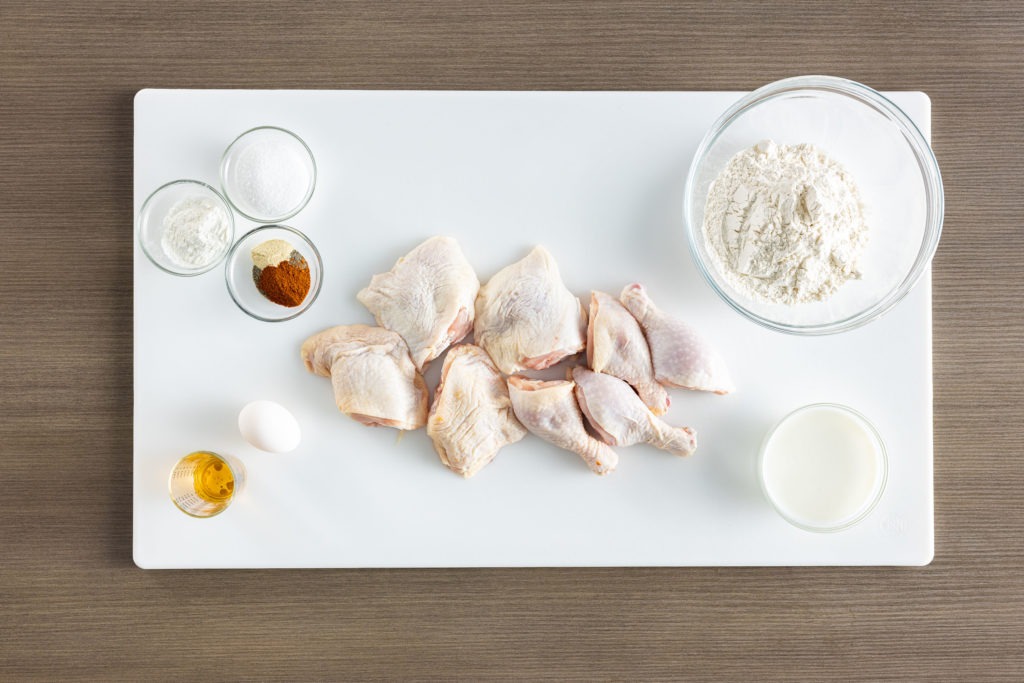
- 8 pieces of chicken, preferably
4 legs and 4 thighs (about 4 lbs.) - 3 tbsp. kosher salt
- 2 tsp. freshly ground black pepper
- 2 tsp. ground sumac
- 1 tsp. ground cayenne pepper
- 1 tsp. garlic powder
- 2 cups all-purpose flour
- 2 tbsp. cornstarch
- Cornstarch helps to make the breading more crisp and tender rather than hard.
- 1 cup buttermilk
- 1 large egg
- 2 tbsp. bourbon
- Do not omit this ingredient! Alcohol evaporates almost immediately when deep frying, making the exterior of your chicken crispier than it would be without it.
- 2 quarts peanut oil
Instructions
Prepare the Chicken the Day Before
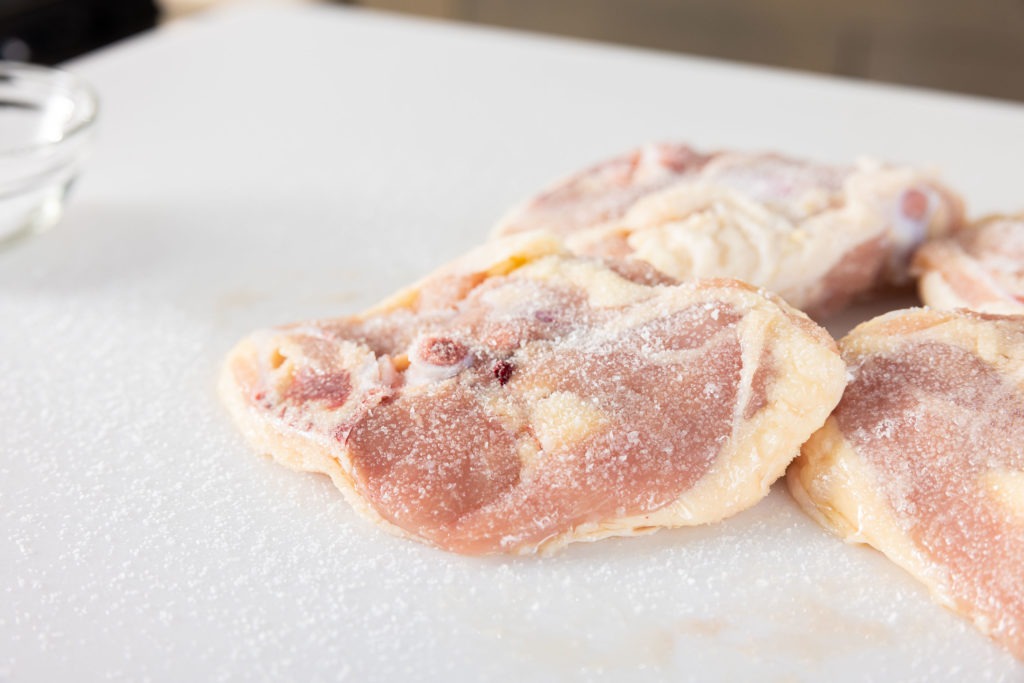
- Pat chicken pieces dry with a paper towel and season on all sides with salt. Let sit while you prepare the spice rub.
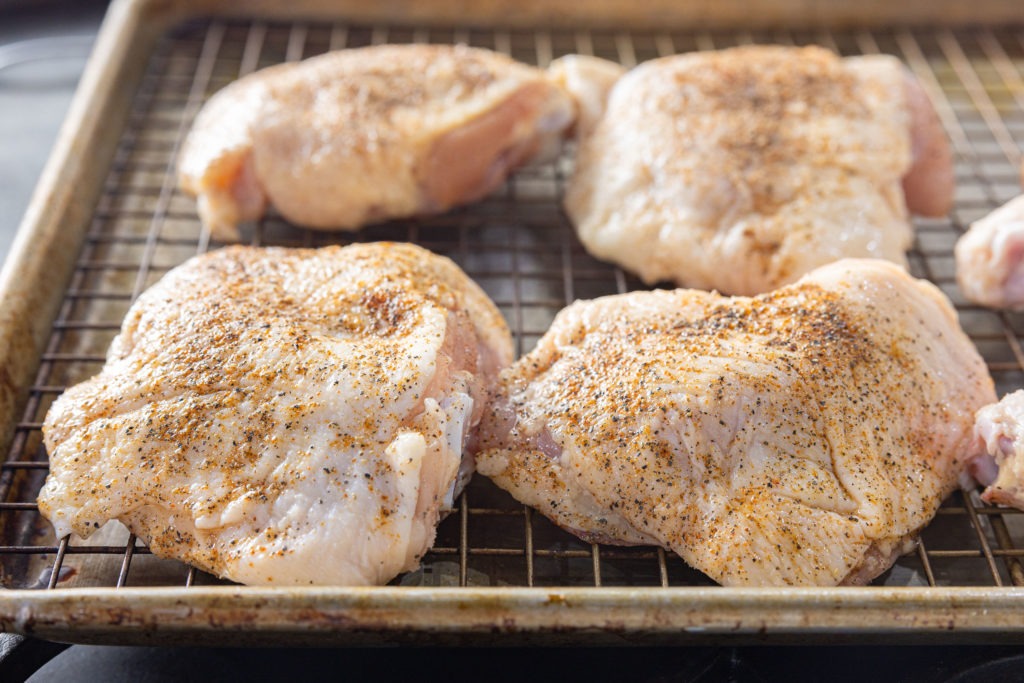
- Combine the black pepper, sumac, cayenne pepper, and garlic powder. Divide the spice mixture in half and set aside one portion for later.
- Using the other half of the spice mixture, apply the seasoning to all sides of the salted chicken.
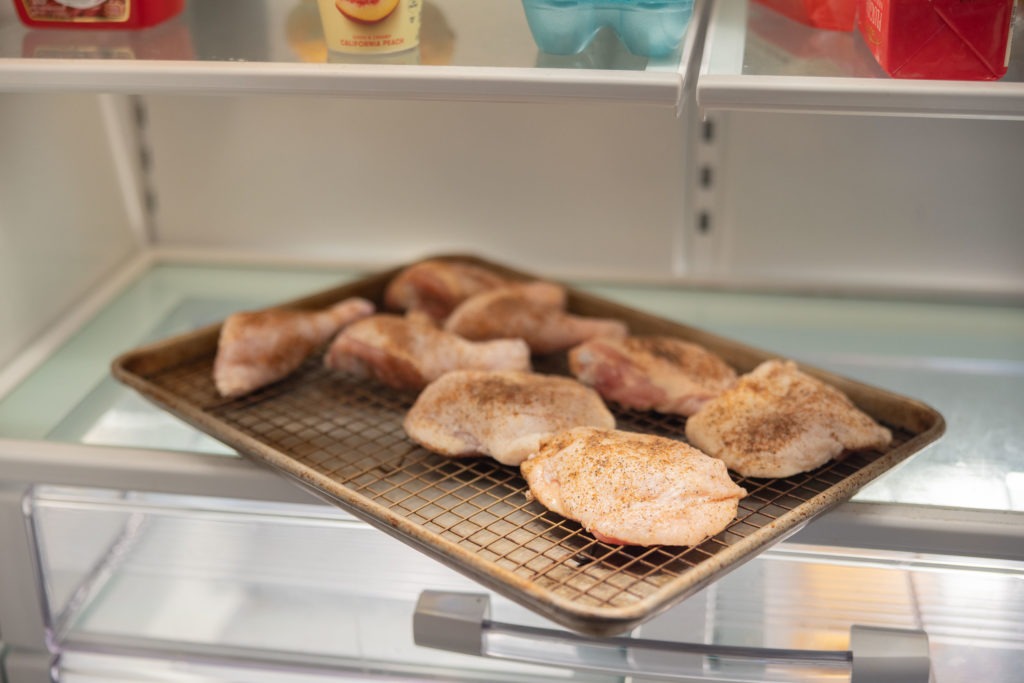
- Place the chicken pieces on a wire cooling rack set over a rimmed baking sheet. Refrigerate, uncovered, for at least 4 hours or overnight.
Make the Buttermilk and Flour Mixtures
- Whisk together the flour, cornstarch, and the remaining spice mixture in a medium-sized bowl. Set aside.
- In another bowl whisk together the buttermilk, bourbon, and egg.
Coating the Chicken
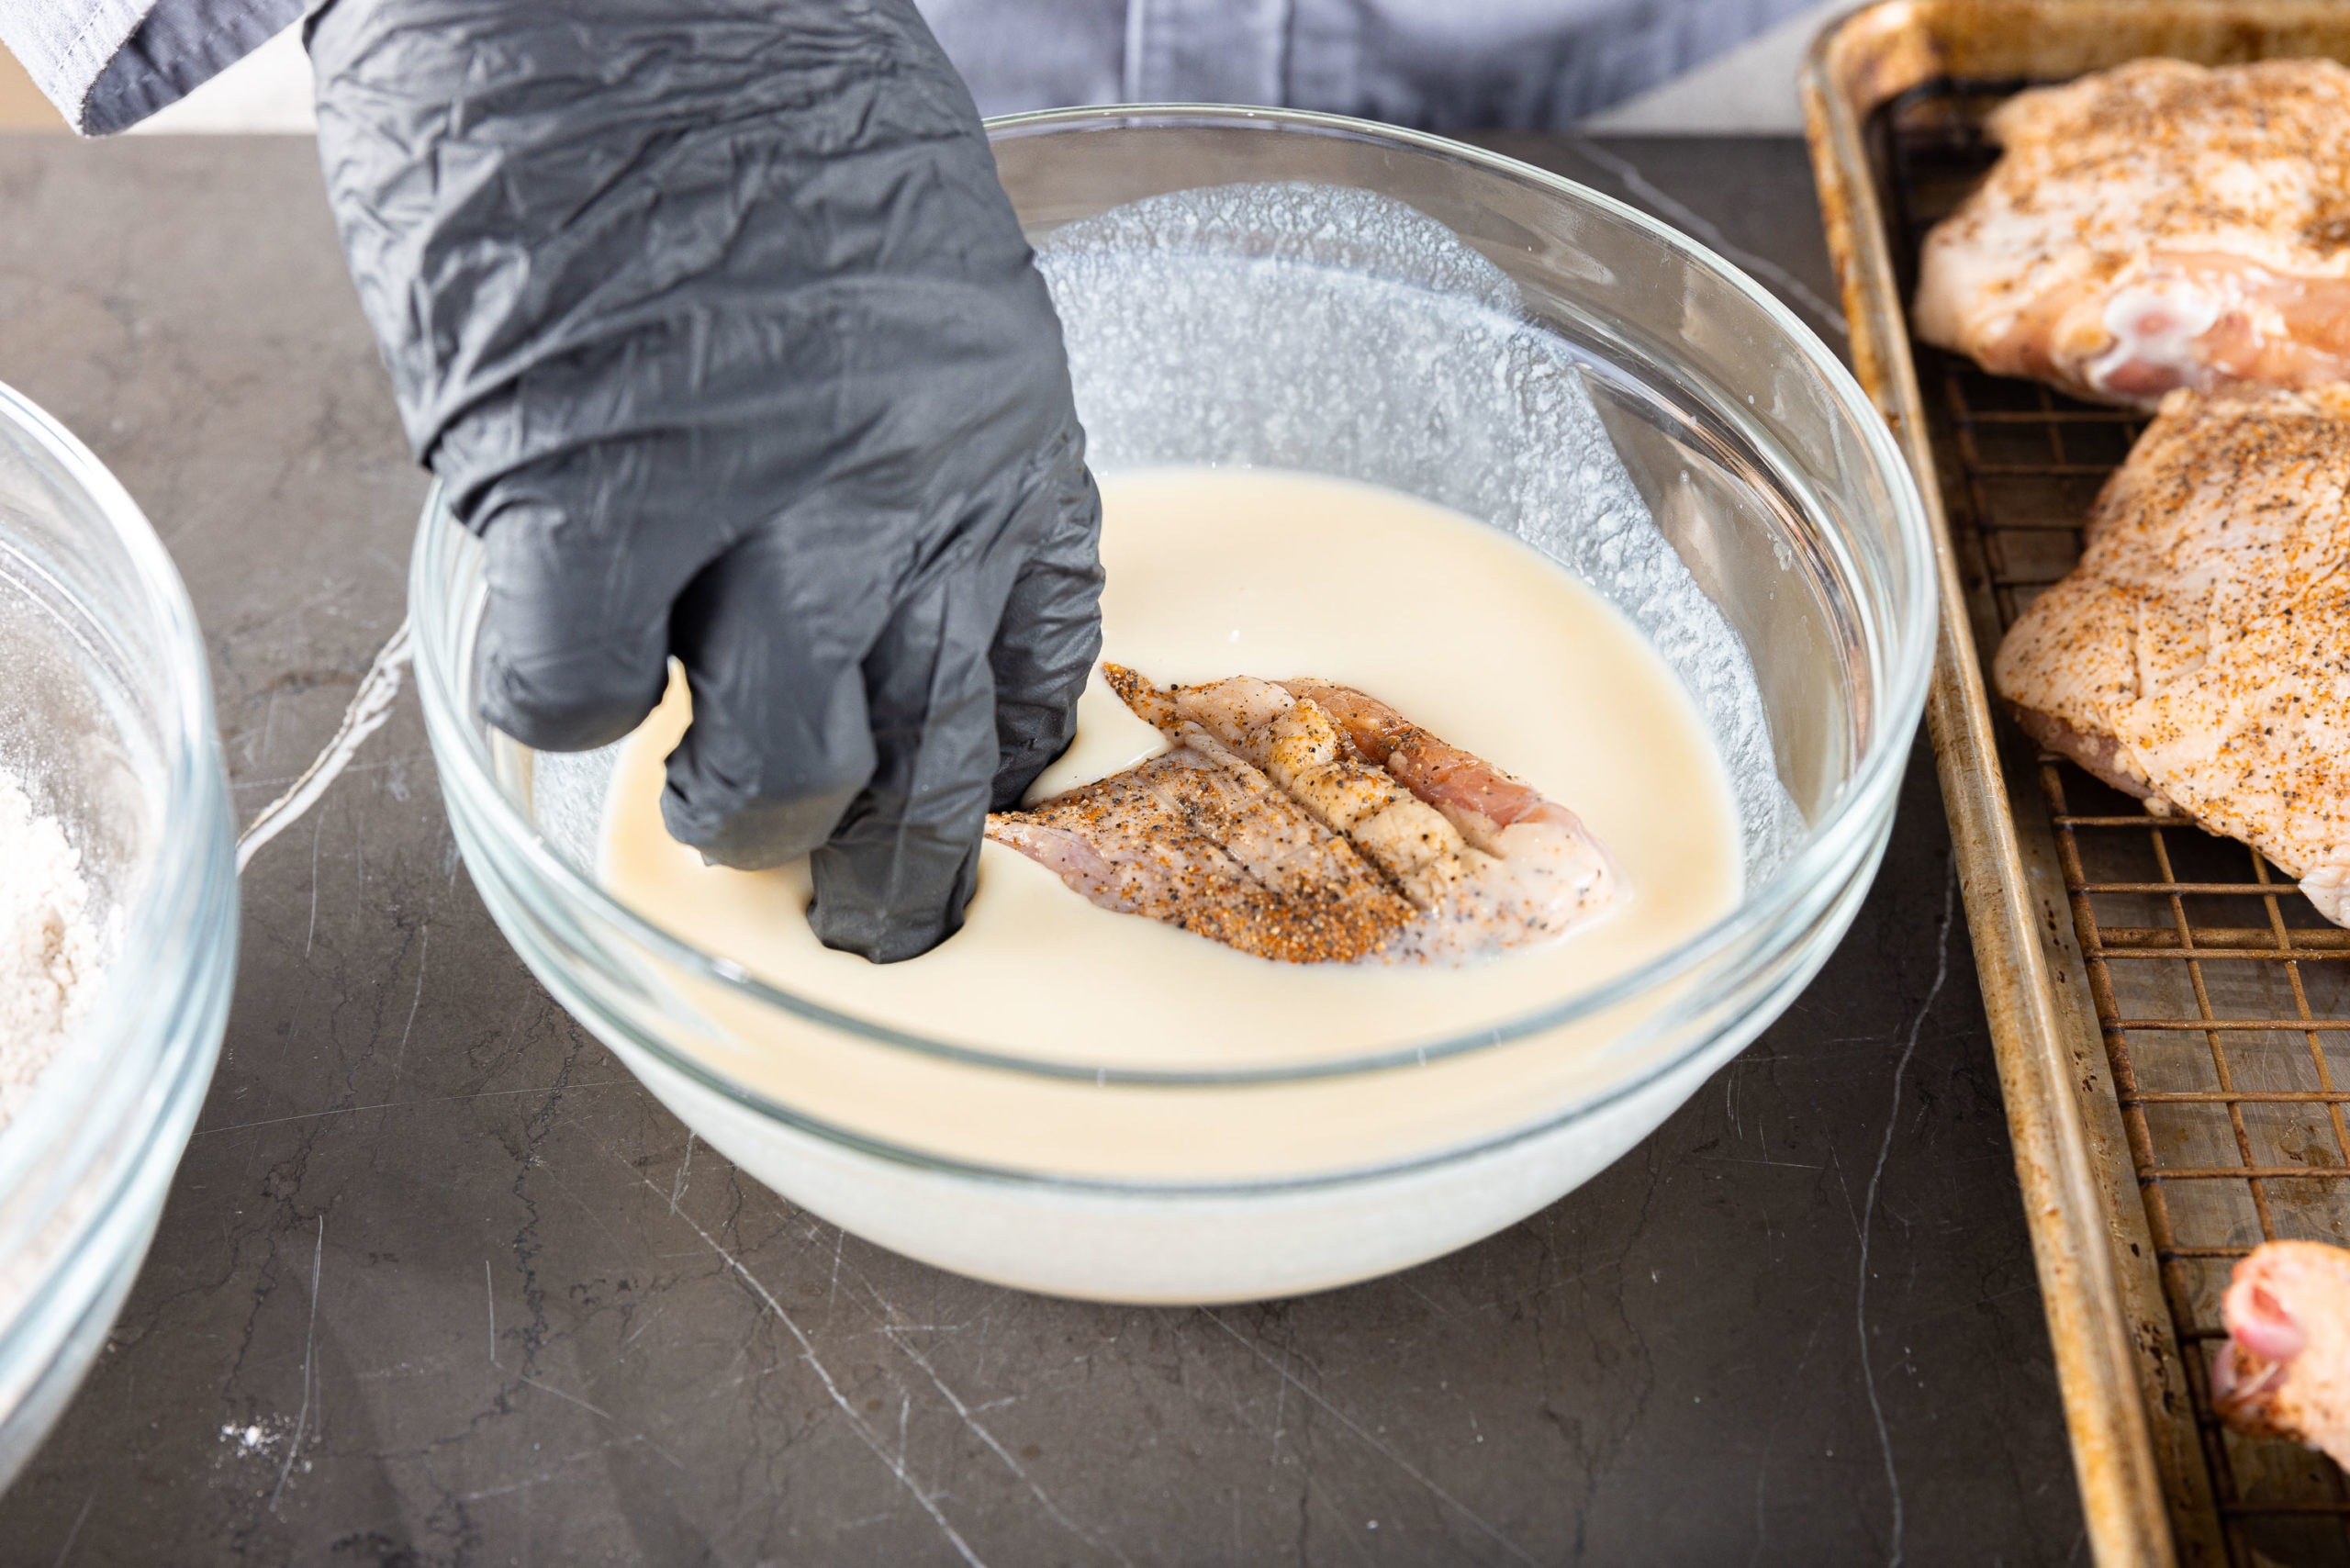
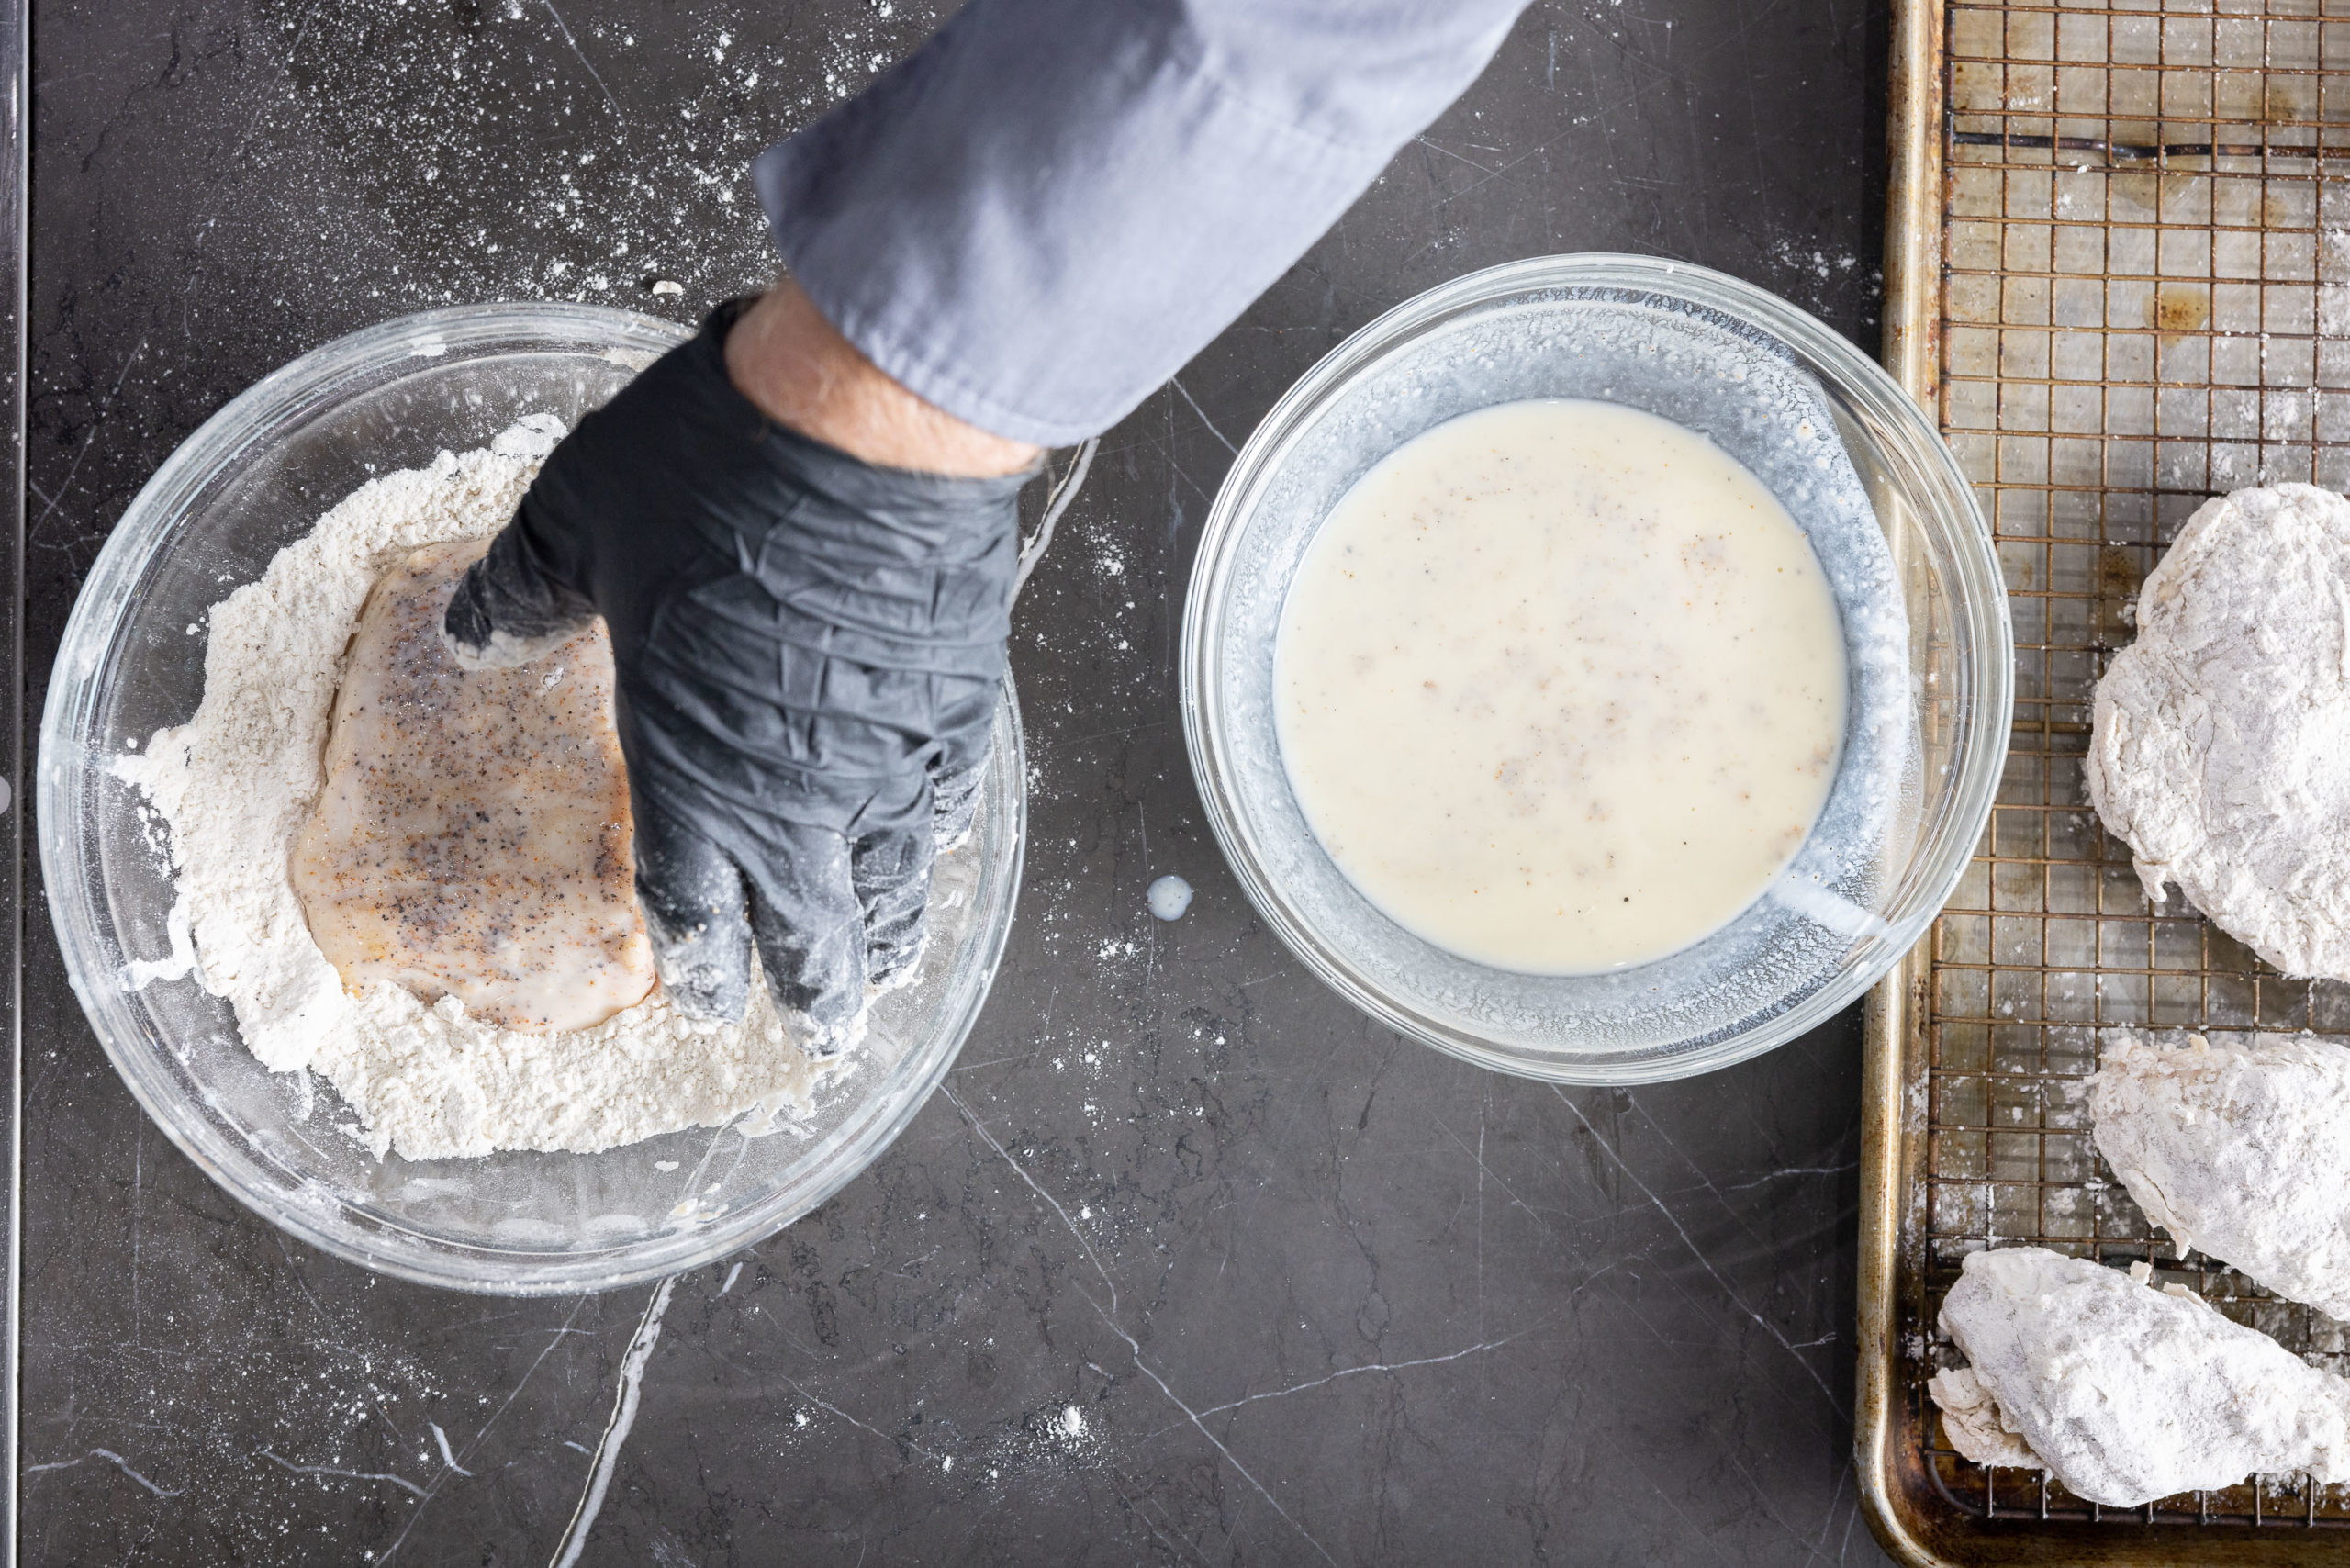
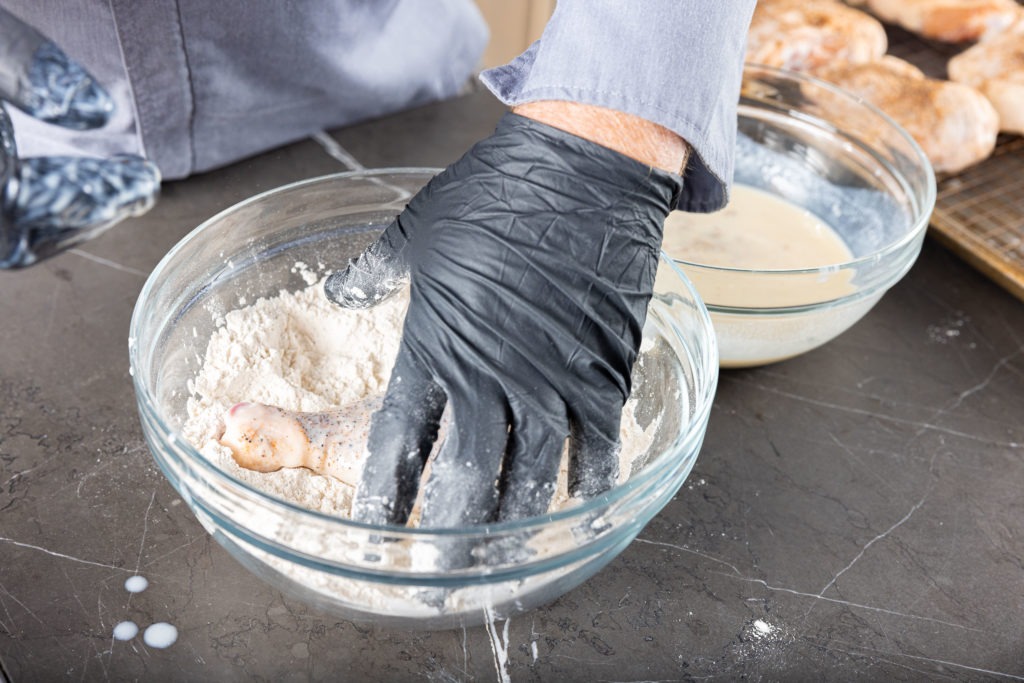
- One at a time, dunk the chicken pieces first into the buttermilk mixture, then into the flour mixture.
- Press the flour mixture into the chicken pieces and set aside (for at least 10 minutes) while you prepare the oil for frying.
Prepare the Oil for Frying
- Pour the 2 quarts of peanut oil into a heavy cast iron dutch oven.
- Attach the ChefAlarm’s probe to the side of the dutch oven with a pot clip.
- Be sure the probe tip is suspended in the oil rather than resting on the bottom of the pan. (You can pinch the pot clip to slide the probe up and down but it will grip the probe when released.)
- Set ChefAlarm’s high and low alarms:
- High alarm: 350°F (177°C)
- Low alarm: 320°F (160°C)
- Over medium heat, preheat the oil to 350°F (177°C).
Frying the Chicken
- Fry the chicken in two or three batches, so as not to crowd the pan and cool the oil too dramatically.
- The oil’s temperature will drop after adding the chicken. Adjust the heat on the stove accordingly to maintain a temperature of 325°F (163°C) while frying the chicken.
- (Heat the oil to 350°F (177°C) between batches.)
- The oil’s temperature will drop after adding the chicken. Adjust the heat on the stove accordingly to maintain a temperature of 325°F (163°C) while frying the chicken.
- Turn the chicken pieces every 3-4 minutes to ensure even cooking on all sides. (You can use ChefAlarm’s built-in timer for this!)
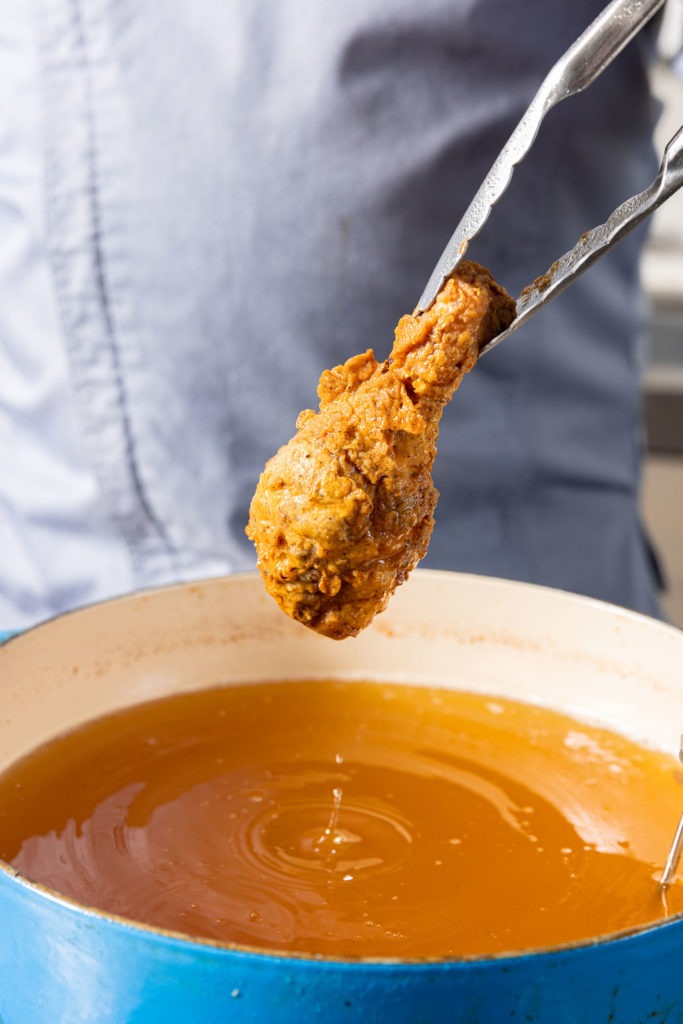
- After about 12-15 minutes of cooking, pull the chicken pieces out of the oil one at a time with tongs, and spot-check the internal temperature of each in multiple areas with a Thermapen.
- If a temperature lower than 168°F (76°C) is found, continue cooking until a temperature of 168°F (76°C) is verified.
- Once a temperature of 168°F (76°C) is verified, remove the chicken from the frying oil and rest on a wire cooling rack set over a paper towel-lined rimmed baking sheet for at least 10 minutes.
- The internal temperature of the chicken will continue to rise while resting, reaching a collagen-breakdown temperature of 175°F (79°C).
- Serve with your favorite side dishes, and enjoy!
Resources:
EveryDayCook, by Alton Brown
Fried Chicken 101, Cook’s Country
The Food Lab: The Best Southern Fried Chicken, by J. Kenji Lopez-Alt of SeriousEats.com


What does ground sumac add to the chicken? And what is it? And where do you get it? And why?
Also, what does one do with the once-used oil?
Gae,
First, let’s cover the what is it: sumac is the dried, ground berry of a shrubby plant found throughout Asia and the Middle East.
What it brings to the chicken is a light flavor, a tartness with a slight pine-y hint. This tartness helps to balance out the oil from the fry and the richness of the chicken. It’s like squeezing a bit of lemon into the breading without adding more liquid. That small bit of tartness is just a great counter-play of flavor in this recipe, and that’s how it’s often used, balancing out richness.
Sumac is available at better-stocked grocery stores in the spice aisle (that’s where I found mine for this cook), or at a Middle Eastern grocer. Of course you can buy it online, too. If you can’t get any, it can be omitted from the recipe, but I’d try to find it, as it’s quite tasty.
Used frying oil can certainly be re-used. Let it cool in the pot, the carefully strain and pour it (funnels are our friends here) into a bottle that can hold it. I like to re-use the bottle it came out of if it’s empty. Put the lid on it and mark it as used on the label. Next time you have a hankering for fried chicken, pour it back into a pot, adding fresh oil to get to the depth you need. You can easily get three or four uses out of your oil. When it’s all used up (i.e. when it’s very dark or thick or smells rancid), pour it into the bottle, cap it, and throw it away with your garbage.
I hope that helps and I wish you luck with your chicken!
Hey thank’s for the recipe I’ll try this and let you know .
Great post. It’s really a nice and helpful piece of info. I’m happy that you shared this helpful information with us. Thanks for sharing.
Great information about deep frying chicken.
Great