How to Make Pork Carnitas Tacos: Thermal Tips
If we had to pick a favorite taco, there’s a solid chance we’d pick carnitas. Crisp yet tender pork, savory with spices and richly fatty? Sign us up! The difficulty with carnitas is that the traditional method of making them is, well, somewhat cumbersome for the home cook. But with some thermal thinking, we can turn carnitas into something that anyone with an oven can make. Read on to get the temps you need to transform your next taco night!
Carnitas: expectations, traditions, and difficulties
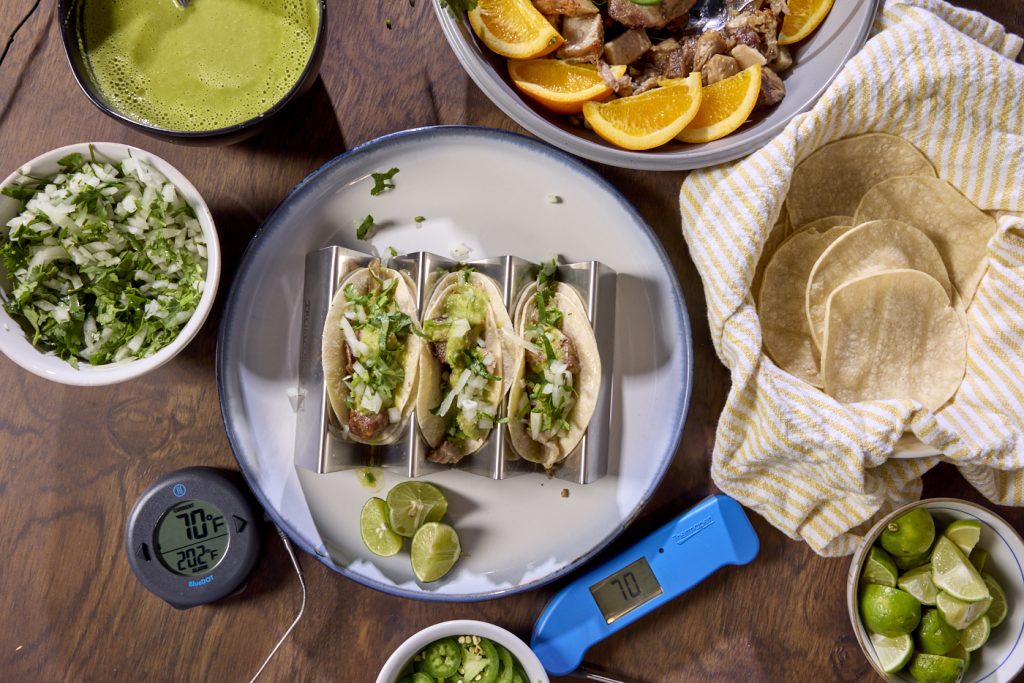
When you order carnitas, either as filling for a tortilla or even just on a plate with salsa and beans, you expect meat that is tender but with crisp bits on the surface. you expect deeply flavored, rich meat that is fatty and flavorful.
Traditional cooking method and its problems
The traditional way to cook a pork shoulder for carnitas is in enough lard to immerse the meat—depending on how much pork is being cooked, it can be gallons of lard. The method of cooking things immersed in fat is known in French as confit (pronounced kon-FEE). And, as J. Kenji Lopéz-Alt has said, it is to deep frying as BBQ is to grilling: “low and slow as opposed to hot and fast, low and slow versus fast and furious.”
That expectation can run into problems when it comes to tradition, however. You see, traditional carnitas are cooked in a large pot, usually with upwards of two quarts of pork lard. And while that is delicious, there is enough space in that much fat for the flavor to dilute and escape. That’s not a problem if you run a taqueria and you’re cooking dozens of pounds of carnitas a day and re-using the fat from batch to batch, allowing the flavors to accumulate and intensify over time. But if you’re trying to make fantastic carnitas in your own home kitchen from day one, tradition is not your best friend.
But there are ways to make carnitas work without the cauldron of fat. (Not that I don’t want a cauldron of fat, mind you! It’s just that it’s not what I want to haul out for a Wednesday night dinner.) Kenji has developed a fantastic method that uses only a baking dish and produces stellar carnitas. Let’s take a look at what’s going on when we cook carnitas to try to understand how we can get the same dish on more of a home-cooking scale.
Pork Shoulder: A Tough Cut
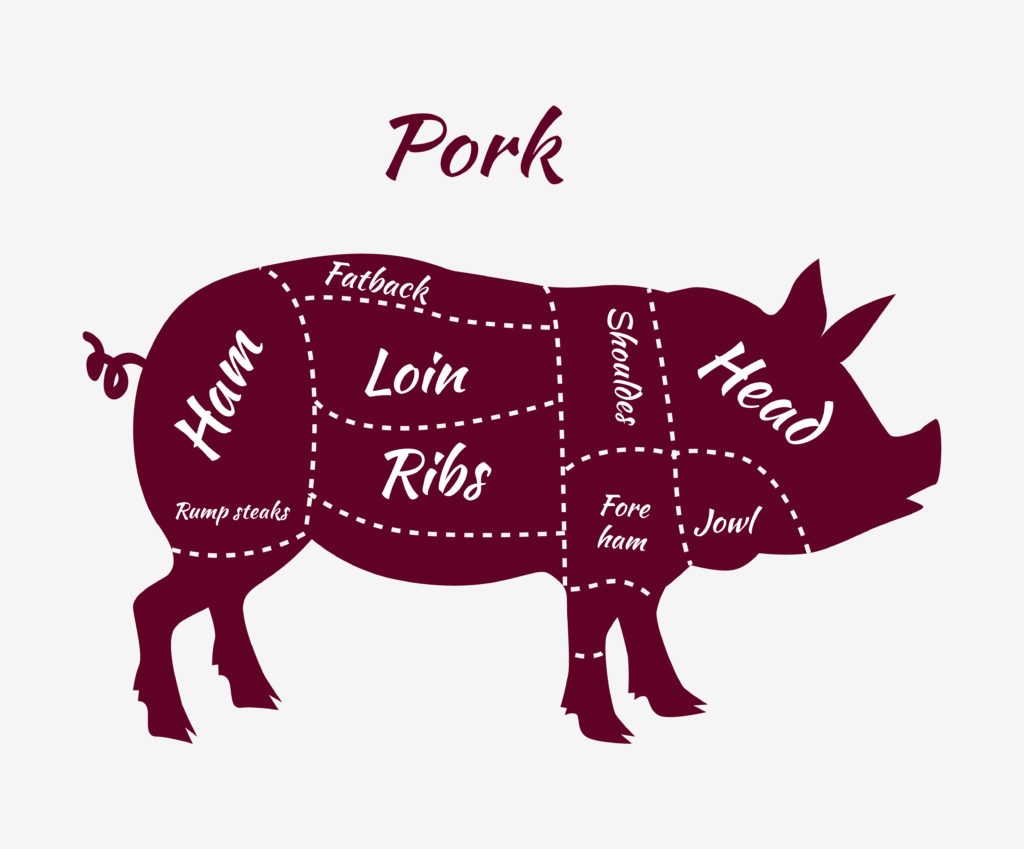
Carnitas (Spanish for “little meats,” so called because of the small pieces it is cut up into) are often made with pork shoulder. This is a heavily worked muscle with a web of connective tissue and tough protein and requires long cooking to tenderize. When it does tenderize, all that collagen turns into luscious, lip-smacking gelatin. (For more on that protein process and tough cuts of pork in general, see our post on smoked pork shoulder.)
Carnitas doneness temps
The USDA’s recommended minimum temperature for pork is 145°F (63°C) for safety. but safe and palatable are two different needs, in this case. The connective tissue needs to be heated to at least 170°F (77°C) to start to dissolve properly. If pulled at 145°F (63°C), pork shoulder will be inedibly tough. Most smoked pork shoulders are pulled in the temperature range of 195-205°F (91-96°C), and the same temperature will apply here. But a 2″ cube of carnitas is a much different thermal system than a full pork butt.
Dissolving collagen with time and temperature
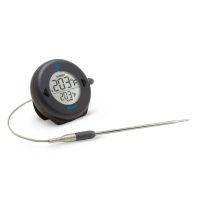
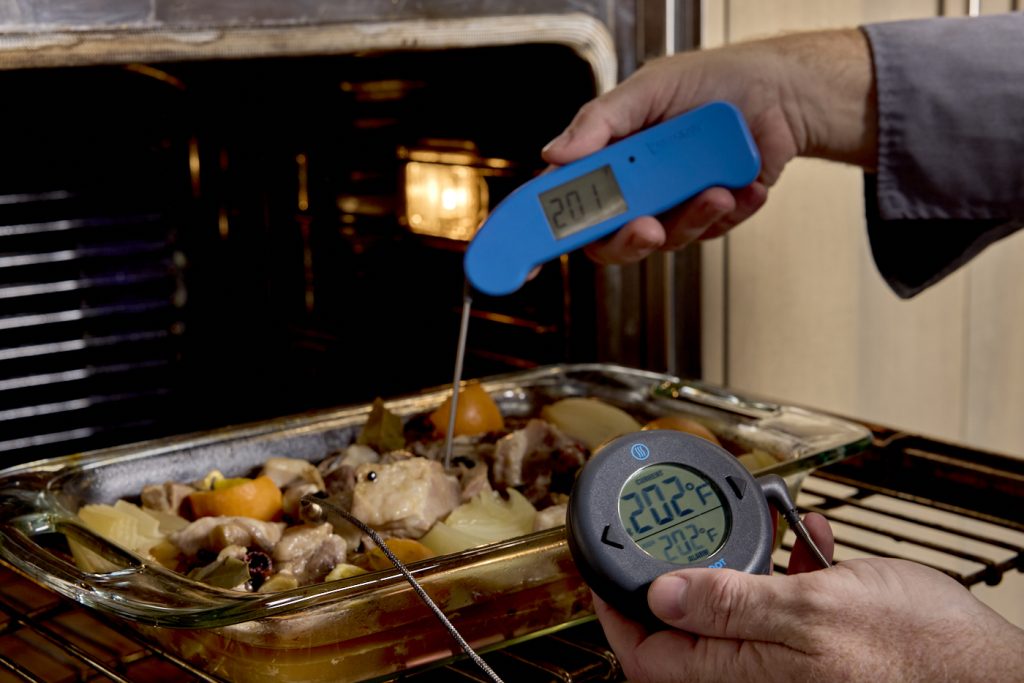
Collagen dissolution is a function of both temperature and time. By the time the center of a pork butt gets up to 203°F (95°C), the meat has been at collagen-melting temperatures for a long time. But a “little meat” will get up to collagen melting temperatures comparatively quickly. If we set a leave-in probe thermometer like BlueDOT for 202°F (94°C), the meat will most likely still be quite tough when it goes off. But if we use that thermometer as guide to start timing the collagen melt, we’re suddenly on much safer thermal ground. When we get up to temp, we start a timer set for 40 minutes. When the timer sounds, our meat has been on the collagen-melt speedway for the better part of an hour, so it has just the right texture—able to be easily pulled and shredded, but not mushy.
Oven temps for perfect carnitas
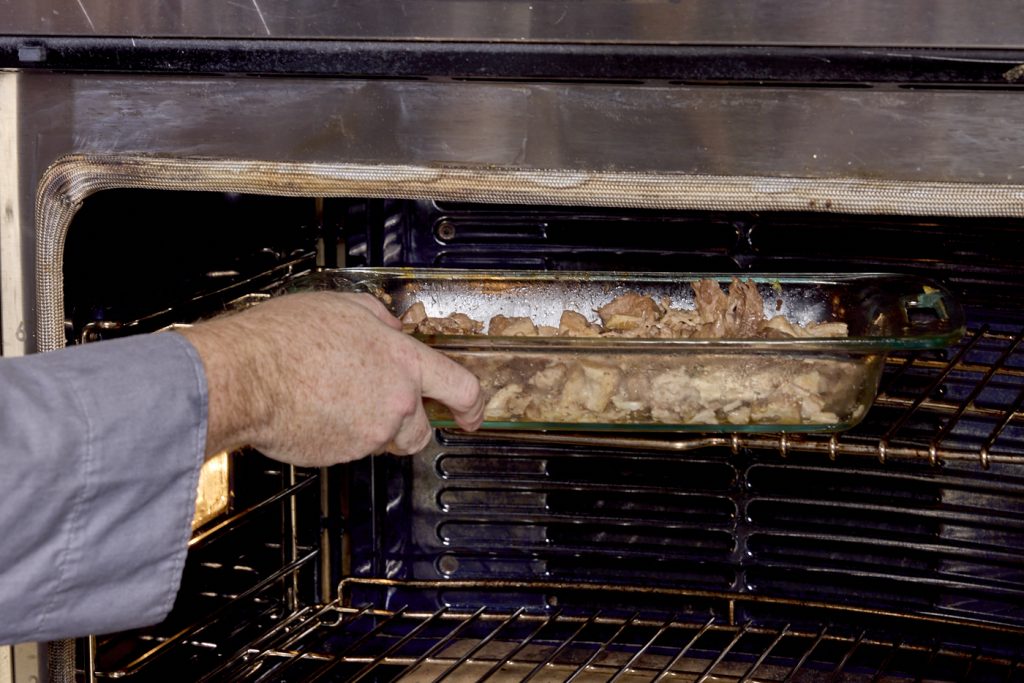
So what is the method that we recommend for carnitas, if not the traditional oil bath? The oven. If we pack the meat closely in a pan or dish and cover it, we can achieve a good cooking environment in our oven very easily.
For our carnitas, we want the temperature of the confit cooking fat to be about 200°F (93°C) or a little higher. At this temperature, we won’t be drying out the surface of the meat cubes while we heat their centers. If we were doing this on the stove with a pot of fat, we might try to maintain a temperature in this range. (Though there is a wide range of oil temperatures in traditional methods for carnitas. How hot the oil is can vary from region to region, or just cook to cook.) But we can also achieve a fairly constant cooking temp by putting our meat in an oven set to 275°F (135°C).
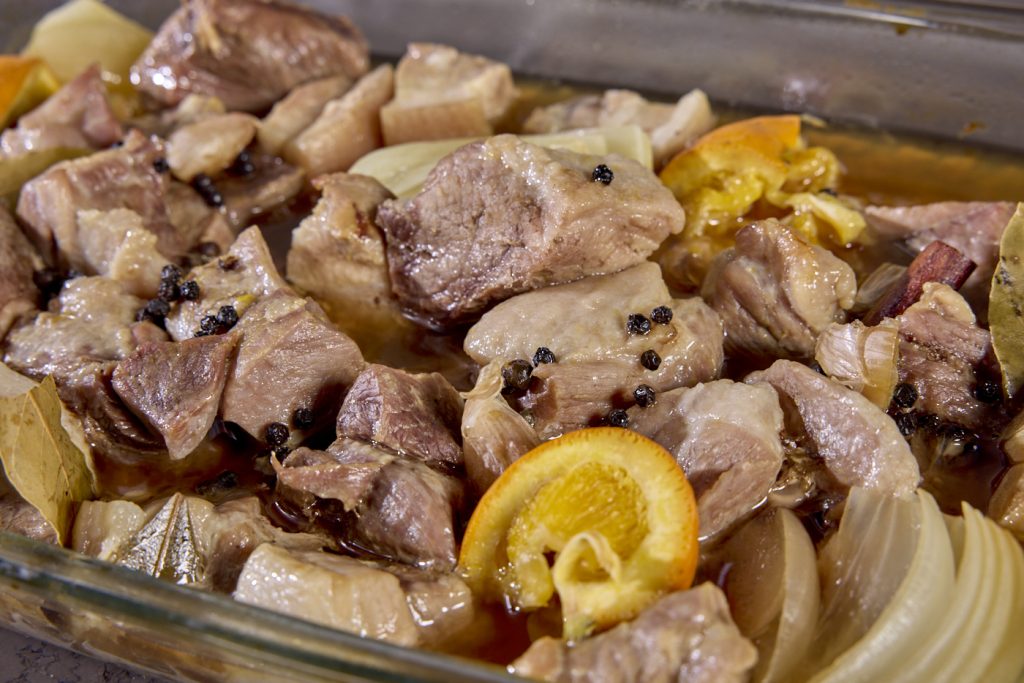
This low-temperature range isn’t nearly hot enough for the Maillard Reaction (read more about the Maillard Reaction in our post, Thermal Tips: Searing Meat) to occur, or even to crisp the meat by dehydrating the surface (which is what crisping during frying is). For this reason, once the low and slow cook is done, there’s a second cook to give the flavor more depth, and the texture a little bit of crunch.
Broiling for crispness
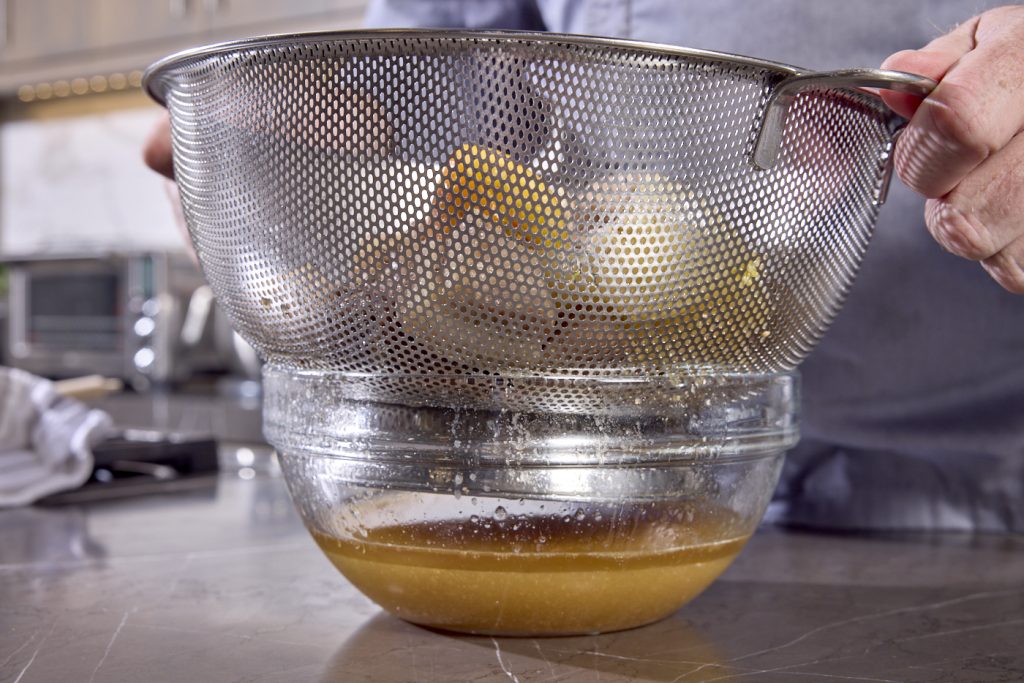
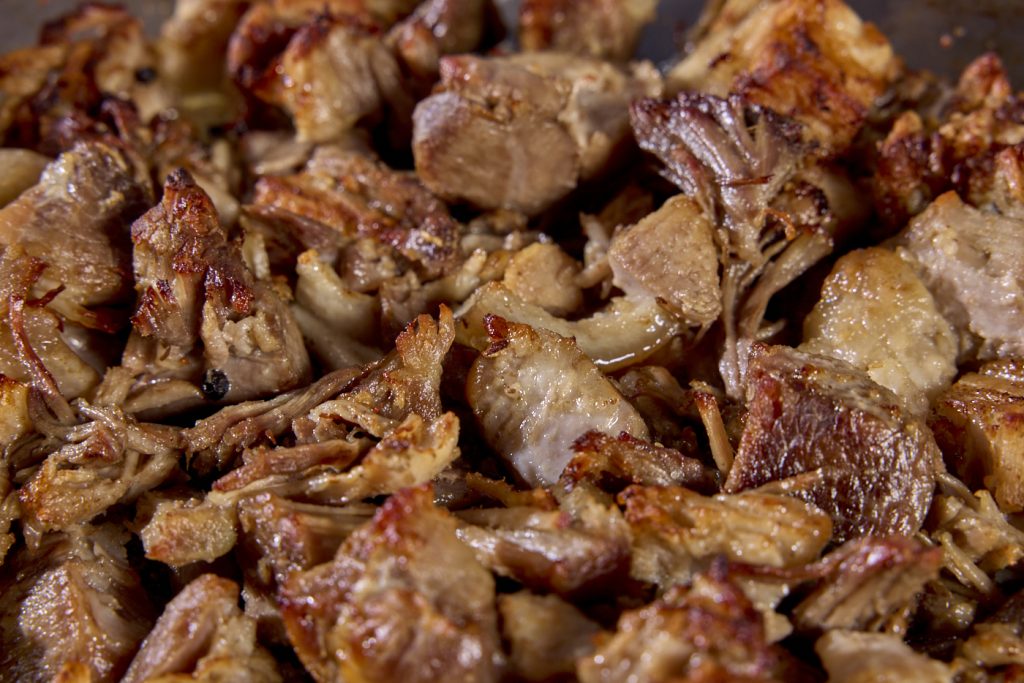
Carnitas aren’t the same without the crispy browned bits, and confit/braising pork in a covered dish does not give us those bits. Rather, we’ll take the meat, drain off the liquid for another use (amazing salsa), add the rendered fat back to the meat, and crisp it under the broiler. In this way, we fat-fry the shredded surface of the meat, browning it and giving it textural contrast. It’s an ingenious way to get a fantastic result.
How much fat do we need?
The traditional method submerges the meat completely in fat, but we don’t need all of that to carry flavor or heat to our meat. Instead, we can use just a little fat and rely on the fat that will be rendered from our very fatty cuts of meat to act as a heat-transfer medium. And by packing the meat tightly in a pan, we leave less space for fat between the pieces, so we need less of it to submerge it anyhow. We can make do with as little as a quarter cup of fat (or oil, if you can’t get good, fresh lard).
NOTE ON MEAT:
We used a combination of pork butt (shoulder) and skin-on pork belly for this cook, and recommend the combination heartily. The skin on the belly gives the dish a hyper richness and the extra fat of the belly is just a joy when properly cooked. You could use all shoulder and it will be great, but this combination is a good one!
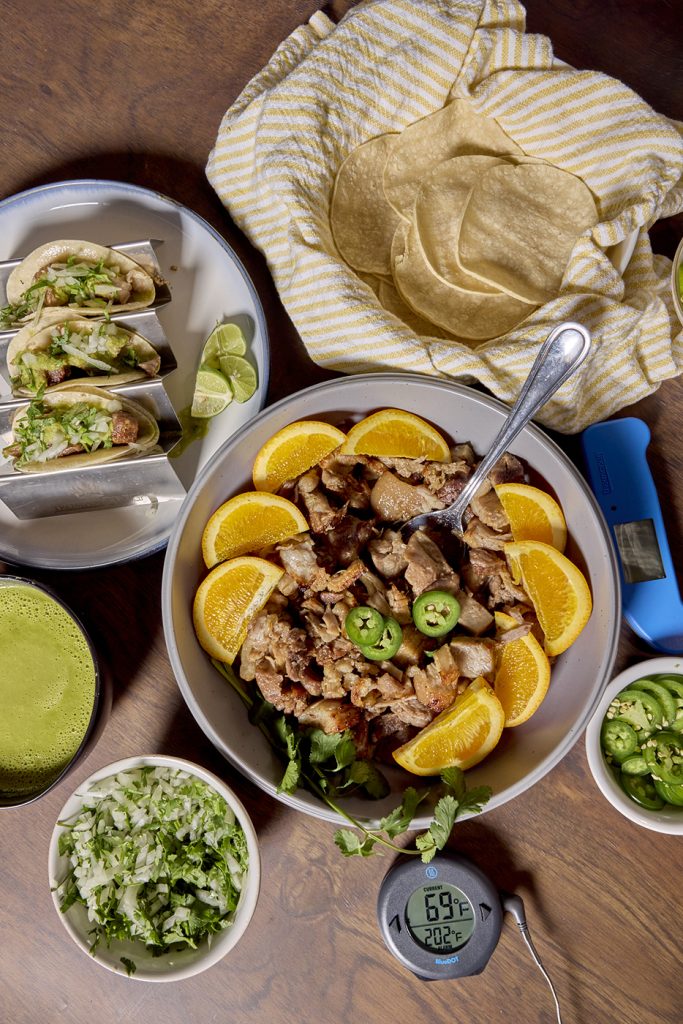
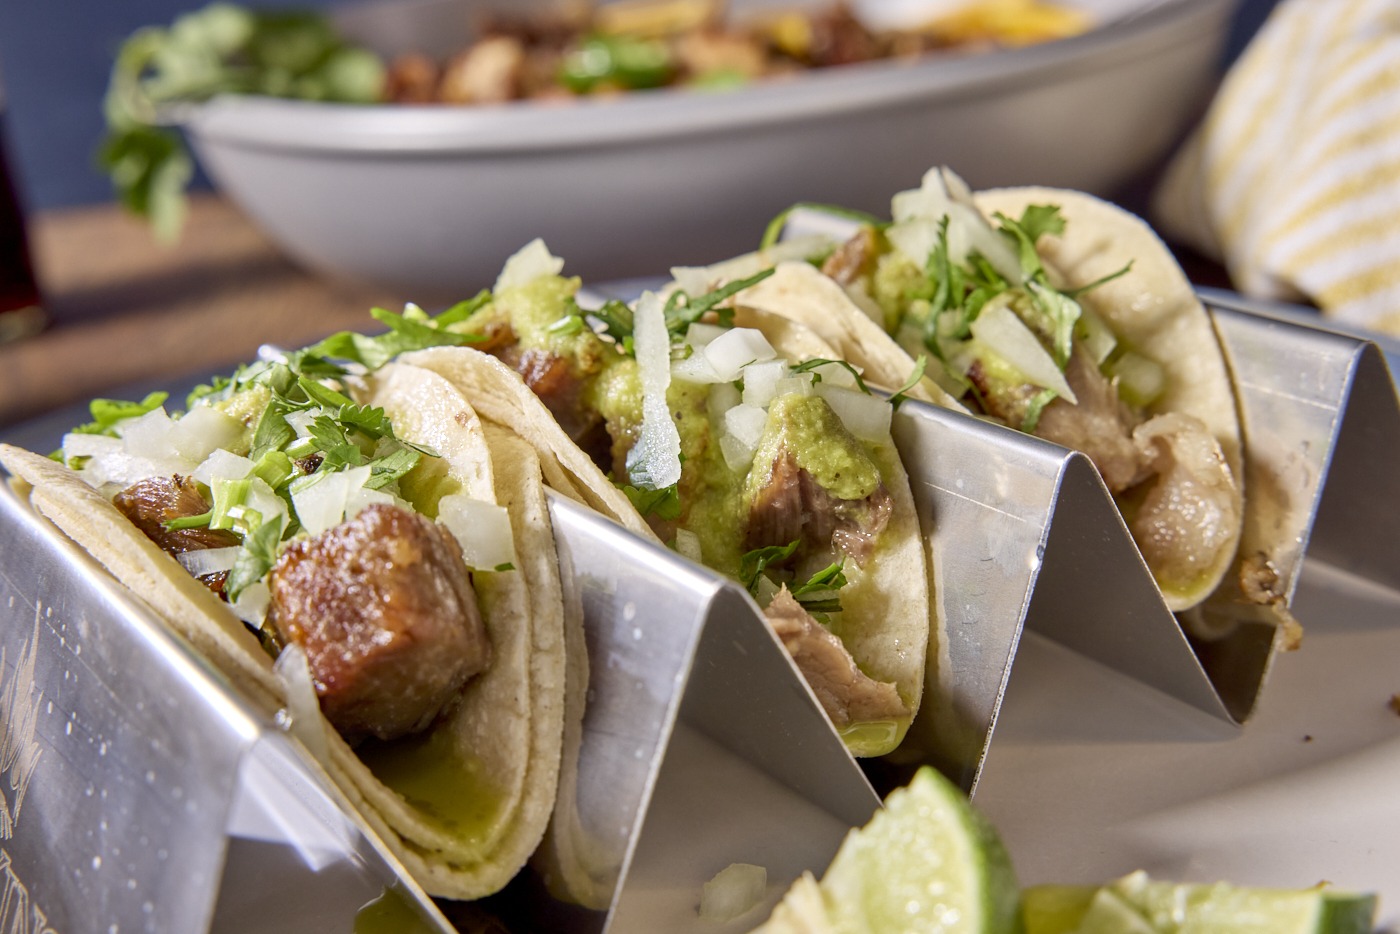
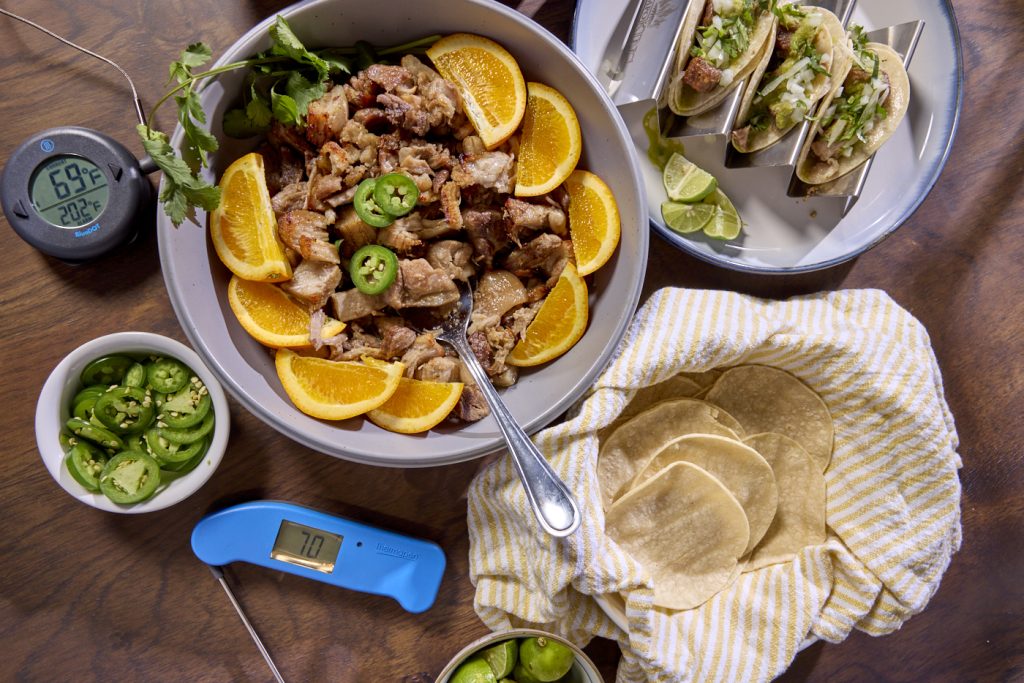
This crispy-tender meat is best eaten fresh from the broiler and can be used to make burritos, enchiladas, tostadas, or any other dish you like as well as tacos. You can even just pile it on a plate with some rice and good frijoles refritos and salsa. Serve with warmed tortillas, salsa verde, avocados, onion, and cilantro.
There are quite a few methods out there for making carnitas—choose the one that suits you best. By all means, follow a super traditional recipe and method, but this one will by no means disappoint. Thanks to this pan-crowding method and precise temperature tracking with a BlueDOT and needle probe, it’s possible to make authentically crispy/tender carnitas without a whole pot of lard. (Not that there’s anything wrong with that!) Give this a try on your next taco night, and fall in love with the results.

Pork carnitas tacos recipe with salsa verde
Description
Tacos de carnitas, adapted from a recipe by J. Keni Lopéz-Alt at SeriousEats.com
Ingredients
For the Carnitas:
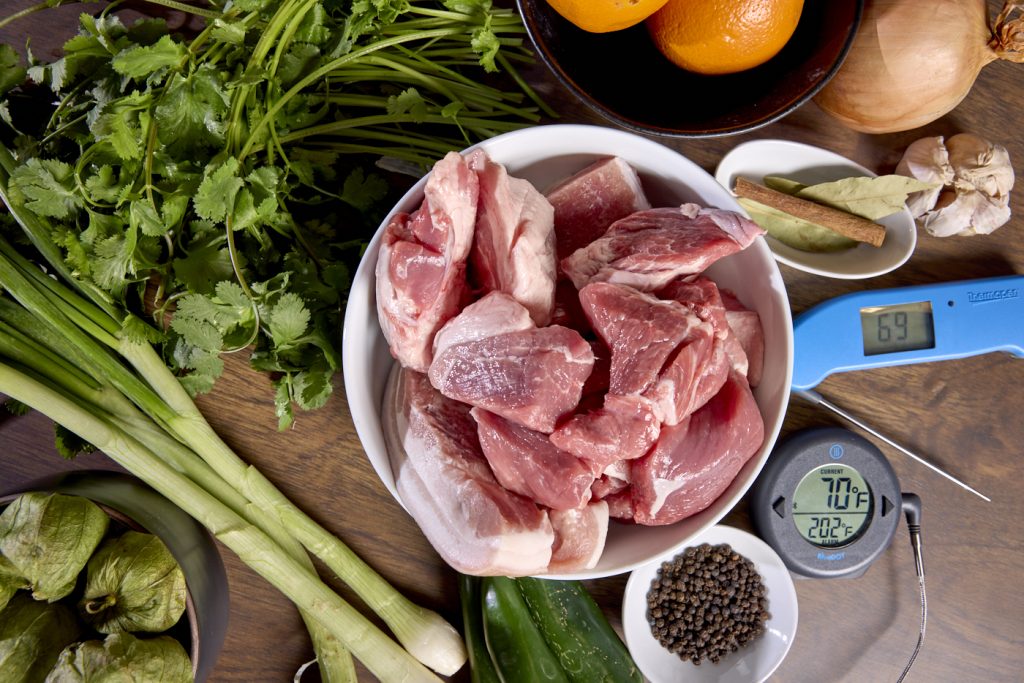
- 1 medium onion
- 2 lb boneless pork shoulder, cut into 2-inch cubes
- 1 lb pork belly, preferably skin-on, cut into 1.5” chunks
- Kosher salt
- 1 medium orange
- 6 cloves garlic, split in half
- 2 bay leaves
- 1 tsp black peppercorns
- 1 cinnamon stick, broken into three or four pieces
- 1/4 C vegetable oil or, if you can get it at your local Mexican market, freshly rendered pork lard
For the salsa:
- 1 bunch large green onions, roughly chopped
- 6 medium tomatillos, peeled and halved
- 2 jalapeños, stemmed and halved
- Stems of 1 bunch cilantro, roughly chopped
- 2–3 habanero peppers (optional, but with all the fat in these tacos, the 3 we added did NOT make it too hot)
- juice of 1 small lime
Instructions
- Preheat your oven to 275°F (135°C).
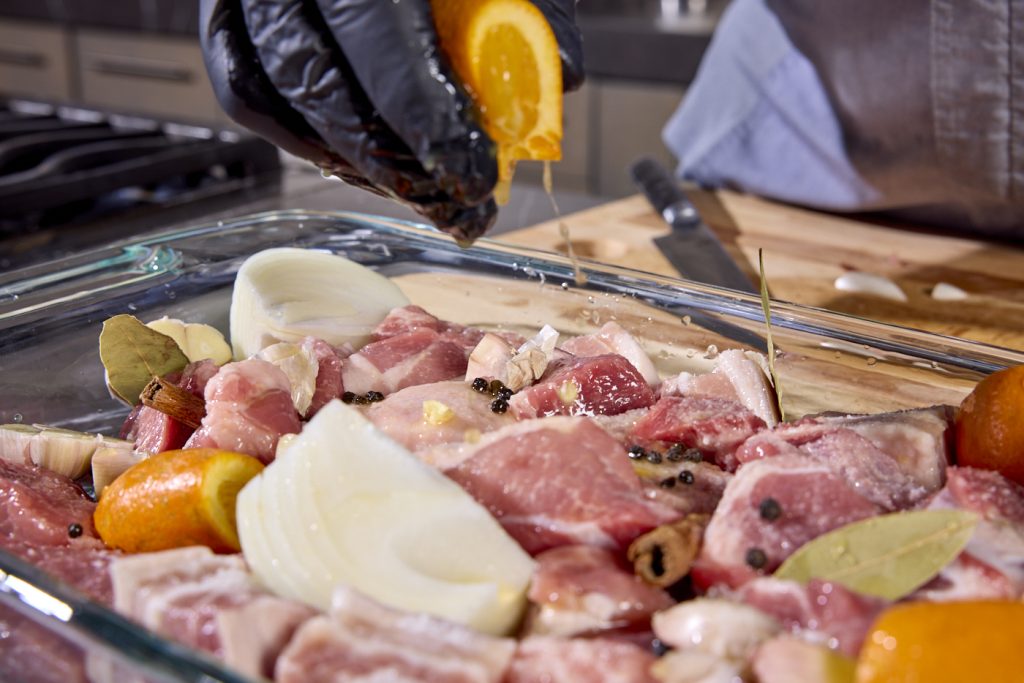
- Place all the meat pieces in one layer in a 9″ x 13″ baking dish. Season with salt (be fairly generous but not crazy).
- Scatter the cinnamon pieces, bay leaves, and peppercorns among the meat. Do the same with the garlic cloves (they needn’t be peeled).
- Peel and quarter the onion and tuck the quarters in with the meat.
- Quarter the orange and squeeze the orange juice all over the meat. Tuck the squeezed-out quarters into the meat as well.
- Pour the lard or oil over the meat.
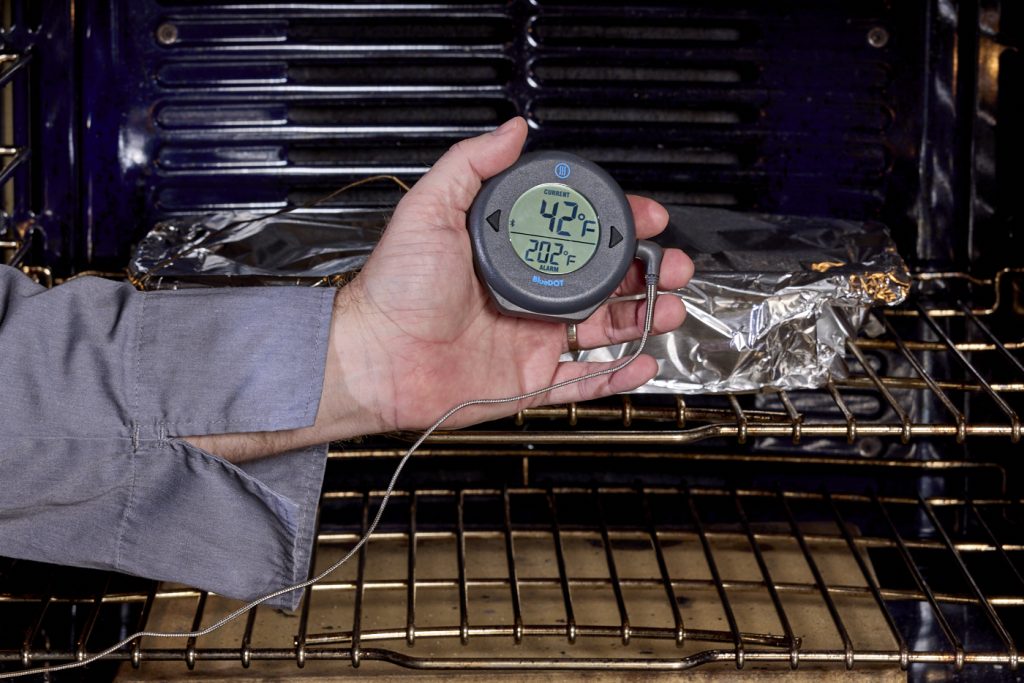
- Cover the dish tightly with foil, noting the location of one of the largest pieces of meat near the center of the pan.
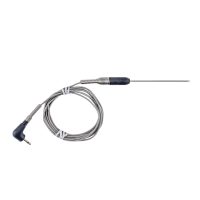
- Insert a 2.5″ Pro-Series Needle Probe through the foil into the center of that large piece of meat and connect the probe to your BlueDOT. Set the high-temp alarm for 202°F (95°C). You can connect your BlueDOT to a smart device with the free ThermoWorks app and watch the cook proceed on the cloud!
- Place the dish in the oven and cook until the alarm sounds, then set a timer for 40 minutes.
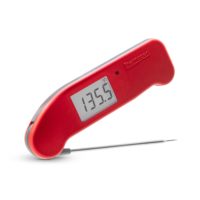
- After the timer sounds, carefully open a corner of the foil (watch out for steam burns!) and verify the temperature and tenderness with your Thermapen ONE.
- If all the meat is at temp and feels probe-tender, remove the pan from the oven.
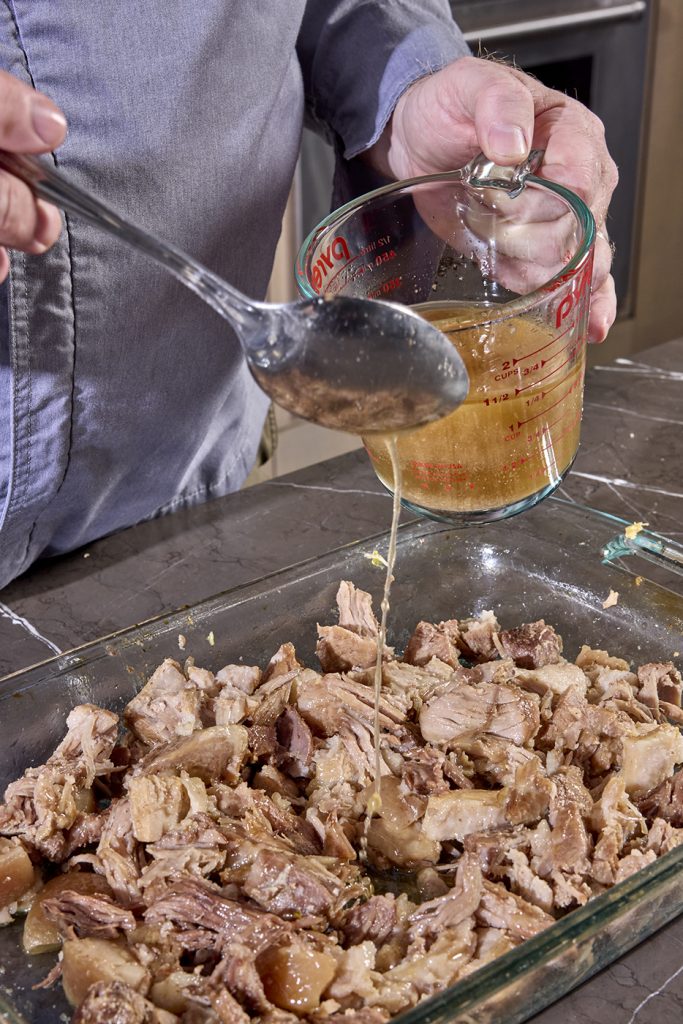
- Pour the contents of the pan through a colander into a bowl. Allow the juices and fat to separate in the bowl, or pour them into a gravy separator.
- Sort through the meat, removing onion bits, bay leaves, cinnamon sticks, and peppercorns.
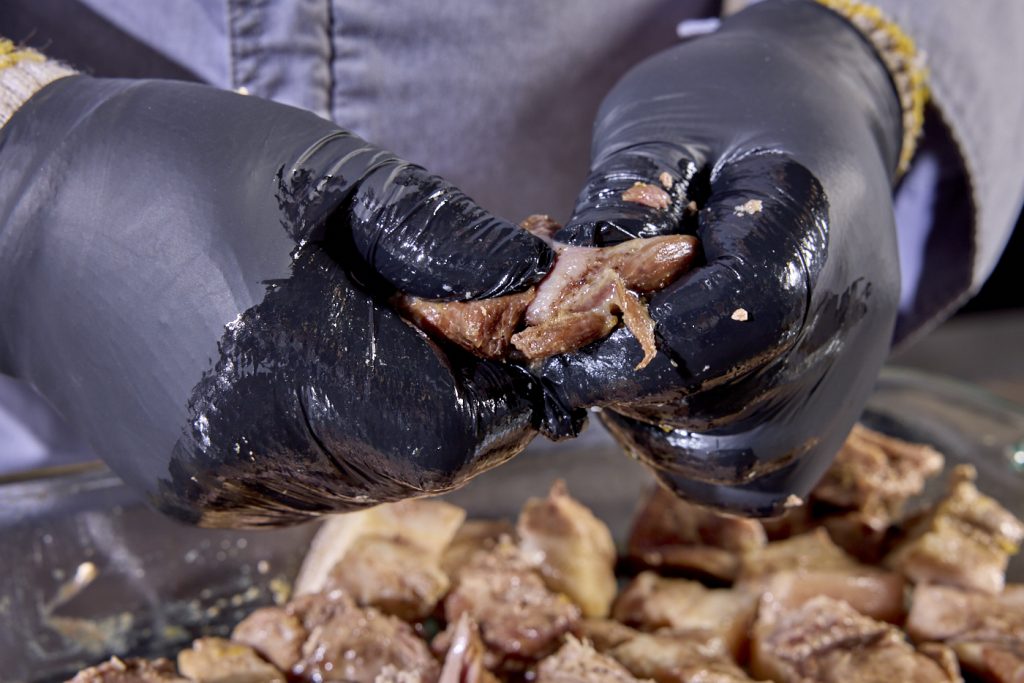
- Coarsely shred the meat chunks and put them back in the pan, spread out.
- Take the fat from the surface of the liquid and add it back to the meat. Stir to combine.
Make the salsa and crisp the meat
- Place the green onions, tomatillos, jalapeños, and cilantro stems into a saucepan. Add enough of the pork juice to come to about 1″ below the surface of the veggies and bring to a boil.
- Boil for about 8–10 minutes, until everything is just going soft.
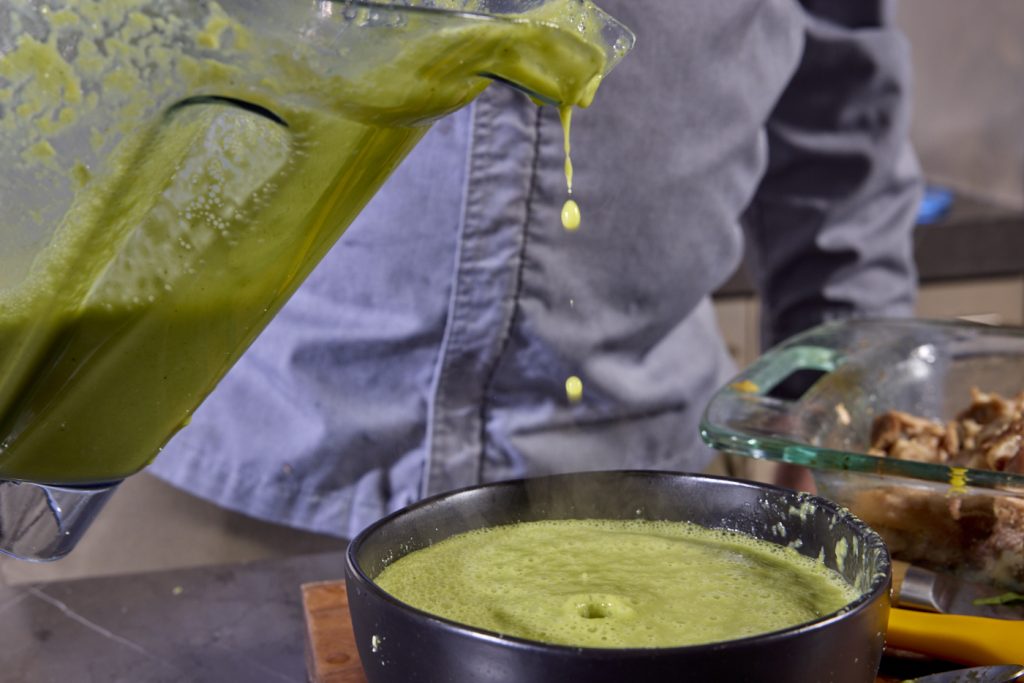
- Pour the pot of cooked salsa ingredients into a blender, add any stemmed habaneros you are using as well as the juice of the lime, and blend until smooth. This will be a thin salsa. Taste for salt and adjust. Add more peppers if more heat is needed. (Remember that the fattiness of the pork will cut the heat severely, so don’t be afraid of a salsa that kicks a little hard on its own.)
- While the salsa is cooking, crisp the pork. Turn on your oven’s broiler and adjust the rack to be about 4″ from the heat. Place the pork back in the oven and cook until the surface crisps, about 3-5 minutes.
- Stir the pork to expose more of it to the surface and continue to cook, another 3–5 minutes.
- Remove the crisped pork from the oven and serve your carnitas with the salsa, some warmed corn tortillas, onions and cilantro, and limes.
- Enjoy!
Serve and Enjoy!
Resources:
No-waste Tacos de Carnitas with Salts Verde Recipe, Serious Eats
On Food and Cooking, Harold McGgee
The Science of Confit Cooking, The Science of Cooking



Why is “Chef Alarm and needle probe” crossed out in the article? What should be in place of those words?
Savannagal,
The strikethrough error has been fixed. Thank you for letting us know!
-Kim
Roughly now many people does the amount in the recipe serve?
I’d say six-ish. It depends on how hungry they are and if you’re serving other things with it. But six is a safe bet, I think.